
 Pin it
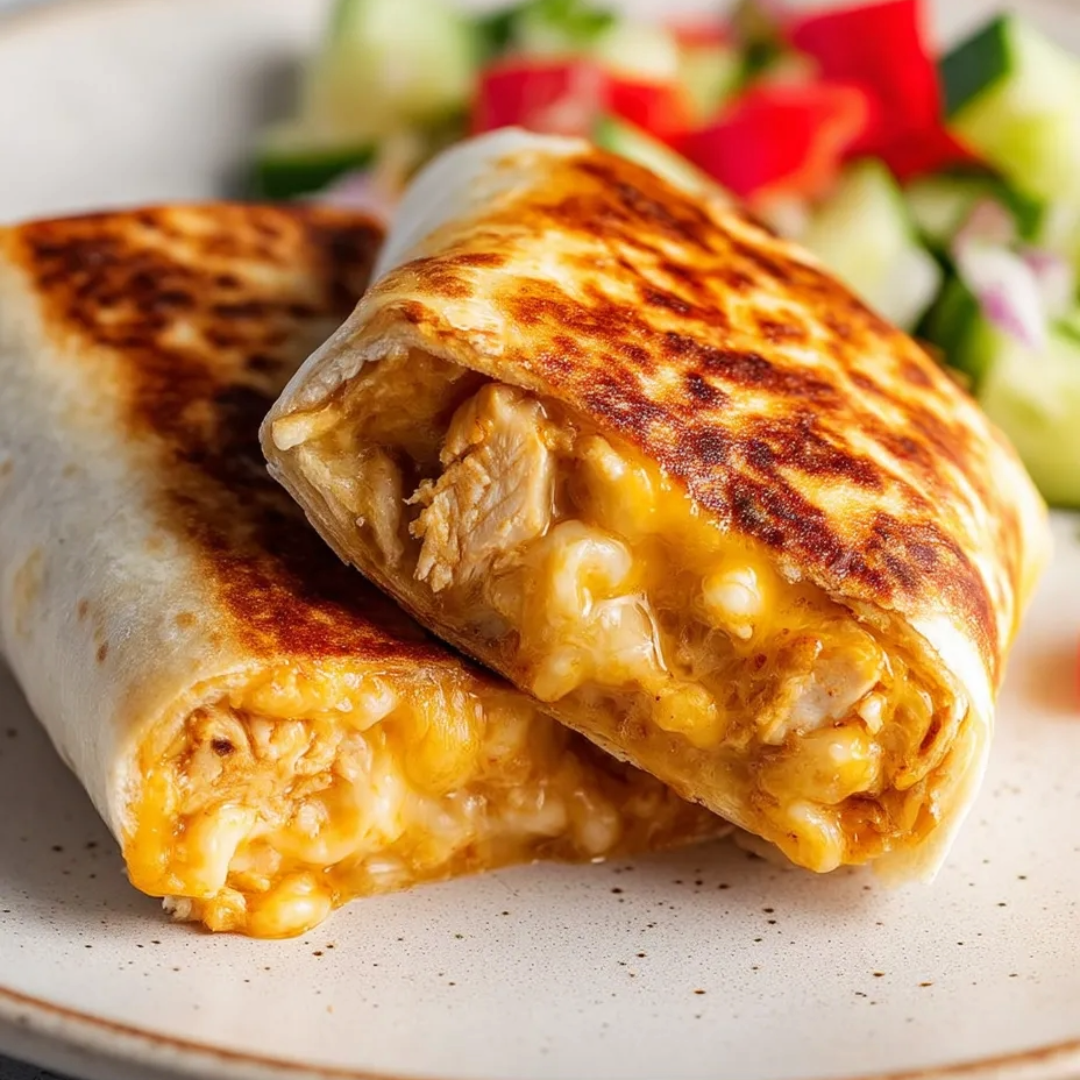
Cheesy garlic chicken wraps offer everything I crave on a weeknight — crisp tortilla edges and a golden cheesy interior with garlicky chicken tucked inside. The filling is so simple but feels special enough to brighten a routine lunch or dinner. I return to these wraps when I want something quick and protein-rich that delivers real comfort without a pile of dishes afterward.
The very first time I made these wraps I had leftover grilled chicken in the fridge and just a few tortillas left. One bite of that gooey garlicky center and the whole house was hooked. Now they are a family request on busy workdays or casual Friday nights.
Ingredients
- Large tortillas: Make the perfect vessel for crisp wraps pick sturdy flour tortillas or your favorite high protein option to keep things filling without tearing
- Cooked chicken: Brings a tender savory bite rotisserie or leftover roasted chicken both work beautifully plus it saves time
- Fresh garlic: Creates that unmistakable kick mince or grate for the best flavor aim for firm tight cloves with no green shoots
- Light mayonnaise: Adds creaminess to the filling use a good quality mayo for richer flavor
- Light Greek yogurt: Brings tang and binds the filling together choose thick and plain for best texture
- Hot sauce: Enlivens all the flavors use your favorite brand and add more or less based on how much punch you enjoy
- Salt: Pulls everything together use a fine grain so it mixes evenly
- Grated cheese: Turns molten and gooey inside cheddar blends melt especially nicely try to find one with a bit of sharpness
- Green onion: Adds freshness and a faint crunch pick vibrant green stalks free from wilting
- Olive oil spray: Ensures the wraps crisp up without sticking use a light hand and good olive oil for a faintly fruity finish
Step-by-Step Instructions
- Prep the Filling:
- Combine chopped chicken garlic mayonnaise yogurt hot sauce and salt in a mixing bowl. Stir everything until the chicken is well-coated and the mixture looks creamy with flecks of garlic. Taste and adjust salt or hot sauce as needed.
- Fill the Tortillas:
- Lay your tortillas flat on a clean work surface. Sprinkle a generous layer of grated cheese in a line across the lower third of each tortilla. Spoon about two thirds cup of the chicken mixture right over the cheese then scatter extra cheese and a sprinkle of chopped green onion on top.
- Wrap and Roll:
- Fold the sides of the tortilla snugly over the filling. Start at the bottom and roll the whole thing up tightly like a burrito making sure the ends are tucked in so nothing escapes while cooking.
- Crisp in the Pan:
- Heat a dry non-stick skillet over medium-high until hot. Lightly mist the surface with olive oil spray. Place wraps seam side down and let cook undisturbed for three to four minutes until gold and crispy. Flip and repeat on the other side. If you like your cheese extra melty set a lid over the pan for the last minute to trap the heat.
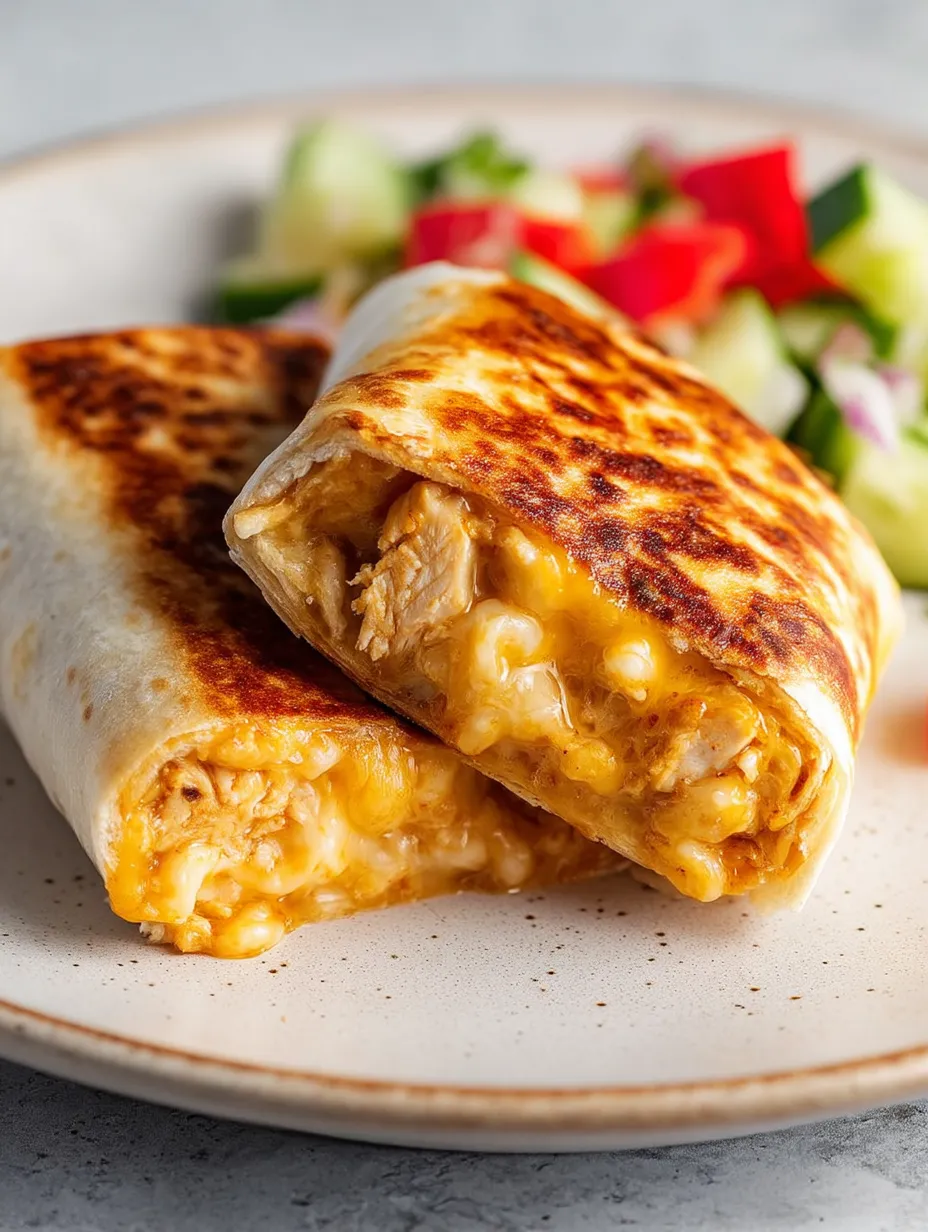
- Slice and Serve:
- Remove wraps to a board and slice in half. Enjoy while they're piping hot and the cheese is still stretchy.
 Pin it
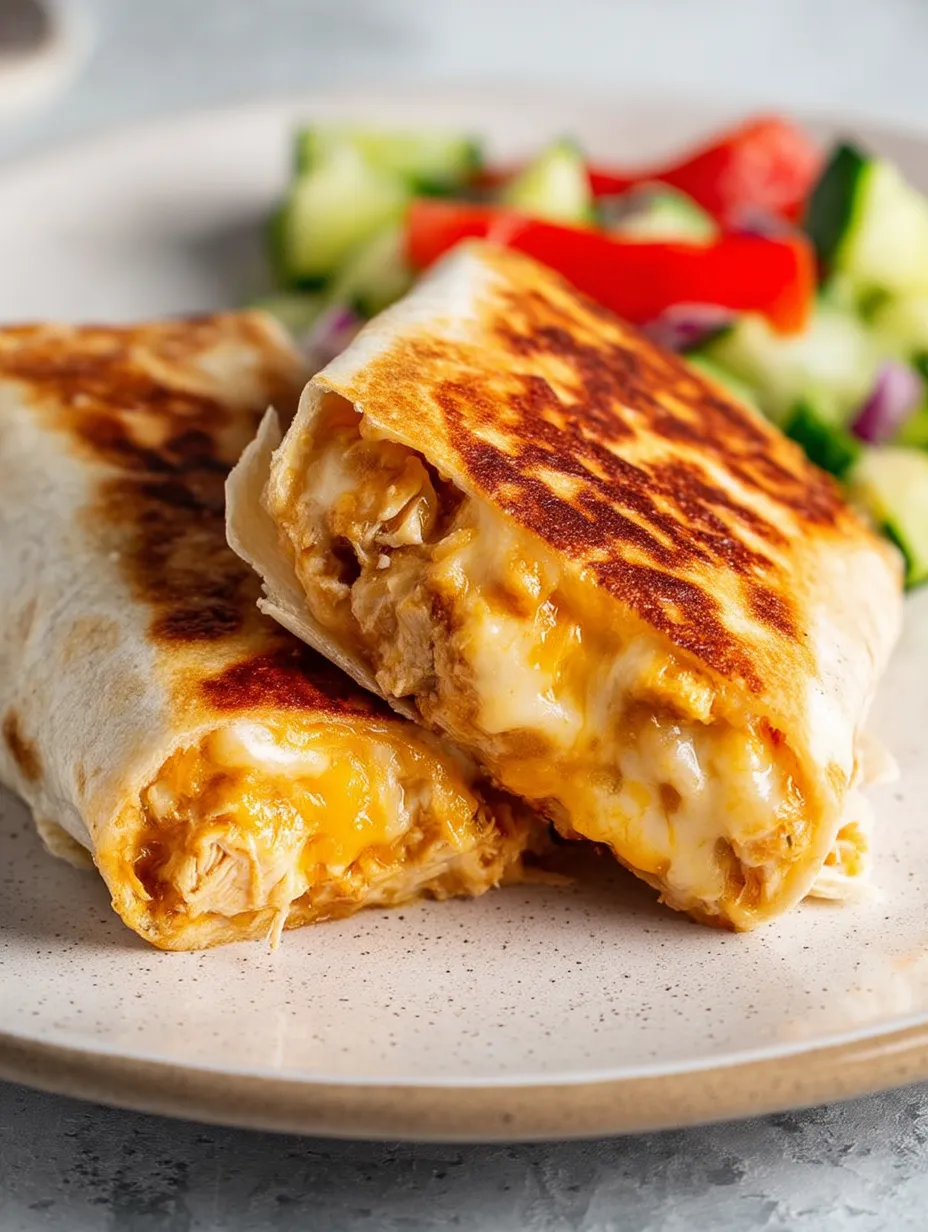
I have a real soft spot for a sharp cheddar in this recipe. It melts just right and pulls those perfect cheese strings when you cut into the wrap. Some of my favorite afternoons are spent eating these outside with my kids they dip theirs in salsa and never leave a crumb.
Storage Tips
Let any cooked wraps cool before storing in a tightly sealed container in the fridge. They will stay fresh up to two days. When reheating pop them back in a dry skillet or air fryer to restore that crispiness. I do not recommend freezing the assembled wraps the filling itself freezes well for up to one month. Just thaw it overnight before using.
Ingredient Substitutions
Feel free to swap regular mayo for a vegan option if you prefer plant based. Greek yogurt can be switched for plain regular yogurt or even sour cream in a pinch. Rotisserie chicken is my shortcut choice but leftover grilled or poached chicken works just as well. You can use any cheese with good melt choose mozzarella for a milder version or pepper jack if you love extra spice.
Serving Suggestions
Sometimes I just serve these on their own but they are fantastic with a crunchy cabbage slaw or a pile of roasted vegetables. For casual nights set out pickles or salsa and a bowl of tortilla chips. If you are going for a party feel these wraps cut into thick slices make a crowd pleasing appetizer platter too.
 Pin it
A Bit of History
Wraps really became popular in America in the 1990s as a fresher take on the sandwich. They borrow inspiration from global favorites like Mexican burritos and Middle Eastern flatbread wraps. The garlic cheese combo brings a familiar comfort that sometimes reminds me of cheesy garlic bread so it always hits that nostalgic spot.
Frequently Asked Questions
- → Can I substitute the cheese type?
Absolutely! Any good melting cheese such as mozzarella, Monterey Jack, or even a spicy pepper jack works well in these wraps. Try a blend for extra flavor.
- → Is it possible to make these ahead?
The chicken filling can be made 2–3 days ahead and stored in the fridge. Assemble and toast the wraps just before serving for the best texture.
- → Are there alternatives to pan-frying?
Yes! Air fry at 375°F (190°C) for 6–8 minutes, or bake at 400°F (200°C) for 10–12 minutes. Pan-frying gives the crispiest crust, but all methods work well.
- → What can I serve with these wraps?
These wraps pair nicely with a crisp green salad, roasted vegetables, or a fresh salsa. Chips and pickles on the side also complement the flavors.
- → How do I reheat leftovers?
Reheat wraps in a skillet or air fryer to restore their crispiness. Avoid microwaving, as it can make the tortillas soggy. The filling can be frozen for later use.