
 Pin it
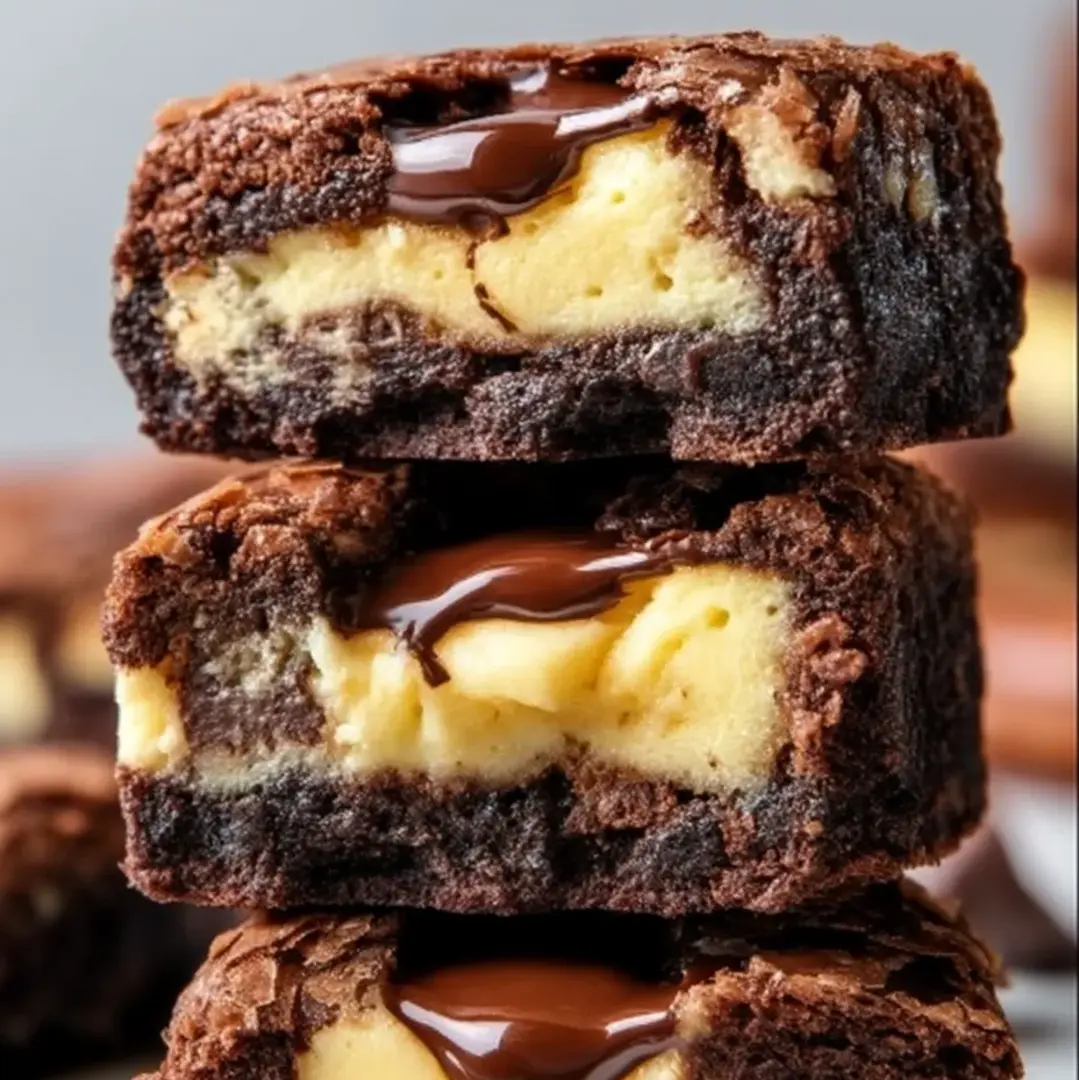
This decadent chocolate-cheesecake cookie bite recipe combines the fudgy richness of brownies with swirls of creamy cheesecake for an irresistible treat. The marbled effect not only creates a stunning presentation but delivers the perfect balance of chocolate intensity and tangy creaminess in every bite.
I first created these cookie bites for my sister's bridal shower and they disappeared within minutes. Now I'm requested to bring them to every family gathering, especially during the holiday season when everyone craves something indulgent.
Ingredients
- All purpose flour: creates the perfect structure for these cookie bites
- Unsweetened cocoa powder: provides deep chocolate flavor without added sweetness
- Baking powder: gives just the right amount of lift without making them cakey
- Salt: enhances all the flavors and balances the sweetness
- Unsalted butter: adds richness and moisture
- Granulated sugar: sweetens the chocolate base perfectly
- Eggs: bind everything together and add richness
- Vanilla extract: complements the chocolate flavors
- Semisweet chocolate chips: create pockets of melty chocolate goodness
- Cream cheese: forms the cheesecake layer; look for full fat for best results
- Powdered sugar: sweetens the cheesecake without graininess
- Lemon zest: optional but adds a subtle brightness to the cheesecake layer
Step-by-Step Instructions
- Prepare Your Environment:
- Set your oven to 350°F and line your baking sheet properly with parchment paper leaving overhang on the sides for easy removal later. The parchment is crucial as these treats can stick otherwise making cleanup difficult and potentially ruining your beautiful cookie bites.
- Create The Chocolate Base:
- Whisk your dry ingredients thoroughly ensuring no cocoa powder lumps remain. In a separate bowl beat the butter and sugar until light and fluffy about 2 minutes. The texture here matters significantly as proper incorporation creates the foundation for the perfect brownie texture. Add eggs one at a time beating well after each addition. The vanilla should be mixed in last before combining with dry ingredients.
- Master The Creamy Layer:
- Ensure your cream cheese is truly at room temperature to avoid lumps. Beat it vigorously until completely smooth before adding powdered sugar. The lemon zest if using should be very finely grated and added last. This mixture should be silky and easily spreadable but not runny.
- Layer With Precision:
- Pour your first layer of brownie batter evenly using an offset spatula if available. When adding the cheesecake layer work in small dollops rather than one large mass which allows for easier spreading without disturbing the chocolate layer beneath. The final brownie drizzle should be applied in a decorative pattern before swirling.
- Bake With Attention:
- Watch for the telltale signs of perfect baking the edges should pull slightly from the sides of the pan while the center remains slightly soft. Overbaking will result in dry cookie bites so err on the side of underbaking slightly. The center will continue cooking from residual heat after removal.
- Perfect The Cutting Technique:
- Allow complete cooling before attempting to cut. For the cleanest lines refrigerate for 30 minutes then use a sharp knife wiped clean between cuts. Measure your cuts with a ruler for professional looking uniform bites.
 Pin it
The secret to the perfect texture is in the chocolate quality. I once splurged on premium Dutch process cocoa powder for my daughters birthday version and the intensity of flavor was noticeably superior making them taste like they came from a gourmet bakery rather than my humble kitchen.
Storage Solutions
These cookie bites maintain their moisture and flavor surprisingly well when stored properly. Keep them in an airtight container at room temperature for up to 3 days. For longer storage refrigerate for up to a week though the texture becomes slightly more dense and fudgelike which many of my friends actually prefer. Let them come to room temperature before serving for the best flavor experience. If freezing place parchment between layers in a freezersafe container and thaw overnight in the refrigerator.
Customization Options
The basic recipe serves as an excellent canvas for creative variations. Try adding a teaspoon of espresso powder to the chocolate batter to intensify the chocolate flavor without adding coffee taste. For a holiday twist incorporate crushed peppermint into the cheesecake layer or swirl in raspberry preserves before baking. You can even transform these into more grownup treats with a tablespoon of orange liqueur in the cheesecake mixture. My personal favorite variation includes a thin layer of caramel between the brownie and cheesecake layers.
 Pin it
Serving Suggestions
While these cookie bites are perfect on their own they can be elevated for special occasions. Dust with cocoa powder or powdered sugar just before serving for an elegant finishing touch. For dessert platters pair them with fresh berries and mint sprigs. At holiday gatherings I serve them alongside coffee spiked with cinnamon and vanilla. For the ultimate indulgence warm them slightly and serve with a scoop of vanilla bean ice cream drizzled with warm chocolate sauce.
Frequently Asked Questions
- → Can I use dark chocolate chips instead of semisweet?
Yes, dark chocolate chips can be used for a more intense chocolate flavor. Adjust sugar to balance bitterness if desired.
- → Can I skip the lemon zest in the cheesecake filling?
Yes, the lemon zest is optional and can be omitted. It adds a hint of freshness but is not essential.
- → How can I store the cookie bites?
Store the cookie bites in an airtight container in the fridge for up to 5 days, or freeze for up to a month.
- → Can I use gluten-free flour for this recipe?
Yes, substitute all-purpose flour with a 1:1 gluten-free baking flour to make these bites gluten-free.
- → How do I know when the brownie layer is baked through?
The edges should be set, and the center will be slightly soft but not wet. Avoid overbaking for fudgy texture.
- → Can I double the recipe for a larger batch?
Yes, you can double the ingredients and use a larger pan. Adjust the baking time as needed.