
 Pin it
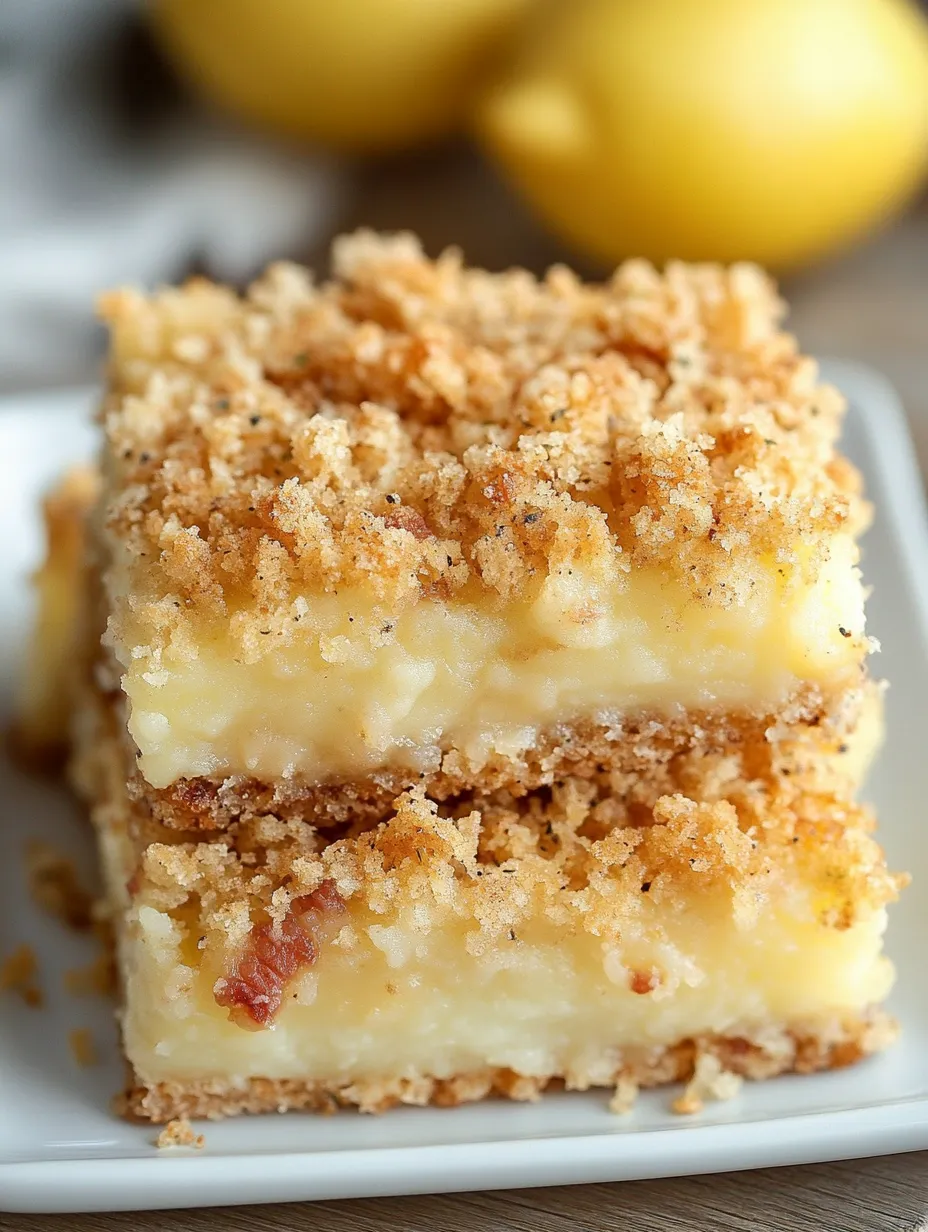
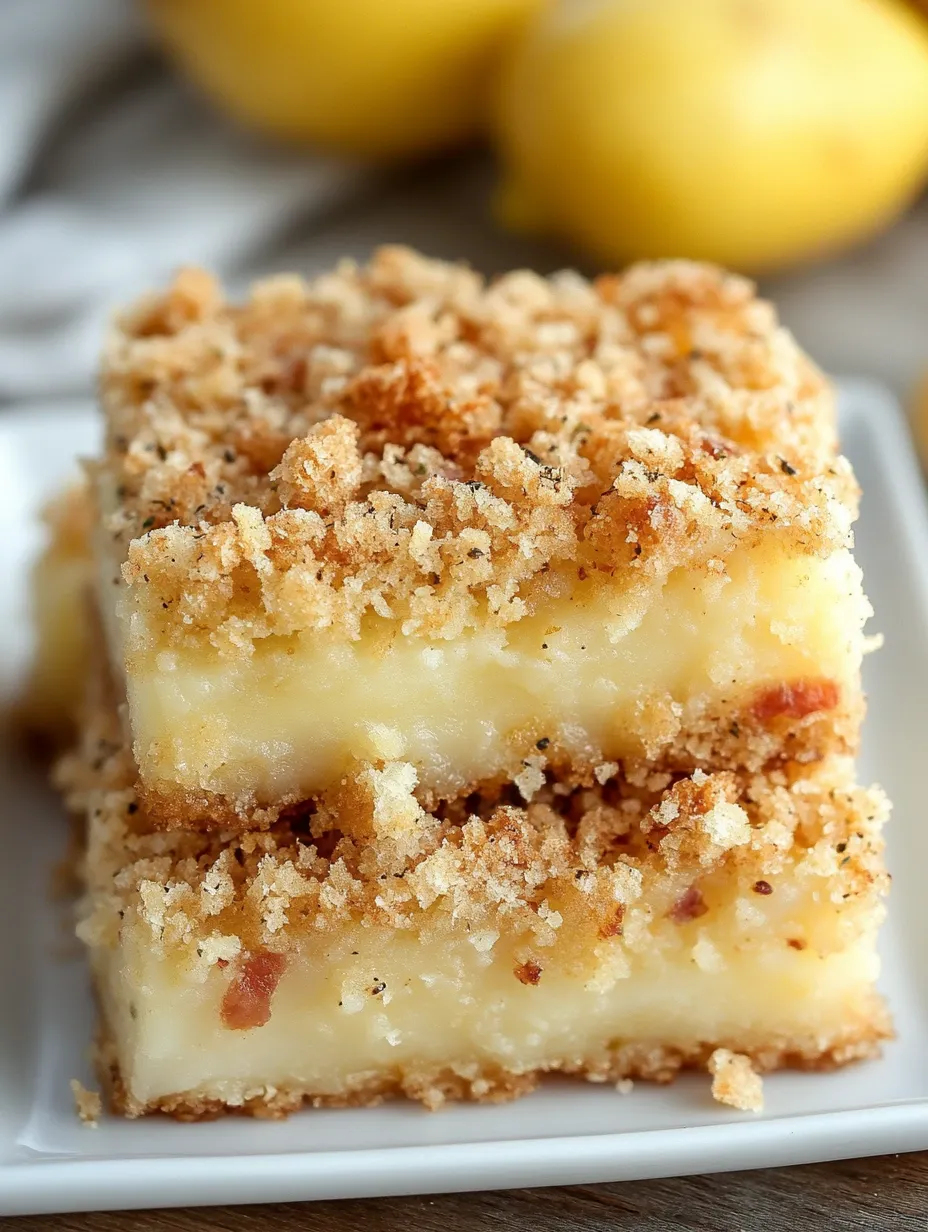
These bright, sunshine-filled lemon bars strike the perfect balance between buttery crumb and tangy citrus filling. The contrast of textures – a tender, melt-in-your-mouth crust and topping paired with a luscious, velvety lemon center – creates an irresistible treat that's both homey and sophisticated. Every bite delivers a burst of fresh citrus wrapped in sweet, golden crumbles that tastes like summer no matter what time of year you make them.
I learned to make these bars standing on a kitchen stool beside my grandmother, who had a magic touch with anything lemon. My small hands eagerly pressed the crumbly dough into the pan as she patiently guided me, letting me sneak tastes of the bright filling. The scent of lemons still takes me straight back to her sunny kitchen, where these bars were a Saturday tradition. Now they're a staple in my own family, requested for everything from school bake sales to holiday gatherings – proof that the simplest recipes often become the most treasured.
Perfect Ingredients for Lemon Crumb Bars
- All-purpose flour: Creates the foundation for the perfect crumbly texture; unbleached gives a slightly more tender result
- Old-fashioned rolled oats: Adds wonderful texture and a subtle nutty flavor; don't substitute quick oats which become too soft
- Unsalted butter: Its rich flavor is essential to a delicious crumb; using melted butter creates those perfect irregular crumbles
- Light brown sugar: Adds depth with its subtle molasses notes that complement the bright lemon perfectly
- Sweetened condensed milk: The secret to a foolproof filling that's creamy and sets perfectly every time
- Fresh lemons: Both zest and juice are essential; the oils in the zest provide the most intense lemon flavor
- Pure vanilla extract: A touch adds warmth and rounds out the citrus tang
- Egg yolks: They enrich the filling and help it set properly; save the whites for meringues or omelets
 Pin it
I've found that using the zest of organic lemons makes a noticeable difference in the flavor. The oils in the zest contain the most concentrated lemon essence, and without any wax coating to remove, you get pure, bright flavor. Roll your lemons on the counter with firm pressure before zesting and juicing to release the maximum amount of juice.
Step-by-Step Cooking Instructions
- Step 1:
- Prepare with precision – Preheat your oven to 350°F and position the rack in the center. Line an 8×8-inch baking pan with parchment paper, leaving an overhang on two sides to create handles for easy removal later. This extra step ensures perfect bars that lift out cleanly without breaking. Lightly coat any exposed pan with non-stick spray.
- Step 2:
- Create the crumble mixture – In a large mixing bowl, whisk together 1½ cups all-purpose flour, 1 cup old-fashioned rolled oats, ¼ teaspoon salt, and ½ teaspoon baking soda until well combined. Stir in ½ cup granulated sugar and ½ cup light brown sugar, breaking up any lumps with your fingertips. The mixture should be uniform with no dark brown specks of sugar visible.
- Step 3:
- Add the wet ingredients – Pour in ¾ cup melted unsalted butter and 1 teaspoon vanilla extract. Using a fork or your fingertips, mix until everything is evenly moistened and forms a crumbly dough. The texture should be like wet sand that holds together when squeezed but still breaks apart easily. If it seems too dry, add an additional tablespoon of melted butter.
- Step 4:
- Form the base layer – Transfer half of the crumb mixture (about 2 cups) to your prepared pan. Using the bottom of a measuring cup or your fingers, press firmly into an even layer covering the entire bottom of the pan. Be sure to create a solid base without cracks or holes to prevent the filling from seeping through. Place in the preheated oven and bake for 15 minutes until just beginning to turn golden at the edges.
- Step 5:
- Prepare the lemon filling – While the crust bakes, in a medium bowl, whisk together one 14-ounce can of sweetened condensed milk, 2 tablespoons of lemon zest (from about 2 large lemons), ½ cup fresh lemon juice, and 2 egg yolks until smooth and well combined. The mixture will thicken slightly as the acid from the lemons reacts with the condensed milk. Let it sit for a few minutes to continue thickening while the crust finishes baking.
- Step 6:
- Assemble the bars – Once the crust is done, remove it from the oven but keep the oven on. Pour the lemon filling over the hot crust, spreading it into an even layer that reaches all the corners. Take the remaining crumb mixture and sprinkle it evenly over the top, allowing some of the filling to peek through. Don't press down on the crumbs – the irregular texture creates the perfect topping.
- Step 7:
- Bake to golden perfection – Return the pan to the oven and bake for 20-22 minutes until the topping is golden brown and the filling is just set. It may still have a slight jiggle in the center, which is perfect – it will continue to set as it cools. Overbaking will make the filling rubbery, so err on the side of underbaking if you're unsure.
- Step 8:
- Cool completely – Allow the bars to cool at room temperature for at least 1 hour, then refrigerate for a minimum of 2 hours or ideally overnight. The cooling process is crucial for proper setting and flavor development. The lemon flavor actually intensifies as the bars chill.
- Step 9:
- Cut with care – For the cleanest cuts, use a sharp knife dipped in hot water and wiped clean between each slice. Using the parchment paper handles, lift the entire slab out onto a cutting board before slicing into 16 equal squares or 12 larger bars.
- Step 10:
- Serve with style – For a special touch, dust with powdered sugar just before serving, or follow my grandmother's tradition of adding a tiny twist of lemon zest on top of each bar for visual appeal and an extra burst of fragrance.
The Secret to Perfect Lemon Bars
The key to truly exceptional lemon bars lies in balancing the sweet and tangy elements. Too much sugar masks the bright lemon flavor, while too much lemon can make them unpleasantly sour. This recipe hits the sweet spot perfectly, with the condensed milk providing sweetness that allows the natural tartness of fresh lemons to shine through.
Another secret is letting these bars sit overnight before serving. While it's tempting to dive in right away (and I won't judge if you sneak a corner piece early!), the flavor and texture improve dramatically after a night in the refrigerator. The filling sets to a silky consistency, and the lemon flavor intensifies and mellows simultaneously.
For the Most Vibrant Flavor
When I make these bars for special occasions, I like to add a touch of lemon oil (not extract) to the filling for extra zing. Just 2-3 drops is enough to amplify the natural lemon flavor without tasting artificial. I also sometimes rub the sugar with lemon zest before adding it to the crumb mixture – the abrasion releases the essential oils from the zest, infusing the sugar with intense citrus aroma.
For a twist that my family loves, I occasionally add a half cup of white chocolate chips to the top crumb layer before baking. They create little pockets of creamy sweetness that complement the tangy lemon beautifully. Some people in my family are firmly Team Plain and others are Team White Chocolate, so sometimes I divide the pan and do half each way.
My teenage daughter, who usually gravitates toward chocolate desserts, describes these as 'sunshine you can taste.' She's started requesting them for her birthday instead of cake, which I consider the highest form of culinary praise from a 16-year-old chocoholic.
 Pin it
I'll never forget serving these bars at my first neighborhood potluck after moving to a new town. In a sea of store-bought desserts, my humble lemon bars disappeared first, and three different neighbors asked for the recipe. That evening brought me my first real friends in our new community. There's something about sharing a family recipe that forms connections faster than any small talk ever could – proof that food really is the universal language of friendship.
Frequently Asked Questions
- → Can I use bottled lemon juice instead of fresh?
- While fresh lemon juice provides the best flavor, bottled lemon juice can work in a pinch. The flavor won't be quite as bright, so you might want to add a bit more lemon zest to compensate. Make sure to use pure lemon juice without added sweeteners or preservatives.
- → How do I store these lemon bars?
- These bars should be stored in an airtight container in the refrigerator, where they'll keep well for up to 5 days. You can also freeze them for longer storage - wrap individual bars in plastic wrap, then place in a freezer bag for up to 3 months. Thaw in the refrigerator before serving.
- → Can I make these bars gluten-free?
- Yes! Replace the all-purpose flour with a gluten-free 1:1 baking flour blend. Make sure your oats are certified gluten-free as well, since regular oats can sometimes have cross-contamination. The rest of the recipe remains the same.
- → Why did my lemon filling turn out runny?
- Runny filling usually happens when the bars aren't baked long enough or weren't chilled properly before cutting. Make sure to bake until the top is lightly golden, and always refrigerate the bars until completely firm - at least 2 hours or overnight is best for clean slices.
- → Can I make these with other citrus fruits?
- Absolutely! This recipe works beautifully with lime, orange, or grapefruit. For lime, substitute equal amounts of lime juice and zest for a key lime bar variation. For orange or grapefruit, you might want to reduce the amount slightly as they're less tart than lemon.