
 Pin it
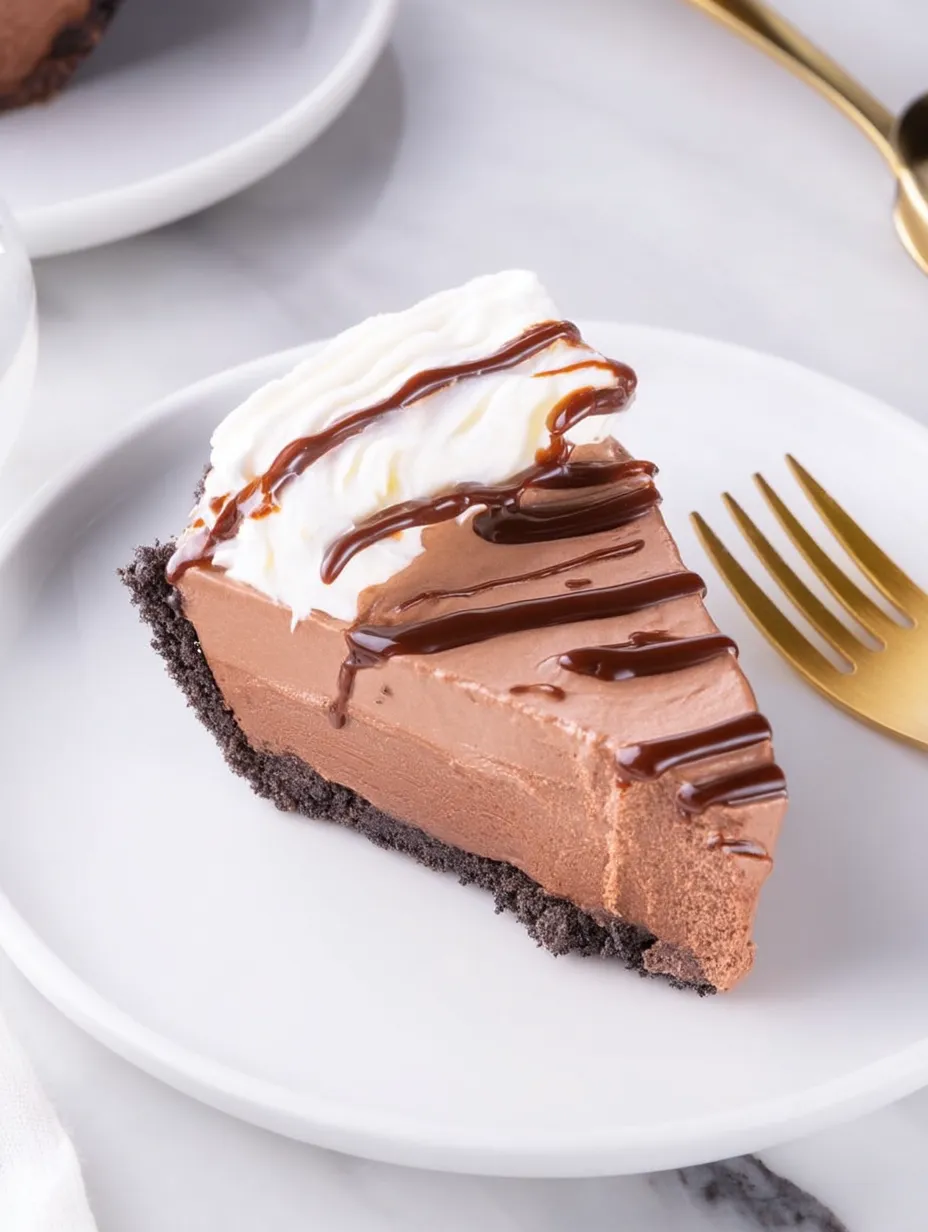
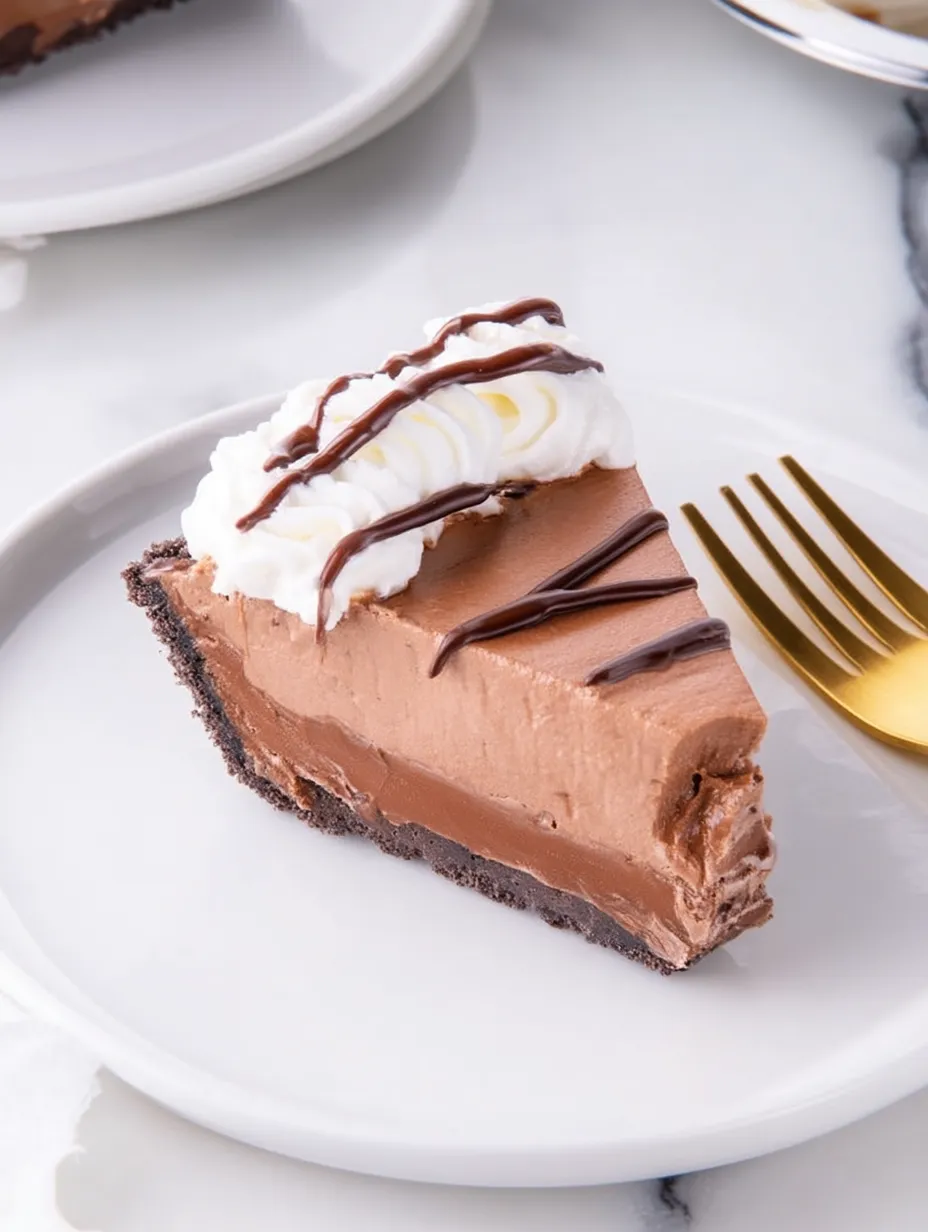
This luxurious No Bake Nutella Cheesecake has become my go-to dessert whenever I need to impress guests without spending hours in the kitchen. The combination of creamy chocolate hazelnut filling and crunchy Oreo crust creates a perfect balance that makes everyone ask for seconds.
I first created this recipe when my oven broke down before a dinner party. What started as a kitchen emergency has now become my most requested dessert among friends and family.
Ingredients
- For the Crust:
- 25 Oreo Cookies: Choose regular Oreos for the perfect sweetness level
- 5 tbsp unsalted butter: Melted creates the perfect binding texture
- For the Cheesecake:
- 2 pkgs Cream Cheese: Ensure they're completely softened for a smooth texture
- 1 jar Chocolate Hazelnut Spread: Splurge on name brand for the richest flavor
- 2 Tablespoons Cocoa Powder: Enhances the chocolate depth
- 1 cup Powdered Sugar: Balances sweetness perfectly
- 1 container Whipped Topping: Creates that airy mousse like texture
- For the Topping:
- 1/2 cup Chocolate Hazelnut Spread: Warming creates the perfect drizzle consistency
- Whipped Cream: Fresh homemade makes a noticeable difference
Step-by-Step Instructions
- Prepare the Crust:
- Pulverize those Oreo cookies until they become fine crumbs. You want an even texture throughout so spend extra time here. Mix thoroughly with melted butter until every crumb is coated and the mixture resembles wet sand. This ensures your crust will hold together perfectly when sliced.
- Form the Crust Base:
- Press the mixture firmly into your pie plate working from the center outward. Extend up the sides about 1 inch. The bottom of a measuring cup creates the perfect smooth finish. Refrigerate for at least 15 minutes to set the butter.
- Create the Filling:
- Beat the cream cheese and Nutella together until absolutely smooth, about 3 minutes on medium speed. Stop occasionally to scrape down the sides. The texture should be completely uniform with no cream cheese streaks visible.
- Add Dry Ingredients:
- Mix in cocoa powder and powdered sugar at low speed until fully incorporated. The cocoa intensifies the chocolate flavor while the sugar balances the tang of the cream cheese. Continue mixing until silky smooth.
- Incorporate Whipped Topping:
- Gently fold in the whipped topping using a rubber spatula with a light hand. Use a cutting and folding motion rather than stirring to maintain air bubbles. Stop the moment it's incorporated to keep the filling light and fluffy.
- Chill to Perfection:
- Pour the filling into your prepared crust and smooth the top with an offset spatula. Cover without touching the surface and refrigerate at least 4 hours or preferably overnight. This resting time allows flavors to meld completely.
 Pin it
The secret to this cheesecake's incredible texture is allowing your cream cheese to fully soften before mixing. I once tried to rush this step and ended up with tiny lumps throughout my filling. Taking that extra 30 minutes for room temperature ingredients makes all the difference.
Storage Success
This cheesecake keeps beautifully in the refrigerator for up to a week if properly covered. The flavor actually improves after the first day as the hazelnut notes develop more fully. I recommend covering with plastic wrap rather than foil which can stick to the surface. Press the wrap against any cut edges to prevent them from drying out.
 Pin it
Clever Substitutions
While traditional Nutella gives the classic flavor, this recipe works beautifully with other spreads. I've made successful versions using Biscoff cookie butter for a spiced caramel variation and peanut butter for a chocolate peanut butter cup inspired dessert. The texture remains perfect regardless of which spread you choose just maintain the same quantity.
Serving Suggestions
This cheesecake truly shines when served with contrasting elements. I love to add fresh raspberries which cut through the richness with bright acidity. For special occasions, sprinkle chopped toasted hazelnuts around the edge before adding whipped cream for added texture and visual appeal. Allow the cheesecake to sit at room temperature for 10 minutes before serving to enhance the flavors.
The History Behind the Deliciousness
The combination of chocolate and hazelnut dates back to 19th century Italy when chocolatiers mixed hazelnuts with chocolate to extend expensive cocoa supplies. This economical necessity evolved into beloved gianduja paste and eventually the spread we know today. This no bake version builds on classic refrigerator cheesecake techniques popular in mid century American kitchens but elevates them with rich European flavors.
Frequently Asked Questions
- → How can I make the Oreo crust firm?
Press the crushed Oreos and melted butter mixture firmly into the pie dish using the bottom of a glass cup. Then chill it in the fridge before adding the filling to ensure it sets properly.
- → Can I use a different type of cookie for the crust?
Yes, you can substitute Oreos with graham crackers, digestive biscuits, or any cookie you prefer for a different flavor.
- → How long should I refrigerate the cheesecake?
Refrigerate the cheesecake for at least 4 hours, but overnight is recommended for the best texture and firmness.
- → What types of whipped topping can I use?
You can use store-bought whipped topping or freshly whipped cream. Just ensure it's adequately chilled before using.
- → Can I freeze the cheesecake?
Yes, you can freeze the cheesecake for up to a month. Thaw it in the refrigerator overnight before serving.