
 Pin it
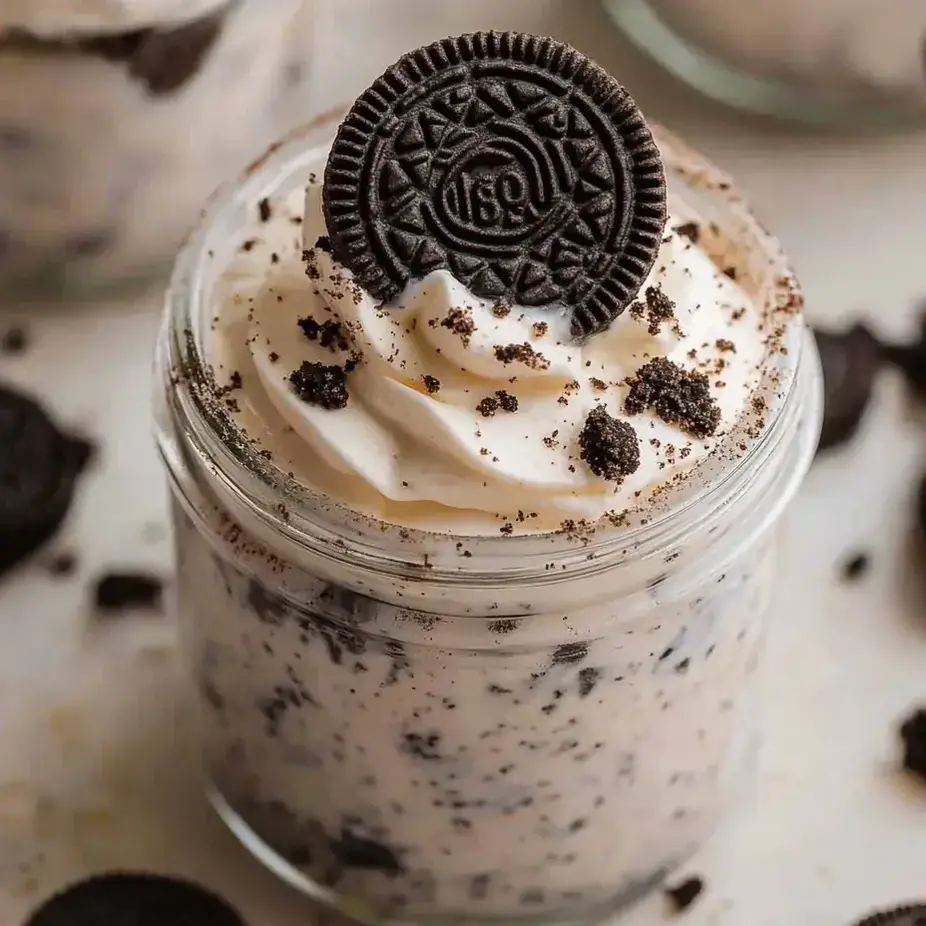
This no-bake Oreo cheesecake cup recipe transforms simple ingredients into a decadent dessert that's perfect for summer gatherings or whenever you need a quick sweet treat. I've been making these for years when I need an impressive dessert without turning on the oven.
These cheesecake cups have become my signature dessert at family gatherings. Last summer, I brought them to our annual reunion and had three cousins ask for the recipe before dessert was even finished.
Ingredients
- Cream cheese: The foundation of our cheesecake flavor use full fat for the richest taste and make sure it's fully softened for a smooth texture
- Cool Whip: Creates that perfect light and fluffy texture without the work of whipping heavy cream
- Powdered sugar: Dissolves seamlessly into the mixture providing just the right level of sweetness
- Vanilla extract: Adds that classic flavor dimension that enhances both the cream cheese and cookie elements
- Oreo cookies: The star ingredient providing both the crunchy base and the cookies and cream flavor throughout
Step-by-Step Instructions
- Prepare the Oreo Base:
- Crush the Oreo cookies into small pieces but not completely pulverized. Some texture is desirable here. Place about 2 tablespoons of crushed cookies at the bottom of each serving dish. This creates the perfect crust to foundation ratio.
- Create the Cheesecake Filling:
- Whip the softened cream cheese with powdered sugar until completely smooth and no lumps remain. This usually takes about 2 minutes of mixing. The mixture should be light and fluffy. Add the vanilla and mix until incorporated.
- Combine with Cool Whip:
- Gently fold in the Cool Whip using a spatula with a light hand. Overmixing can deflate the mixture and lose that perfect airy texture. Once combined, fold in remaining crushed Oreos, leaving some visible cookie pieces for texture.
- Assemble and Chill:
- Divide the cheesecake mixture evenly between your serving dishes, gently pressing it onto the Oreo base. Use the back of a spoon to create a smooth top. Refrigerate for at least 30 minutes, though an hour is ideal for the best set.
 Pin it
The first time I made these was for my daughter's birthday when our oven was broken. It was such a hit that she has requested these instead of birthday cake every year since. The cookies and cream flavor combination is truly timeless.
Make It Your Own
Feel free to experiment with any Oreo variety. I once made these with the birthday cake Oreos for a special celebration, and the colorful sprinkles in the cookies made the dessert even more festive. The golden Oreos create a lovely vanilla variation, while mint Oreos add a refreshing twist.
 Pin it
Storage Tips
These cheesecake cups will keep beautifully in the refrigerator for up to 3 days. Cover each cup with plastic wrap to prevent them from absorbing other flavors from your refrigerator. The texture is actually best on day two when the cookies have slightly softened into the creamy mixture.
Serving Suggestions
For an extra special presentation, top with freshly whipped cream and additional crushed Oreos just before serving. A drizzle of chocolate sauce takes these to the next level for company. For summer gatherings, serve alongside fresh berries which offer a tart contrast to the sweet creaminess.
Frequently Asked Questions
- → Can I use a different type of Oreo for this dessert?
Yes, any Oreo flavor will work well in this dessert. Try experimenting with your favorites to find the perfect combination.
- → Can I make these ahead of time?
Absolutely! You can prepare these cups a day in advance, store them in the fridge, and top with additional crushed Oreos and whipped cream just before serving.
- → How can I make a mint variation of this dessert?
Add 1/2 teaspoon of peppermint extract to the cheesecake filling and use mint-flavored Oreos for a refreshing minty twist.
- → What if I don’t have small dessert dishes?
You can layer the dessert in one large dish, creating perfect parfait-like layers, and spoon portions out to serve.
- → How do I make the Oreo base finer or chunkier?
Crush the Oreos in a plastic bag using a rolling pin or spoon for a chunkier texture. Use a food processor for a finer crumb base if you prefer.