
 Pin it
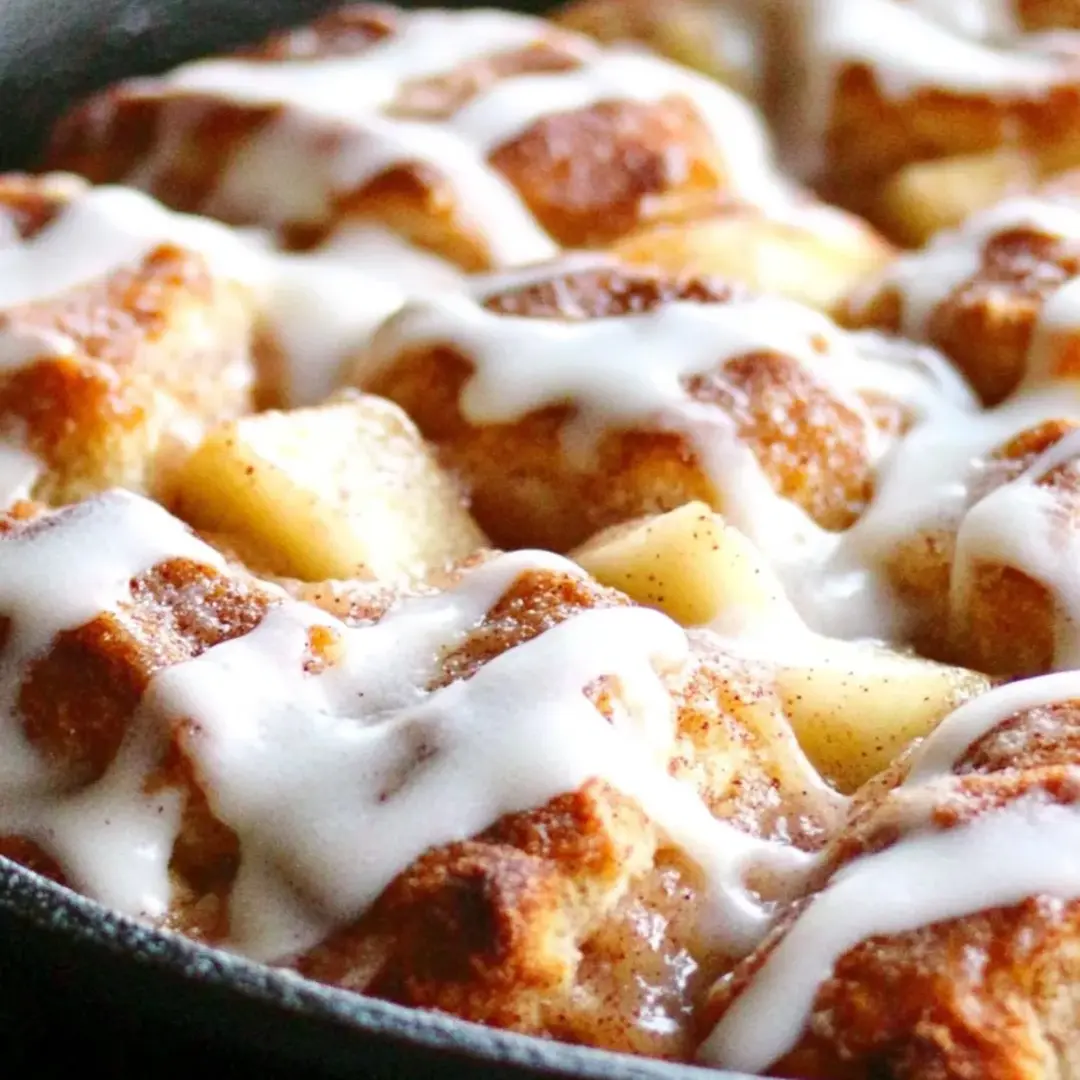
These irresistible Skillet Apple Pie Biscuits bring together the flaky comfort of buttermilk biscuits with the warm, spiced goodness of apple pie in one impressive dish. Perfect for lazy weekend mornings or special brunches, these sweet biscuits are deceptively simple to make yet deliver bakery-worthy results. The biscuits bake surrounded by cinnamon-spiced apple filling, creating a hybrid breakfast-dessert that's sure to become a family favorite. Whether enjoyed as a morning treat with coffee or served warm with a scoop of vanilla ice cream for dessert, these apple pie biscuits are a versatile crowd-pleaser for any occasion.
The first time I made these for my family's Sunday brunch, they disappeared faster than I could pour the coffee! My mother-in-law, who rarely asks for recipes, quietly pulled me aside and requested the details. What I love most is how these biscuits bring everyone to the table with excitement - there's something magical about the combination of warm apples, cinnamon, and buttery biscuits that makes any morning feel special.
Ingredients
- 1 package frozen buttermilk biscuits (8 count), thawed: Creates the perfect flaky base; you can substitute homemade biscuits if preferred
- 21 oz can premium apple pie filling: Provides the delicious apple pie flavor without extensive prep; look for a brand with large apple chunks
- 1/2 cup butter, melted: Helps create the golden crust and carries the cinnamon-sugar flavor
- 3/4 cup light brown sugar, packed: Adds sweetness and caramel notes that complement the apples
- 2 teaspoons ground cinnamon: Provides that classic apple pie spice flavor
- 1/4 teaspoon ground nutmeg: Adds depth and warmth to the spice profile
- 1 teaspoon vanilla extract: Enhances the flavor of the apple filling
- 1/2 cup chopped pecans or walnuts (optional): Provides pleasant texture and nutty flavor
- 3/4 cup powdered sugar: Forms the base of the sweet glaze
- 2-3 tablespoons heavy cream or half and half: Creates a pourable consistency for the glaze
Step-by-Step Instructions
- Prepare your oven and skillet:
- Preheat your oven to 375°F. Take a 10-inch cast iron skillet and generously brush the bottom and sides with some of the melted butter to prevent sticking and add flavor.
- Make the cinnamon-sugar mixture:
- In a small bowl, combine the brown sugar, cinnamon, and nutmeg, stirring until well blended. This mixture will create that wonderful sweet coating on the biscuits and blend with the apples.
- Prepare the biscuits:
- Take each thawed biscuit and dip it completely in the melted butter, ensuring all surfaces are coated. Then immediately roll the buttered biscuit in the cinnamon-sugar mixture until covered on all sides. Place the biscuits side by side in the prepared skillet, arranging them in a circle with one in the center.
- Enhance the apple filling:
- Empty the can of apple pie filling into a bowl. Using a sharp knife, chop the apple slices into smaller, bite-sized pieces if they're particularly large. Stir in the vanilla extract to add depth of flavor to the filling.
- Add the filling:
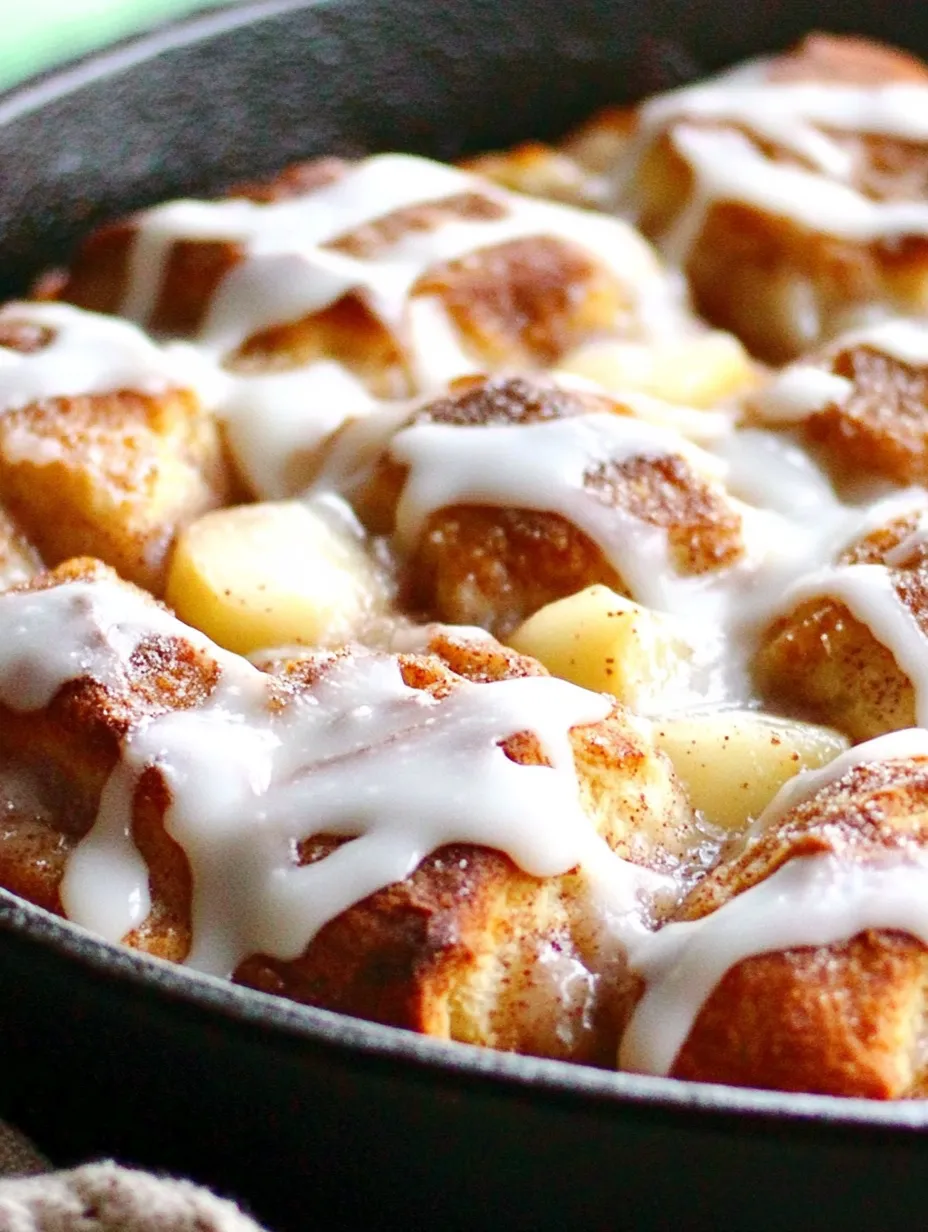
- Spoon the apple pie filling around and between the arranged biscuits, distributing it evenly throughout the skillet. If using nuts, sprinkle them over and around the biscuits at this stage.
- Add final touches:
- Drizzle any remaining melted butter over the entire dish, then sprinkle the remaining cinnamon-sugar mixture over the top. This creates a delicious caramelized finish as it bakes.
- Bake to golden perfection:
- Place the skillet in the preheated oven and bake for 30-35 minutes, or until the biscuits are puffed up and golden brown and the filling is bubbling around the edges.
- Make the glaze:
- While the biscuits are baking, prepare the cream glaze by whisking together the powdered sugar and 2 tablespoons of heavy cream until smooth. Add additional cream, one teaspoon at a time, if needed to reach a pourable consistency.
- Finish and serve:
- Once the skillet comes out of the oven, let it cool for about 5 minutes, then drizzle the glaze over the warm biscuits. Serve warm, either on its own for breakfast or with a scoop of vanilla ice cream for dessert.
The Magic of Cast Iron Cooking
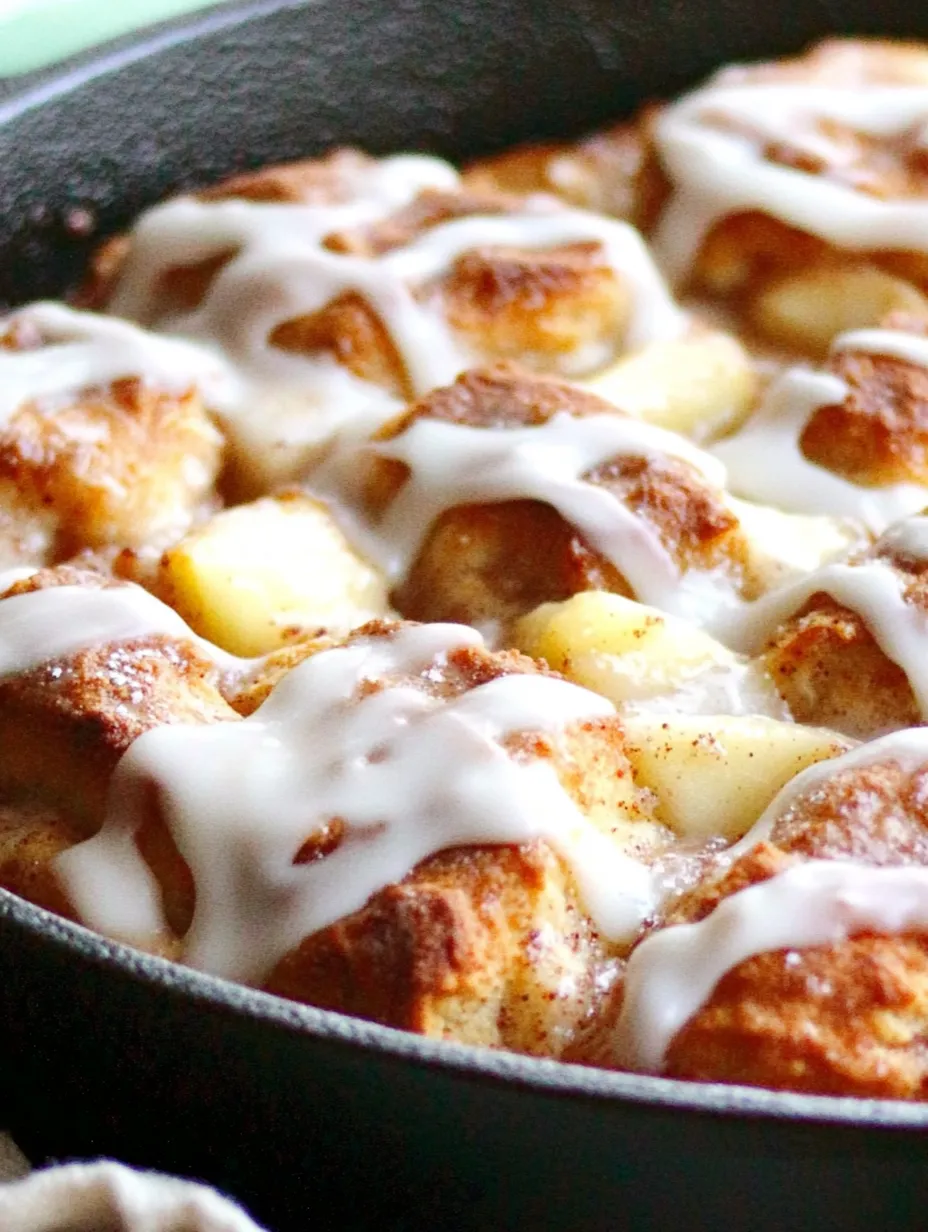
A cast iron skillet is more than just a pretty serving dish for these biscuits - it actually enhances their flavor and texture. The even heat distribution creates perfectly baked biscuits with golden bottoms, while the heat retention keeps the apple filling warm long after it comes out of the oven. The skillet also creates a beautiful presentation, allowing you to take the dish straight from oven to table.
Make-Ahead Options
These apple pie biscuits are at their absolute best when freshly baked, but you can prep ahead to make morning assembly quicker:
- Prepare your cinnamon-sugar mixture the night before
- If using homemade apple filling, make it up to two days ahead and refrigerate
- For a complete make-ahead option, assemble the entire dish in a regular baking dish (not cast iron), cover, refrigerate overnight, and bake in the morning
Homemade vs. Store-Bought Components
While this recipe is designed to be simple with store-bought ingredients, you can easily elevate it by making components from scratch:
Homemade Apple Pie Filling:
- 4 cups cubed apples (Granny Smith, Honeycrisp, or your favorite baking apple)
- 1/3 cup granulated sugar
- 2 tablespoons lemon juice
- 1/4 teaspoon salt
- 1 teaspoon vanilla extract
- 1-2 tablespoons cornstarch dissolved in 2 tablespoons cold water (if needed to thicken)
Combine apples, sugar, lemon juice, and salt in a heavy-bottomed saucepan. Cook over medium-low heat, stirring occasionally, until apples are tender (about 20 minutes). Remove from heat and stir in vanilla. If the mixture seems too watery, stir in the cornstarch slurry and return to heat briefly until thickened.
I've always enjoyed finding recipes that bridge the gap between breakfast and dessert, and these apple pie biscuits do exactly that! My grandmother was famous for her apple pie, and these biscuits capture that same comforting flavor but can be pulled together in a fraction of the time. They've become our traditional Christmas morning breakfast, making the house smell amazing as everyone gathers around still in their pajamas.
My final thought on these Skillet Apple Pie Biscuits is that they represent the perfect balance of convenience and homemade goodness. Whether you make them entirely from scratch or take the shortcut route with premade components, the end result is a warm, comforting dish that brings people together. There's something magical about pulling a bubbling skillet of apple-cinnamon goodness from the oven that instantly creates a special moment, no matter how ordinary the day might be.
Frequently Asked Questions
- → Can I use homemade biscuits instead of frozen?
- Absolutely! Homemade biscuits work wonderfully in this recipe. You can use your favorite buttermilk biscuit recipe or the Easy Cream Biscuits mentioned in the ingredients list. Just make sure they're not already baked - you want raw biscuit dough for this recipe.
- → What if I don't have a cast iron skillet?
- While cast iron gives the best caramelization and even heating, you can substitute with a 9x13 baking dish or a deep-dish pie plate. Just make sure whatever you use is oven-safe and has enough depth to hold the biscuits and filling.
- → Can I make this recipe ahead of time?
- You can prepare the homemade apple filling up to 2 days ahead and store it in the refrigerator. The assembled dish is best baked right away, but you can prepare it up to the baking step and refrigerate for a few hours before baking. You may need to add 5-10 minutes to the baking time if starting from cold.
- → What's the best way to reheat leftovers?
- For the best texture, reheat individual portions in a 325°F oven for 10-15 minutes until warmed through. You can also microwave them, but the biscuits won't be as crisp. A quick 20-second warm-up in the microwave followed by a few minutes in a toaster oven gives good results too.
- → Can I freeze these Apple Pie Biscuits?
- Yes, you can freeze them either before or after baking. If freezing before baking, assemble everything but don't add the glaze. Freeze solid, then wrap well. Bake from frozen, adding about 10-15 minutes to the baking time. If freezing after baking, allow to cool completely, freeze individually, then wrap well. Thaw and reheat in the oven for best results.