
 Pin it
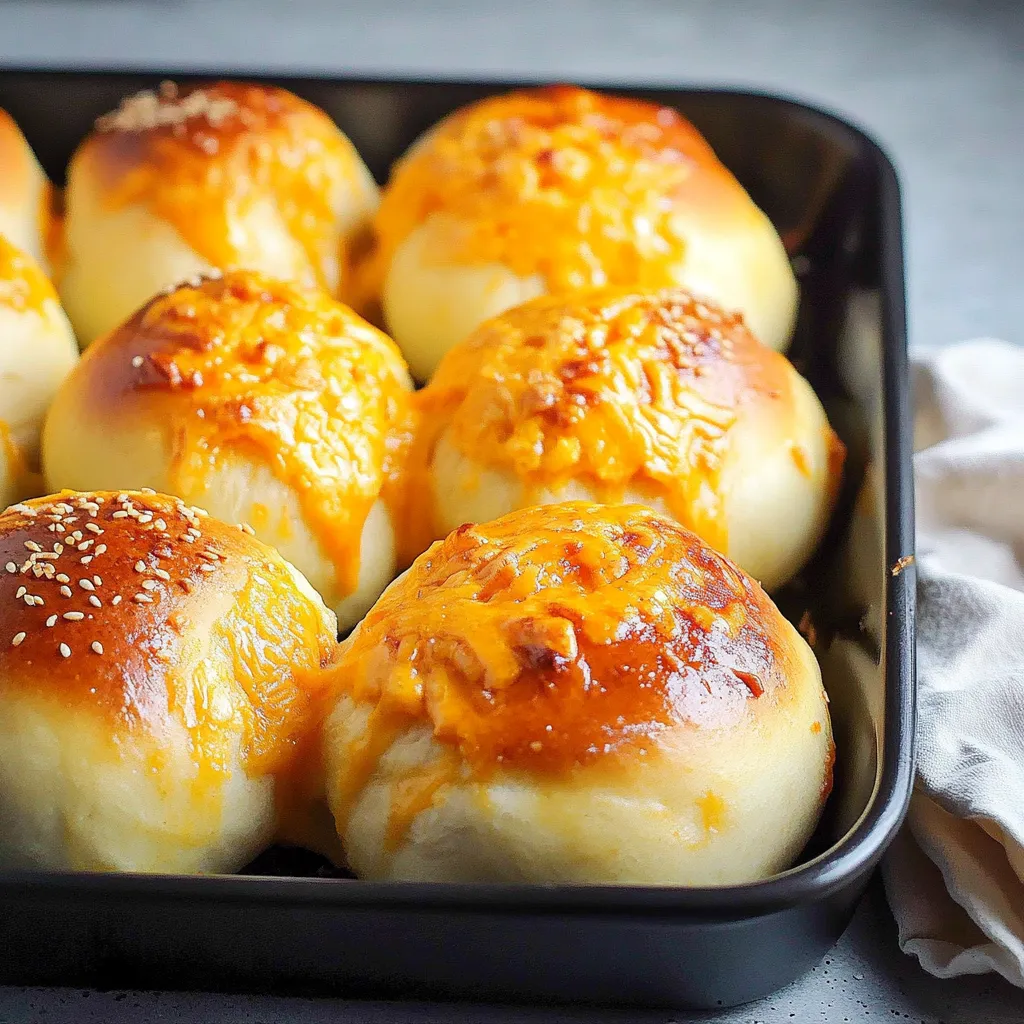
These Cheddar Cheese Buns deliver everything you could want in a savory bread – tender-crisp, golden tops with hints of garlic, and surprise pockets of melty cheese hidden inside. The combination of parmesan and cheddar creates a perfect crust while maintaining a soft, pillowy interior. These buns require a bit of planning with the overnight dough, but the wait delivers incredible texture and depth of flavor that makes them completely worth it.
I discovered these buns during a camping trip when I spotted them gleaming in a local bakery display case. One bite and I knew I had to recreate them at home. My first attempt wasn't quite right, but after three tries, I nailed the perfect balance of cheesy crust and soft interior. Now they're requested at every family gathering.
Ingredients You'll Need
- All-purpose flour: Forms the foundation of the dough; the protein content creates the perfect chew
- Boiling water (for overnight dough): Gelatinizes the starches in flour, creating exceptionally soft texture
- Active dry yeast: Provides the rise; make sure it's fresh for best results
- Granulated sugar: Feeds the yeast and adds subtle sweetness to balance the savory cheese
- Eggs: Add richness and structure to the dough; reserve some for the golden egg wash
- Salt: Enhances all flavors and regulates yeast activity; don't skip this crucial element
- Butter: Creates tender layers in the dough; use unsalted to control the saltiness
- Sharp cheddar cheese: Star ingredient for the filling; choose a good-quality aged cheddar for the best flavor
- Parmesan cheese: Adds complexity to the topping and creates those crispy edges
- Garlic powder: Provides subtle aromatic flavor that elevates the entire bun
- Sesame seeds: Adds delightful texture and nutty flavor to the tops
Step-by-Step Instructions
- Step 1:
- Prepare the overnight dough - In a medium bowl, measure out 1 cup of flour and pour 1 cup of boiling water over it. Stir vigorously with a wooden spoon until it forms a sticky, gelatinous mass with no dry spots remaining. This process pre-gelatinizes the starches in the flour, which will create an exceptionally soft texture in your final buns.
- Step 2:
- Rest the dough overnight - Shape the sticky dough into a ball as best you can and wrap it tightly in plastic wrap. Place it in the refrigerator overnight or for at least 8 hours. This slow fermentation develops flavor compounds that simple quick-rise doughs cannot achieve.
- Step 3:
- Activate the yeast - The next morning, in a large mixing bowl, sprinkle 2 1/4 teaspoons of active dry yeast over 1/4 cup of warm water (105-110°F). Allow it to sit for 5-10 minutes until it becomes foamy and active. If your yeast doesn't foam, it may be dead, and you'll need to start with fresh yeast.
- Step 4:
- Create the dough base - To the activated yeast mixture, add 1/4 cup sugar, 1 beaten egg (reserve a little for brushing later), 1 teaspoon salt, and 3 tablespoons of melted butter. Stir everything together thoroughly using a wooden spoon until well combined.
- Step 5:
- Incorporate the overnight dough - Remove the overnight dough from the refrigerator and cut it into several pieces. Add these pieces to your yeast mixture, breaking them up as you stir to incorporate them fully into the wet ingredients.
- Step 6:
- Add remaining flour - Gradually add 2-2 1/2 cups of flour, starting with 2 cups and stirring vigorously. Add the remaining flour as needed until the dough gathers into a shaggy, soft mass that pulls away from the sides of the bowl but still feels tacky.
- Step 7:
- Knead to perfection - Turn the dough out onto a lightly floured surface and knead for 8-10 minutes until it becomes smooth, elastic, and springs back when lightly pressed. Add small amounts of flour only as necessary to prevent sticking – a slightly tacky dough will produce softer buns than a dry dough.
- Step 8:
- First rise - Shape the kneaded dough into a ball and place it in a lightly oiled bowl. Cover with a clean kitchen towel and let it rise in a warm, draft-free place for 1 1/2 hours, or until doubled in size. The dough should look puffy and feel light when touched.
- Step 9:
- Prepare the filling - While the dough rises, grate 1 1/2 cups of sharp cheddar cheese and set aside 1/4 cup of grated parmesan for the topping. Having everything ready will make assembly much easier.
- Step 10:
- Shape and fill the buns - After the dough has doubled, gently deflate it by pressing down with your fingertips. Divide it into 14 equal portions using a bench scraper or knife. Working with one portion at a time, flatten it into a circle about 1/4 inch thick with your palms. Place a tablespoon of shredded cheddar in the center.
- Step 11:
- Seal in the cheese - Carefully pull the edges of the dough over the cheese filling, gathering them in the center like a purse. Pinch the edges firmly to seal completely, then roll the ball between your palms to shape it into a smooth bun. Place seam-side down on your work surface.
- Step 12:
- Arrange for second rise - Place each filled bun into a greased standard muffin tin cavity. Cover with a kitchen towel and let rise for another hour, until puffy and nearly doubled.
- Step 13:
- Prepare for baking - Preheat your oven to 350°F during the final 15 minutes of rising. Mix a combination of 1/4 cup shredded cheddar and 1/4 cup grated parmesan for the topping.
- Step 14:
- Add the toppings - Gently brush the risen buns with reserved beaten egg. Sprinkle a pinch of garlic powder over each bun, followed by a generous amount of the cheese mixture. Finish with a sprinkle of sesame seeds.
- Step 15:
- Bake to golden perfection - Bake the buns for 18-22 minutes, rotating the pan halfway through, until the tops are golden brown and the cheese has formed a crispy crust. An instant-read thermometer inserted in the center should read around 190°F.
- Step 16:
- Cool slightly - Allow the buns to cool in the pan for 5-10 minutes before carefully removing them to a wire rack. Let them cool just enough that you won't burn yourself on the molten cheese centers.
The aroma that fills the kitchen while these bake is absolutely intoxicating – the combination of yeasty bread, toasted cheese, and hints of garlic creates a scent that draws everyone to the kitchen.

I'm particularly fond of using a combination of white cheddar and orange cheddar for these buns. My grandmother always said good bread should make a "singing" sound when it comes out of the oven, and these buns truly do sing as the cheese crust settles. The first time I made them for my son's soccer team, they devoured all fourteen buns in under five minutes!
The overnight dough technique might seem fussy, but it's actually quite forgiving and makes a remarkable difference in texture. This Japanese method called tangzhong helps create bread that stays soft for days – though these rarely last that long in my house.
Many home bakers shy away from working with yeasted doughs, but this recipe is actually quite forgiving. The key is to be patient with the kneading process and watch for the dough to develop elasticity rather than focusing on a specific amount of time.
While these buns are incredible on their own, they also make fantastic sandwiches. Split them and fill with sliced ham for a premium ham and cheese sandwich that elevates a simple lunch to something special.
For variety, I've experimented with different cheese combinations – pepper jack adds a nice kick, and a bit of blue cheese mixed with the cheddar creates an incredible depth of flavor for those who enjoy stronger cheeses.
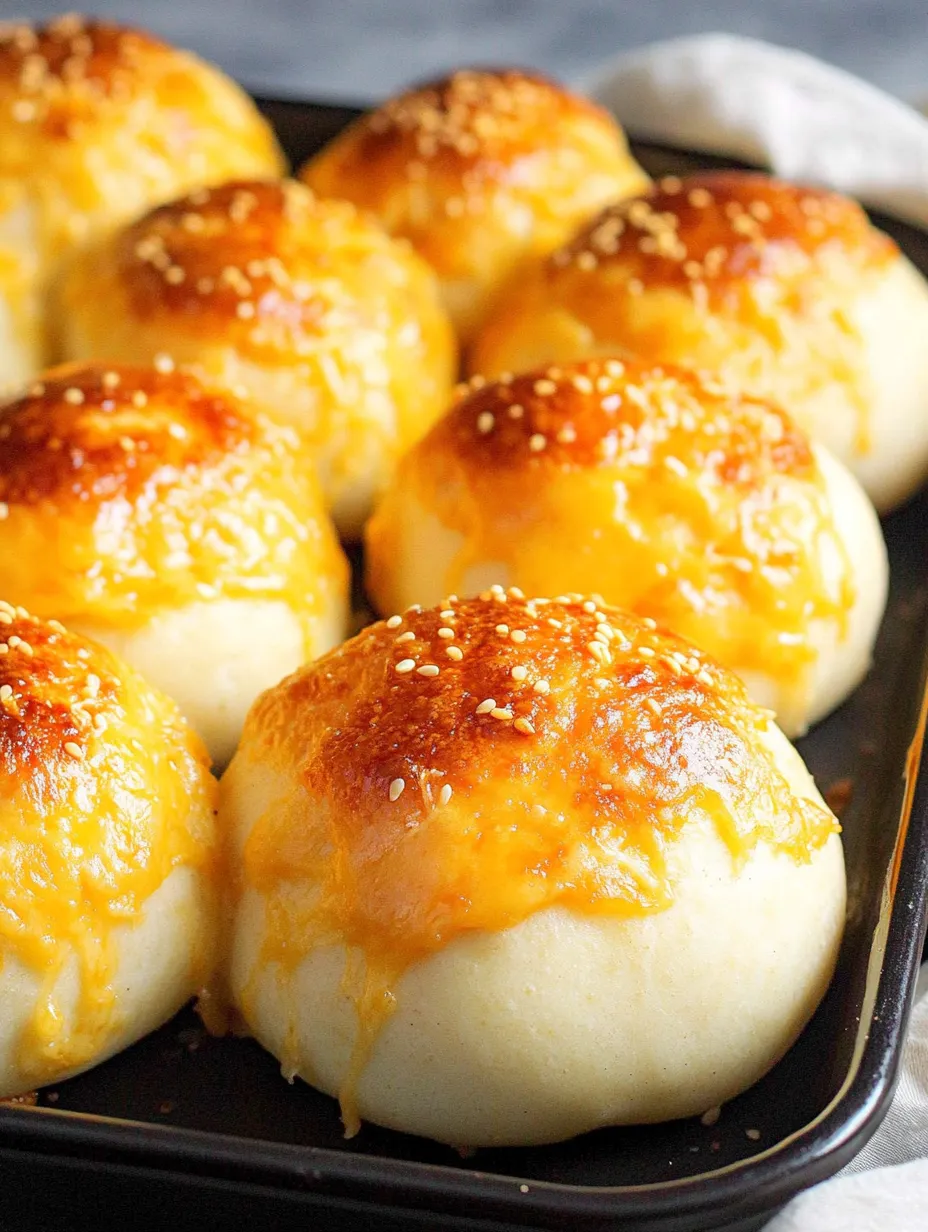
I've been making these buns for nearly five years now, and they never fail to impress. There's something magical about breaking open a freshly baked bun to reveal that pocket of melted cheese inside. The contrast between the crisp, cheesy top and the soft interior creates a perfect balance that makes these irresistible. Whether served alongside soup, as part of a brunch spread, or simply enjoyed on their own, these cheddar cheese buns bring a touch of bakery-quality indulgence to any meal.
Frequently Asked Questions
- → Can I make these cheese buns ahead of time?
- Yes! Prepare the tangzhong dough the night before, and you can also freeze the baked buns for up to 3 months. Reheat in a 350°F oven for 5-7 minutes to restore freshness.
- → What's tangzhong and why use it?
- Tangzhong is a technique where you cook flour with liquid to create a paste. This pre-gelatinizes the starches, which helps the buns stay softer longer and gives them that fluffy, pull-apart texture.
- → Can I use different types of cheese?
- Absolutely! Try mozzarella for more stretch, pepper jack for heat, or Swiss for a nutty flavor. You can customize both the filling and topping cheeses to your preference.
- → Do I need to use a muffin pan?
- The muffin pan helps the buns keep their shape while rising and baking. If you don't have enough muffin pans, you can place them on a baking sheet instead, just keep them spaced apart.
- → Why aren't my buns rising properly?
- Check that your yeast is fresh and that your water temperature is 105-115°F. If it's too hot, it will kill the yeast. Also make sure your kitchen isn't too cold during the rising time.