
 Pin it
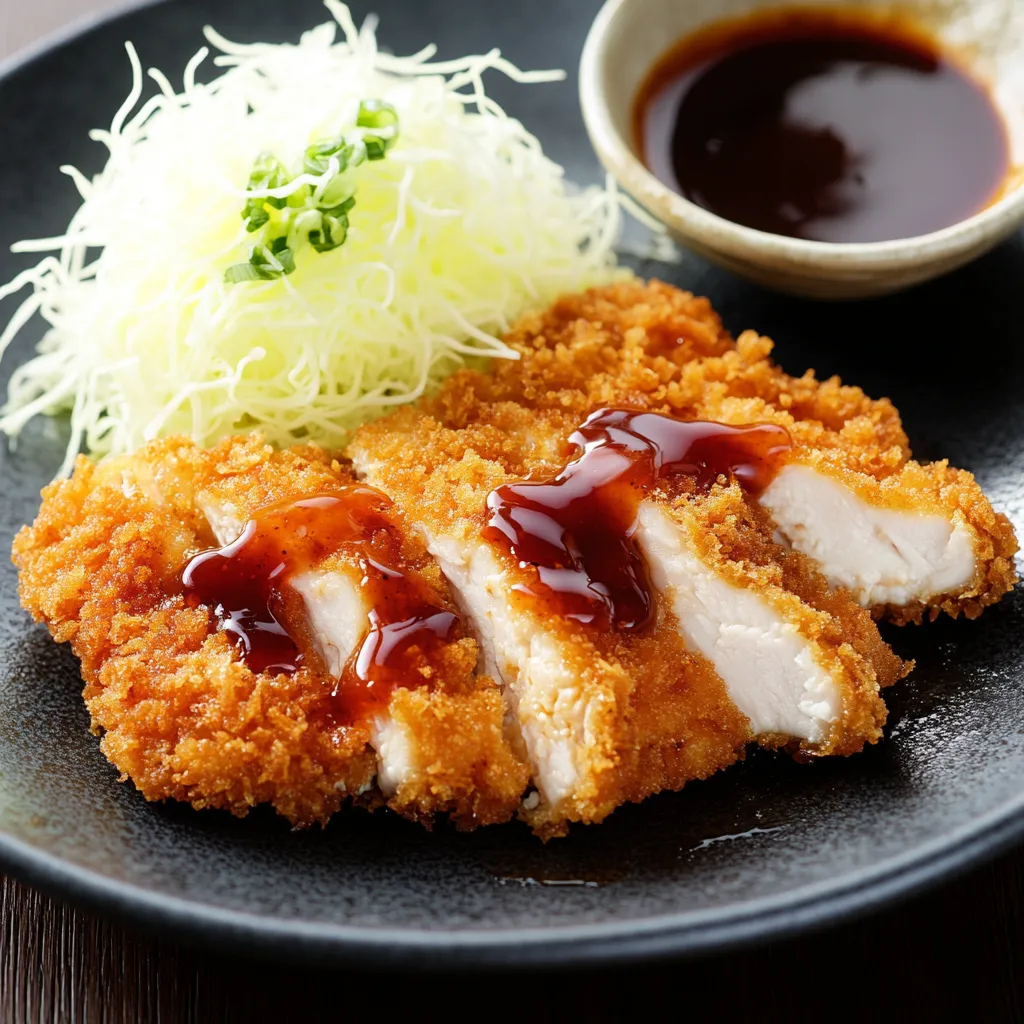
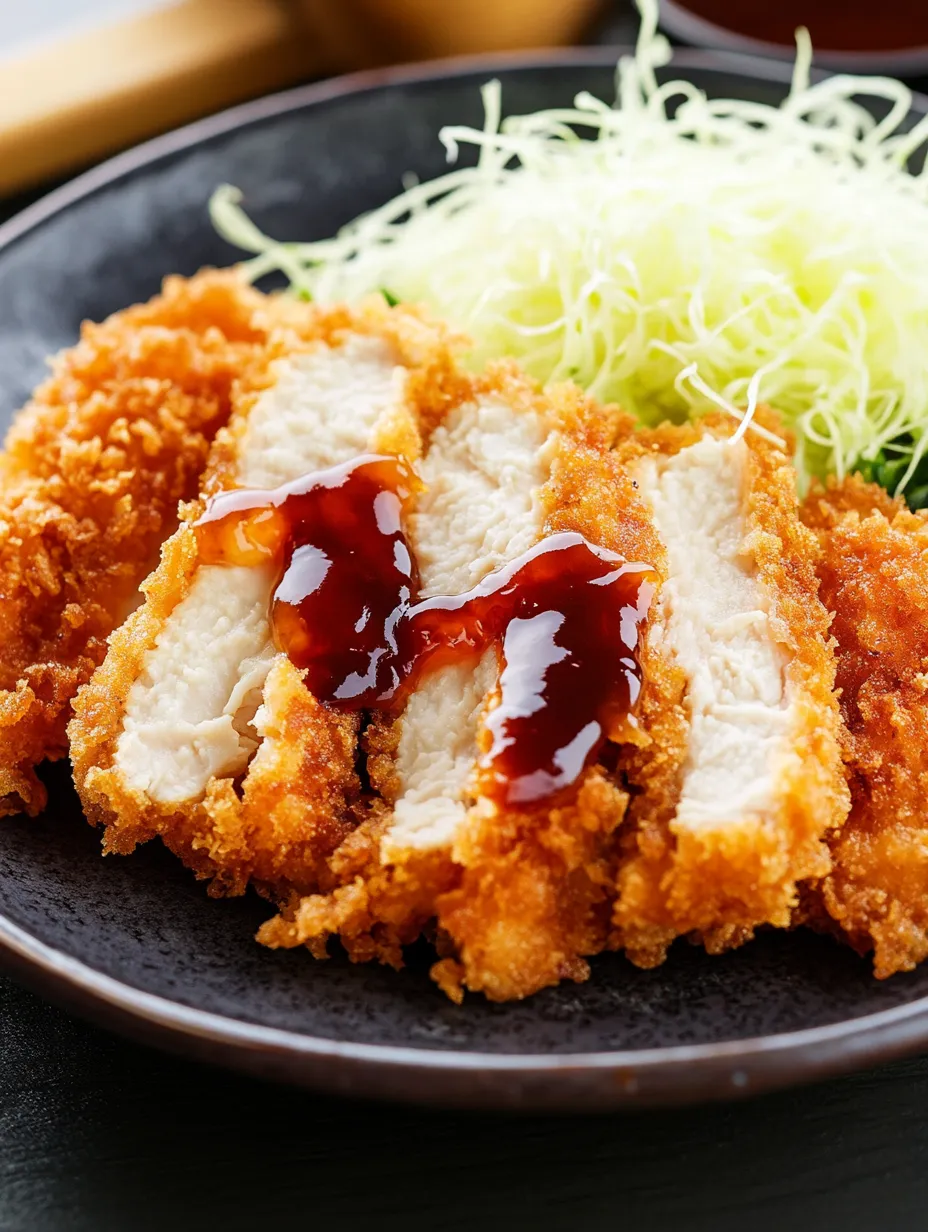
A perfect harmony of crispy and tender comes together in this chicken katsu, where juicy chicken meets golden panko coating to create something truly special. Every bite delivers that satisfying crunch giving way to perfectly cooked chicken - it's the kind of comfort food that makes you close your eyes and smile. This Japanese classic might look fancy, but it's actually straightforward enough for any weeknight.
After countless attempts at recreating my favorite restaurant's chicken katsu, I finally cracked the code. The secret? Taking time with each step, especially the breading process. My family now requests this more often than any takeout!
Essential Ingredients Explained
- Chicken breasts: Look for evenly sized pieces that will pound out uniformly
- Panko breadcrumbs: The key to that signature crunch - don't substitute regular breadcrumbs
- Neutral oil: Use something with a high smoke point like canola or vegetable oil
- All-purpose flour: Creates the foundation for perfect breading
- Fresh eggs: Help the coating stick and create a tender result
Detailed Step-by-Step Instructions
- Start with room temperature chicken
- Cold meat can cause the coating to separate during frying
- When pounding the chicken
- Place it between plastic wrap and use gentle, even strokes moving from the center outward
- Season the chicken before the flour coating
- This ensures the meat itself is flavorful, not just the exterior
- Use one hand for dry ingredients and one for wet when breading
- This prevents the dreaded "breaded fingers"
- Press the panko coating firmly onto each piece
- This helps it stick during frying
The Art of Frying
After making katsu countless times, I've discovered that temperature control is everything. Keep your oil at a steady 350°F - too hot and the coating burns before the chicken cooks, too cool and it becomes greasy. I learned this the hard way when rushing through a batch once, but now I keep a thermometer handy and adjust the heat as needed.
Creating the Perfect Crust
The secret to that enviable golden crust lies in how you apply the panko. Rather than just dipping, press the breadcrumbs gently into the chicken. This creates a coating that's substantial enough to crunch but not so thick that it falls off during frying.
Mastering the Flip
Patience is crucial when frying katsu. Let the first side develop a deep golden color before attempting to turn it. Once, when I got impatient and flipped too early, the coating separated from the chicken - now I wait until I see the edges turning golden brown.

During one busy dinner party, I discovered that keeping the fried pieces warm in a low oven (200°F) actually helps them stay crispy longer while I finished cooking the rest.
This chicken katsu has become our family's comfort food celebration dish. Whether served simply with rice and shredded cabbage or dressed up with curry sauce, it never fails to bring smiles to the table. It's proof that sometimes the simplest dishes, prepared with care and attention to detail, become the ones we crave the most.
Frequently Asked Questions
- → What oil is best for chicken katsu?
- Vegetable oil, canola oil, or any neutral oil with a high smoke point works well for frying katsu.
- → Can I bake chicken katsu instead of frying?
- Yes, bake at 400°F for 20-25 minutes, spraying with oil for crispiness. Flip halfway through.
- → What can I serve with chicken katsu?
- Serve with steamed rice, shredded cabbage, miso soup, or Japanese curry.
- → Can I make the tonkatsu sauce ahead?
- Yes, the sauce can be made ahead and stored in the fridge for up to 2 weeks.
- → Why isn't my chicken katsu crispy?
- Ensure oil is hot enough (350°F) and don't overcrowd the pan. Press panko firmly onto chicken.