
 Pin it
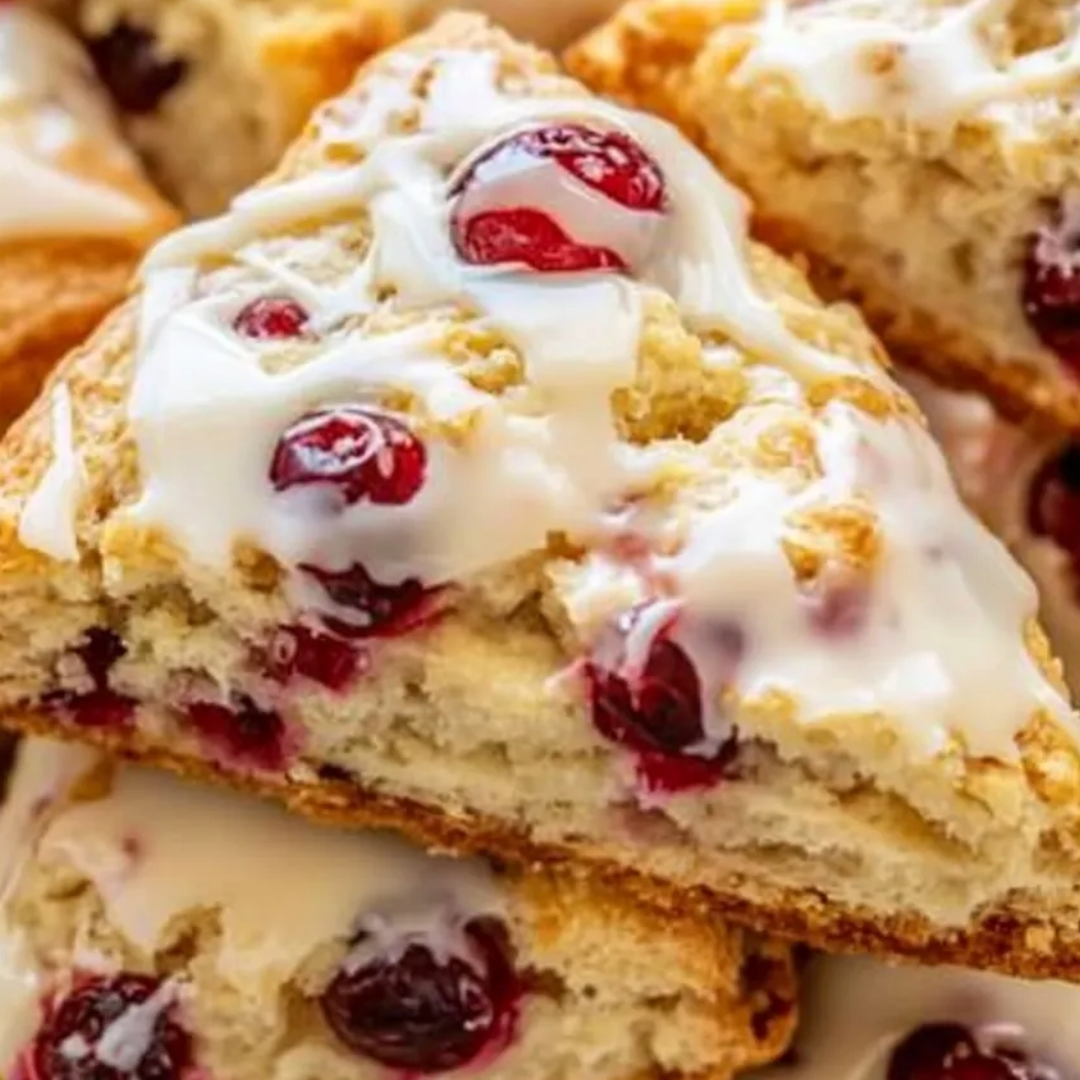
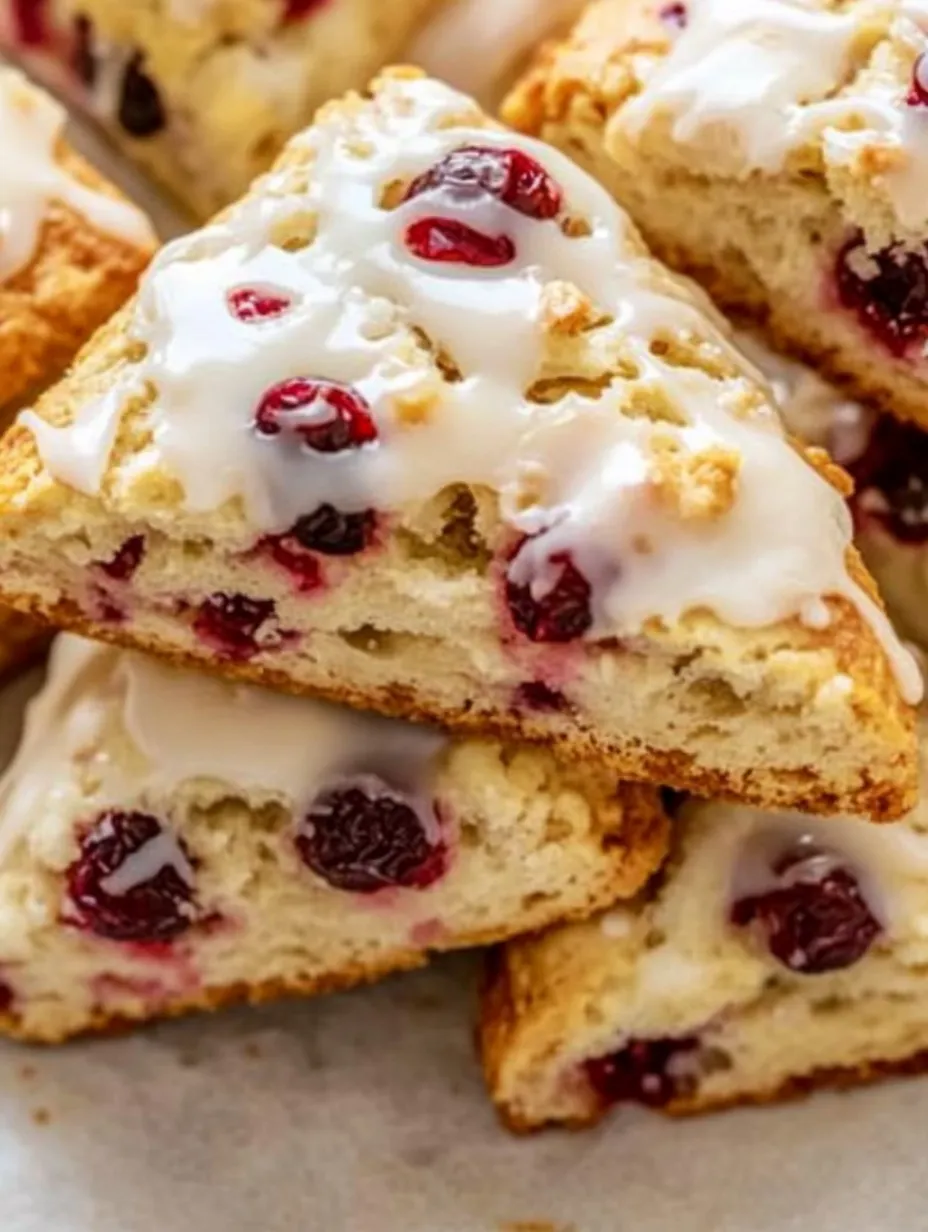
Cranberry orange scones deliver the perfect balance of sweet and tart flavors in a beautifully textured pastry that's surprisingly simple to make at home. These festive treats showcase vibrant red cranberries against a backdrop of fragrant orange-infused dough, creating a breakfast or teatime indulgence that looks as impressive as it tastes. The contrast between the crisp, golden exterior and the tender, flaky interior makes each bite a delightful experience that rivals anything from an upscale bakery.
I make these every Christmas season and they've become a tradition my family eagerly anticipates. Last year, I brought them to a holiday brunch and received so many compliments that I ended up sharing the recipe with everyone there. Even my neighbor who "doesn't bake" successfully made these and now makes them regularly!
Ingredients and Selection Tips
- All-Purpose Flour: Measure correctly by fluffing, then spooning into measuring cups rather than scooping directly from the bag to avoid dense scones
- Cold Butter: Use straight from the refrigerator or even freeze it first; the cold butter creates steam pockets during baking that result in those perfect flaky layers
- Buttermilk: Provides tanginess and tenderness; heavy cream works as a substitute but lacks the subtle acidity that makes these scones special
- Fresh Cranberries: Their tart pop of flavor and juicy texture are ideal; frozen work perfectly without thawing, or rehydrate dried cranberries in hot water if fresh aren't available
- Orange Zest: Use only the bright orange outer layer, avoiding the bitter white pith beneath for the cleanest citrus flavor
Detailed Cooking Instructions
- Step 1:
- Begin by preparing your workspace and ingredients properly - measure out the flour after fluffing it in the bag, ensuring you don't compact it when measuring, as this could lead to dense, heavy scones. The correct flour measurement is crucial for achieving that perfect balance between structure and tenderness in the final product.
- Step 2:
- In a large mixing bowl, thoroughly whisk together 2 cups of all-purpose flour, 1/3 cup of granulated sugar, 1 tablespoon of baking powder, and 1/2 teaspoon of salt until they're completely incorporated, creating an evenly seasoned dry mixture that will form the base of your scones. This uniform distribution of leavening and seasoning ensures consistent flavor and texture throughout.
- Step 3:
- Take your cold butter (6 tablespoons) directly from the refrigerator and cut it into small cubes before adding it to the flour mixture - the colder the butter, the flakier your scones will be. Using a pastry blender or two forks, cut the butter into the dry ingredients until the mixture resembles coarse crumbs with some pea-sized butter pieces still visible.
- Step 4:
- In a separate bowl, whisk together 1/2 cup of cold buttermilk, 1 large egg, 1 teaspoon of vanilla extract, and 1 tablespoon of fresh orange zest until completely combined. The orange zest should be evenly distributed throughout the liquid to ensure its bright flavor permeates the entire scone rather than concentrated in certain areas.
- Step 5:
- Make a well in the center of your flour-butter mixture and pour in the buttermilk mixture all at once, then add 1 cup of fresh or frozen cranberries. Using a wooden spoon or rubber spatula, gently fold everything together with as few strokes as possible until just barely combined - overmixing at this stage will develop the gluten in the flour and result in tough rather than tender scones.
- Step 6:
- Turn the dough out onto a lightly floured surface, where it will likely appear somewhat shaggy and not fully cohesive. With floured hands, gently work the dough just enough to bring it together into a ball without kneading, then press it into a circle approximately 7-8 inches in diameter and about 1 inch thick, maintaining the cold butter pieces throughout the dough.
- Step 7:
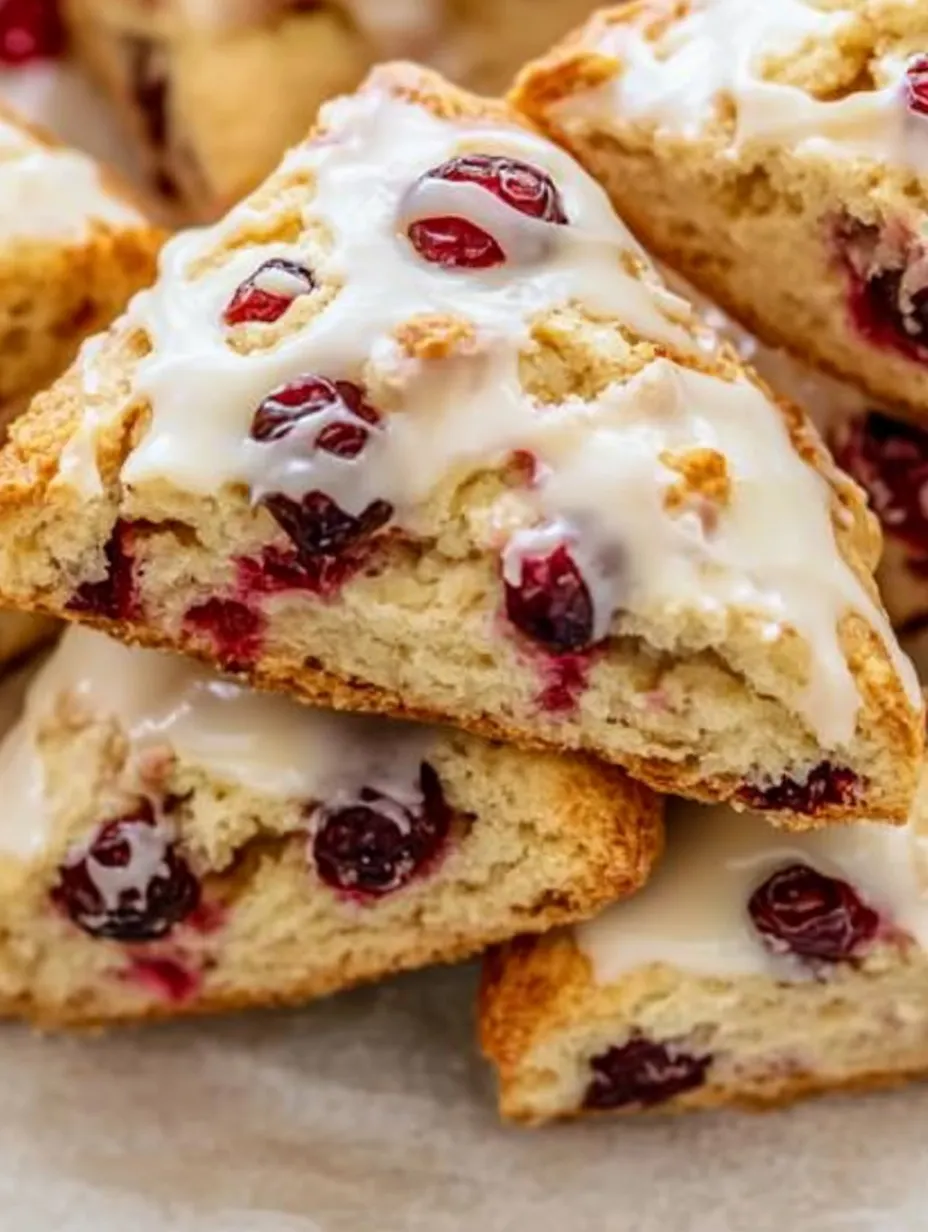
- Using a sharp knife or bench scraper dipped in flour, cut the circle into 8 equal wedges, making clean, decisive cuts rather than sawing motions to maintain the layers you've created. Carefully transfer the wedges to a parchment-lined baking sheet, leaving about 2 inches between each to allow proper air circulation during baking.
- Step 8:
- Brush the tops of the scones with a light coating of additional buttermilk or heavy cream, which will contribute to a beautiful golden-brown color during baking and help any optional sugar topping adhere. For extra sparkle and sweetness, you can sprinkle the tops with coarse sugar before baking.
- Step 9:
- Place the entire baking sheet of prepared scones in the refrigerator for at least 20 minutes while your oven preheats to 400°F. This crucial chilling step resolidifies any butter that may have softened during handling, ensuring those coveted flaky layers will form properly in the oven rather than melting out prematurely.
- Step 10:
- Bake the chilled scones in the preheated oven for 20-25 minutes until they're beautifully golden brown, rotating the pan halfway through baking for even coloring. While they're cooling slightly on a wire rack, prepare the glaze by whisking together 1 cup of powdered sugar, 2-3 tablespoons of fresh orange juice, and 1/2 teaspoon of vanilla extract until smooth and drizzle over the still-warm scones.
These cranberry orange scones capture the essence of holiday baking with their festive appearance and bright flavor profile. The vibrant pop of tart cranberries against the sweet, orange-scented background creates a perfect balance that makes these irresistible at breakfast or alongside afternoon tea. Unlike many baked goods that rely on artificial flavors, these scones showcase the natural pairing of cranberry and orange, a classic combination that feels both sophisticated and comforting.
The texture of these scones sets them apart from store-bought varieties. Many commercial scones tend toward either crumbly dryness or heavy density, but these homemade versions achieve that elusive middle ground – substantial enough to satisfy yet light enough to enjoy without feeling weighed down. The exterior develops a delicate crispness while the interior remains tender and moist, creating a textural contrast that makes each bite interesting.
What many home bakers don't realize is that making scones is actually much simpler than making most cookies or cakes. The technique of cutting cold butter into flour is the same one used for flaky pie crusts, but the forgiving nature of scone dough means even beginners can achieve impressive results. The key lies in handling the dough minimally and keeping the ingredients cold, rather than in complicated techniques or hard-to-find ingredients.
For those who entertain during the holidays, these scones offer tremendous versatility. The make-ahead options mean you can prepare the dough in advance, either refrigerating overnight or freezing for longer storage. This allows you to bake them fresh just before guests arrive, filling your home with an irresistible aroma that creates an instantly welcoming atmosphere.
While traditional with tea or coffee, these scones also pair beautifully with more festive holiday beverages. A cranberry orange scone alongside a glass of sparkling wine makes for an elegant brunch offering, while serving them with hot mulled cider creates a cozy afternoon treat during the colder months.
I once accidentally doubled the orange zest in a batch I was making for a holiday gathering, and to my surprise, they were even more popular than usual! My family now insists on the "extra orange" version every time. It taught me that sometimes happy accidents lead to the best recipe adjustments.
The first time I made these scones, I was intimidated by what I thought would be a complicated process. I was amazed at how quickly they came together and even more surprised by how impressively they turned out. They've since become my signature holiday contribution at family gatherings, and I've loved watching friends discover, as I did, that creating bakery-quality scones at home isn't just possible but actually straightforward. There's something deeply satisfying about transforming simple ingredients into something so special – perhaps that's why these cranberry orange scones have become not just a recipe in my collection, but a cherished part of our family's holiday traditions.
Frequently Asked Questions
- → Can I use dried cranberries instead of fresh?
- Yes! Substitute 3/4 cup of dried cranberries for the fresh ones. If they're very dry, you can soak them in hot water or orange juice for 10 minutes, then drain and pat dry before adding to the dough.
- → Why do I need to chill the scones before baking?
- Chilling the scones helps the butter firm up, which creates those delicious flaky layers when baked. It also prevents the scones from spreading too much in the oven, helping them maintain their shape and rise properly.
- → I don't have buttermilk. What can I use instead?
- You can make a quick substitute by adding 1/2 tablespoon of lemon juice or white vinegar to 1/2 cup of regular milk. Let it sit for 5 minutes before using. Heavy cream also works as a direct substitute.
- → Why grate the butter instead of cubing it?
- Grating frozen butter creates tiny pieces that distribute more evenly throughout the dough, resulting in a flakier texture. It also means you don't have to work the dough as much, which helps keep the scones tender.
- → Can I make these scones dairy-free?
- Yes, substitute the butter with cold coconut oil or a plant-based butter stick, and use coconut milk or almond milk with a splash of lemon juice instead of buttermilk. The texture may be slightly different but still delicious.