
 Pin it
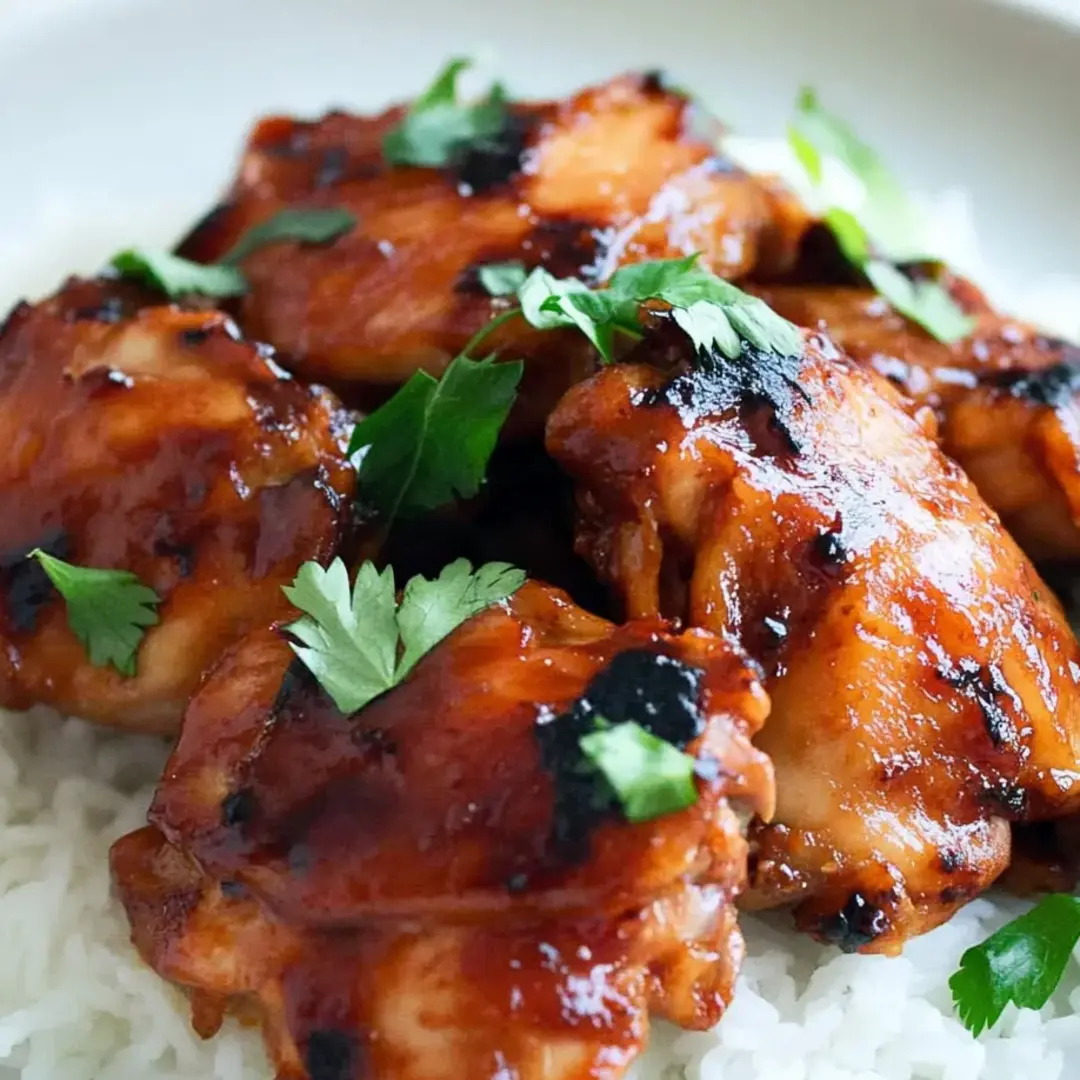
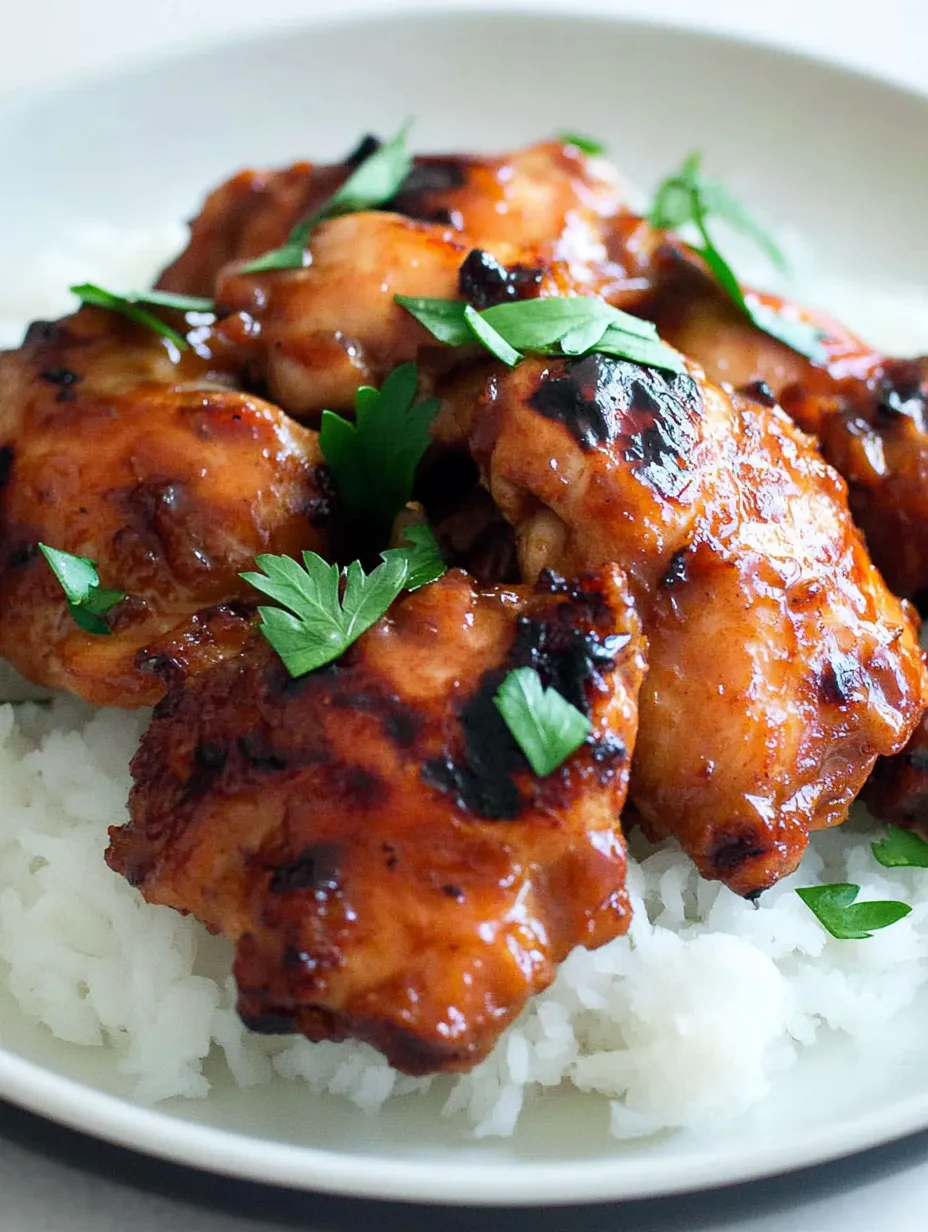
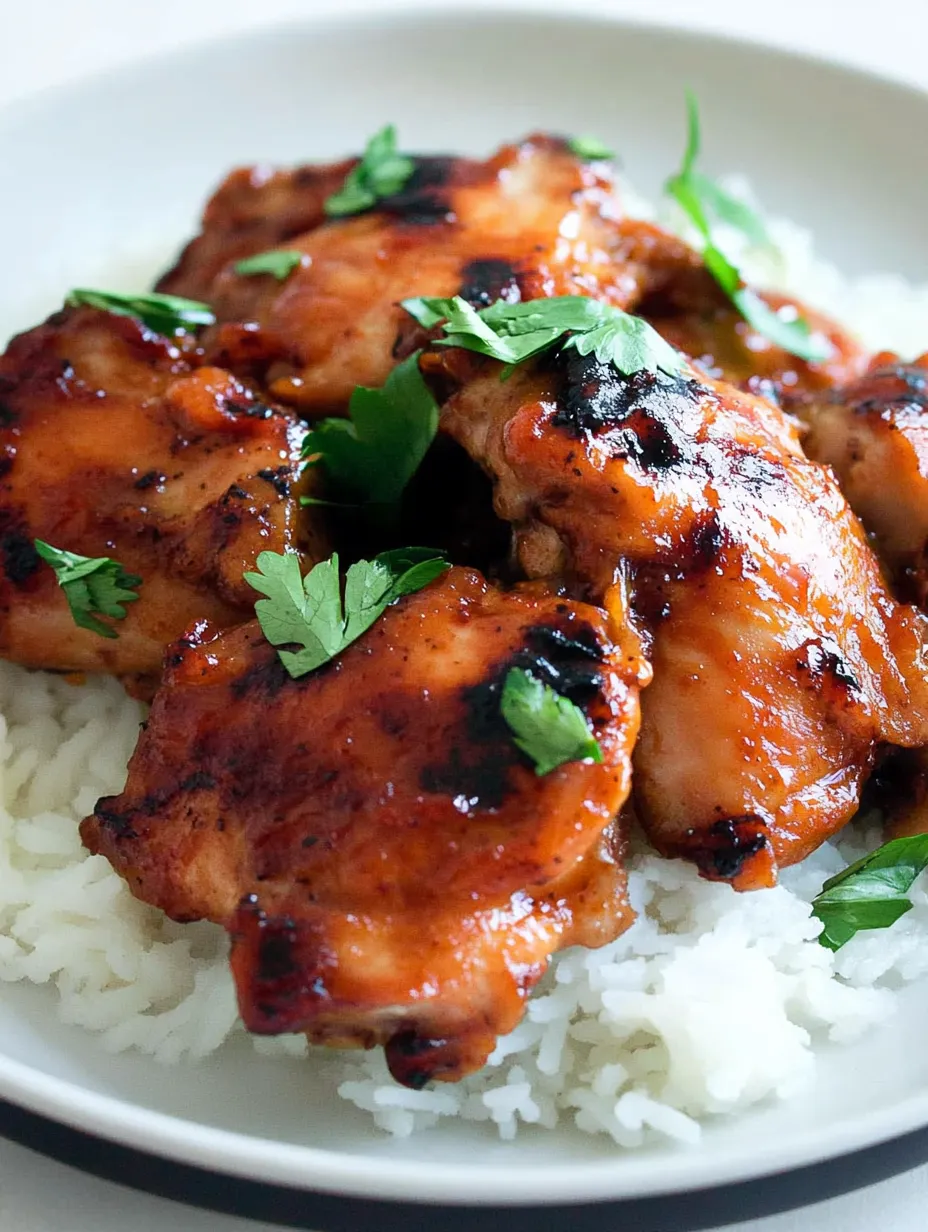
Miso chicken thighs deliver an incredible depth of flavor in every juicy bite. The savory, slightly sweet glaze creates a beautiful caramelized exterior while locking in moisture. This dish brilliantly balances the umami richness of miso paste with the sweetness of honey and mirin, all enhanced by fragrant garlic and green onions. Ready in less than 30 minutes with minimal prep work, these chicken thighs make weeknight dinners feel special without the fuss of complicated techniques or hard-to-find ingredients.
I made these last Tuesday when I had completely forgotten to plan dinner. My daughter was coming home from soccer practice, starving as usual, and I needed something quick but satisfying. The chicken turned out so tender and flavorful that she asked for the same meal again the very next day!
Ingredients
- Chicken thighs: Boneless or bone-in both work beautifully. Thighs naturally stay juicy during cooking due to their higher fat content. I prefer skin-on for that irresistible crispy exterior, but skinless works well too if you're watching calories.
- White miso paste: The backbone of this recipe's umami flavor. Look for organic varieties when possible. This fermented soybean paste adds incredible depth without overpowering the dish. It's mild, slightly sweet character balances perfectly with the other ingredients.
- Mirin: This sweet Japanese rice wine adds a subtle tang and natural sweetness that caramelizes beautifully. If you can't find mirin, substitute with 1 tablespoon of rice vinegar mixed with 2 teaspoons of sugar.
- Rice vinegar: Provides the perfect acidic balance to cut through the richness of the chicken and sweetness of the honey. Its mild flavor won't overwhelm like stronger vinegars might.
- Honey: Creates that gorgeous glossy finish and helps the exterior caramelize. The natural sweetness complements the savory miso perfectly. Maple syrup works as an excellent substitute if you prefer.
- Soy sauce: Adds depth and saltiness. Low-sodium versions allow you to control the overall salt level better, especially since miso already contributes saltiness to the dish.
- Fresh garlic: Don't skimp here! Fresh garlic provides aromatic complexity that powdered simply can't match. I recommend 4-5 cloves for maximum flavor, finely minced or pressed.
- Green onions: Used two ways: the white parts go into the marinade for a mild onion flavor, while the sliced green tops make a fresh, colorful garnish that adds brightness to the finished dish.
Step-by-Step Instructions
- Step 1:
- Prepare your workspace efficiently - Before diving in, gather all your ingredients and equipment. Line your air fryer basket with parchment paper or aluminum foil for easier cleanup later. This simple step saves so much hassle afterward. If you're using skin-on chicken thighs, pat the skin side thoroughly dry with paper towels - this is essential for achieving that crispy skin we all love. Preheat your air fryer to 320°F (160°C) while you prepare the chicken and glaze.
- Step 2:
- Create the miso glaze with care - In a medium bowl, add 3 tablespoons of mirin, 2 tablespoons of white miso paste, 1 tablespoon of honey, 1 tablespoon of soy sauce, and 3-5 minced garlic cloves. Using a small whisk or fork, blend these ingredients thoroughly until you have a smooth paste without any miso lumps. The mixture should be thick enough to coat the back of a spoon but still spreadable. If it seems too thick, add a teaspoon of water to thin it slightly. Add the finely chopped white parts of 2-3 green onions and stir to incorporate. The fragrance should already be amazing - that's all those umami compounds getting ready to transform your chicken!
- Step 3:
- Apply the glaze generously - Place your chicken thighs in the bowl with the glaze. Using your hands (food-safe gloves are helpful here), massage the glaze into every nook and cranny of the chicken. Don't be shy - really work it into the meat, especially under the skin if you're using skin-on thighs. This hands-on approach ensures far better flavor distribution than simply brushing it on. Make sure each piece is thoroughly coated on all sides. The chicken should look glossy and well-covered with the miso mixture.
- Step 4:
- Arrange for optimal cooking - Transfer the glazed chicken thighs to your lined air fryer basket or tray, arranging them in a single layer with a little space between each piece. Pour any remaining glaze from the bowl over the chicken - don't waste any of that flavor gold! If you're using skin-on thighs, place them skin-side up. This positioning allows the skin to render and crisp beautifully while the meat beneath stays juicy. If you can't fit all your chicken in a single layer, cook in batches rather than overcrowding, which would result in steaming rather than proper air frying.
- Step 5:
- Master the air frying technique - Close the air fryer and set it to cook at 320°F for 10 minutes. This initial cooking at a slightly lower temperature allows the chicken to cook through without burning the sugars in the glaze. After 10 minutes, open the air fryer and carefully flip each piece using tongs. The underside should be developing a beautiful caramelized color. Continue cooking for another 10 minutes. This two-stage cooking ensures even browning and prevents the glaze from burning before the chicken is cooked through.
- Step 6:
- Finish with a beautiful crust - Once the chicken has cooked for the full 20 minutes, check the internal temperature with a meat thermometer. It should read 165°F (74°C) at the thickest part. For that extra-special finish, increase the air fryer temperature to 400°F (200°C) and cook for an additional 2 minutes. This final blast of high heat creates a wonderful caramelized crust on the exterior while the interior remains perfectly juicy. The glaze should be bubbling and darkened to a rich mahogany color, with crispy edges that promise incredible flavor.
- Step 7:
- Rest and baste for maximum juiciness - Transfer the chicken to a serving plate and let it rest for 3-5 minutes. This brief resting period allows the juices to redistribute throughout the meat rather than running out when cut. Meanwhile, carefully remove the liner from your air fryer and pour any accumulated juices over the chicken. These concentrated drippings contain incredible flavor and help keep the chicken moist while adding an extra layer of glossy goodness to the exterior.
- Step 8:
- Garnish and serve with pride - Just before serving, sprinkle the thinly sliced green parts of your green onions over the chicken for a pop of color and fresh flavor. The contrast between the dark, glazed chicken and bright green onions makes for a beautiful presentation. Serve immediately while hot, perhaps with a side of steamed rice to soak up the delicious sauce and some simple steamed vegetables for a complete meal that took minimal effort but delivers maximum satisfaction.
The Magic of Miso
Miso is truly a culinary powerhouse that deserves a place in every home cook's kitchen. This traditional Japanese ingredient is made by fermenting soybeans with salt and koji (a type of fungus), sometimes along with rice or barley. The fermentation process creates a complex flavor profile packed with umami - that elusive fifth taste that makes food deeply satisfying and crave-worthy. Beyond its incredible flavor, miso is a nutritional powerhouse containing probiotics, vitamins, minerals, and protein. Different varieties offer distinct flavor profiles - white miso (used in this recipe) is milder and slightly sweet, perfect for those new to miso, while darker varieties provide stronger, more intense flavors. Once opened, miso keeps for months in the refrigerator, making it an economical ingredient that's always ready when inspiration strikes.
Air Frying vs. Oven Baking: The Pros and Cons
While this recipe shines in the air fryer, producing juicy meat with a beautiful glaze in record time, not everyone has this appliance. Fortunately, the oven works wonderfully too, though with some slight adjustments. When oven-baking, preheat to 375°F (190°C) and plan for 30-35 minutes of cooking time, flipping halfway through. Finishing with 2 minutes under the broiler achieves that same caramelized exterior. The air fryer's advantage is its speed and the way its concentrated heat circulation creates a more evenly crisp exterior. However, the oven allows you to cook larger batches at once, perfect for family meals. Whichever method you choose, the end result will be delicious - it's simply a matter of which technique better suits your kitchen setup and schedule.
The Versatile Miso Glaze
One of the greatest aspects of this recipe is how adaptable the miso glaze is across different proteins. The same mixture works beautifully on salmon fillets (reduce cooking time to about 8-10 minutes), firm tofu (press it first to remove excess moisture), pork chops, or even roasted vegetables like eggplant or butternut squash. Consider making a double batch of the glaze and storing half in the refrigerator for up to a week. Having this flavor bomb ready to go can transform an ordinary weeknight protein into something special with almost no extra effort. The balance of sweet, salty, and umami makes this glaze a true kitchen workhorse that can help you create varied meals throughout the week without repetition.
Why Chicken Thighs Reign Supreme
While this recipe works with any chicken cut, there's a reason why thighs are specified. Their higher fat content makes them naturally more forgiving - they stay juicy even if slightly overcooked, unlike breasts which can quickly become dry. The dark meat also has a richer flavor that stands up beautifully to the bold miso glaze. Bone-in, skin-on thighs offer the most flavor, with the skin crisping up gloriously and the bones contributing richness. That said, boneless skinless thighs cook faster (reduce time by about 3-4 minutes) and absorb the marinade particularly well. They're also easier to eat, making them perfect for weeknight meals. Whichever you choose, chicken thighs provide the perfect canvas for this flavorful glaze.
I learned the hard way that miso burns easily because of its sugar content. The first time I made this dish, I cranked my air fryer to 400°F the entire time and ended up with chicken that was beautifully cooked inside but had a slightly bitter exterior. Starting at a lower temperature and only finishing with high heat made all the difference in developing that perfect caramelized glaze.
This miso chicken has become my go-to recipe when I need something that feels special but doesn't require hours in the kitchen. There's something incredibly satisfying about the way the glaze creates that perfect savory-sweet balance, caramelizing at the edges while keeping the meat underneath perfectly juicy. My family now requests "that chicken with the special sauce" at least once a week, and I'm happy to oblige since it's so simple to prepare. Whether paired with fluffy rice and steamed vegetables for a healthy dinner or served over a salad for lunch the next day, these miso chicken thighs deliver restaurant-quality flavor with minimal effort – exactly the kind of recipe I treasure in my collection.
Frequently Asked Questions
- → Can I use chicken breasts instead of thighs?
- Yes, you can substitute chicken breasts, but you may need to adjust cooking time. Chicken breasts cook faster and can dry out more easily than thighs.
- → What can I substitute for mirin if I don't have it?
- You can substitute mirin with a mixture of 1 tablespoon rice vinegar plus 1 tablespoon sugar or honey, or use dry sherry or sweet marsala wine.
- → Can I make this dish ahead of time?
- Yes, you can prepare the sauce and coat the chicken up to a day ahead, then cook when ready. The cooked chicken also reheats well for leftovers.
- → What sides pair well with this dish?
- This chicken goes well with steamed rice, roasted vegetables, or a simple Asian slaw. A cucumber salad makes a refreshing side dish.
- → Can I grill this chicken instead?
- Yes, this chicken works well on a grill. Cook over medium heat for about 5-7 minutes per side, or until the internal temperature reaches 165°F.