Roti Canai Recipe

Featured in Tasty Morning Favorites.

Mix flour and salt, add hot then cold water to form soft dough. Rest 30 minutes, knead briefly, portion and oil. Rest 2+ hours (or overnight), stretch very thin, oil, fold, coil, and rest again. Flatten and cook in oiled pan until golden. Crush while hot to separate layers.
Ranah
Updated on Sat, 12 Apr 2025 16:11:27 GMT
A white bowl with a spoon in it. Pin it
A white bowl with a spoon in it. | yummyflavorsrecipes.com

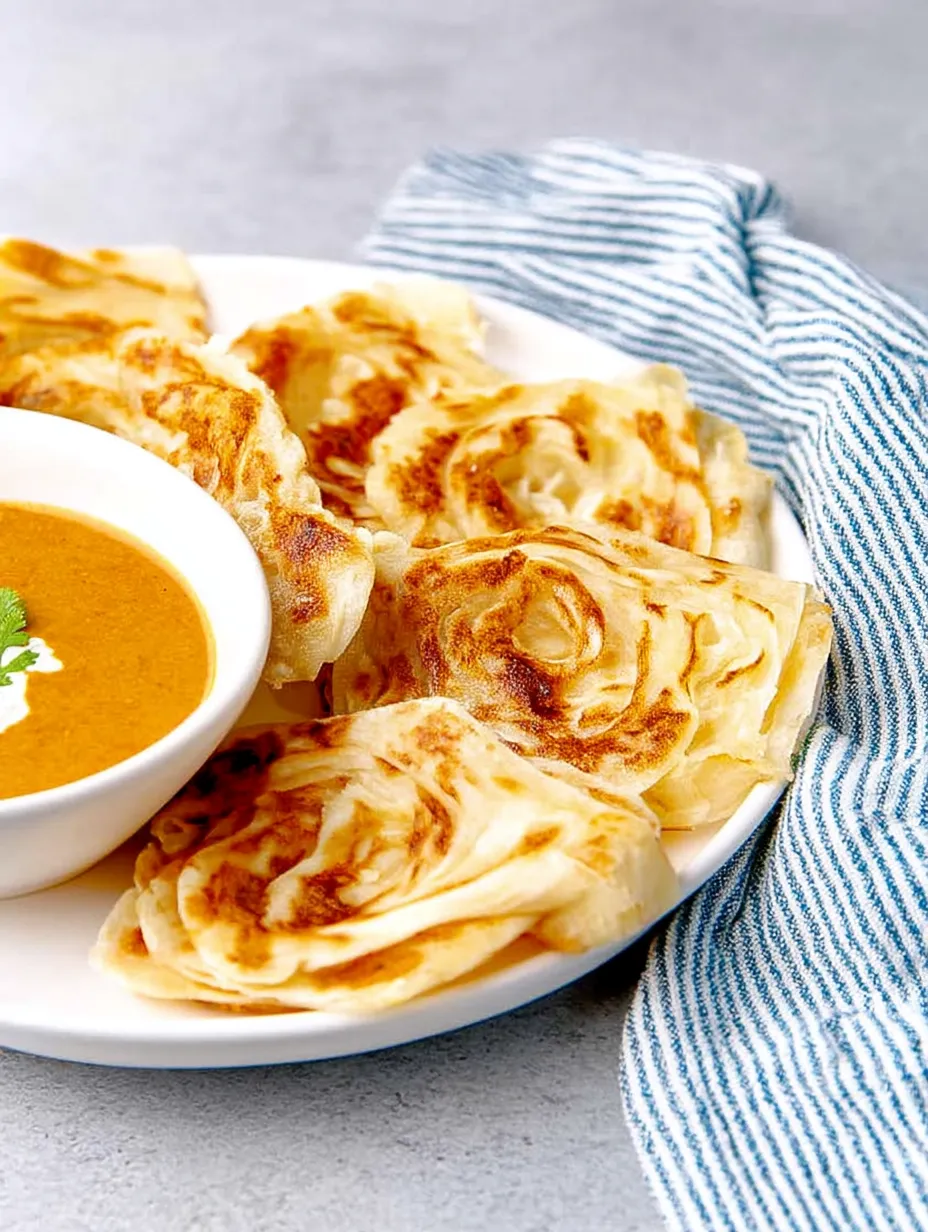
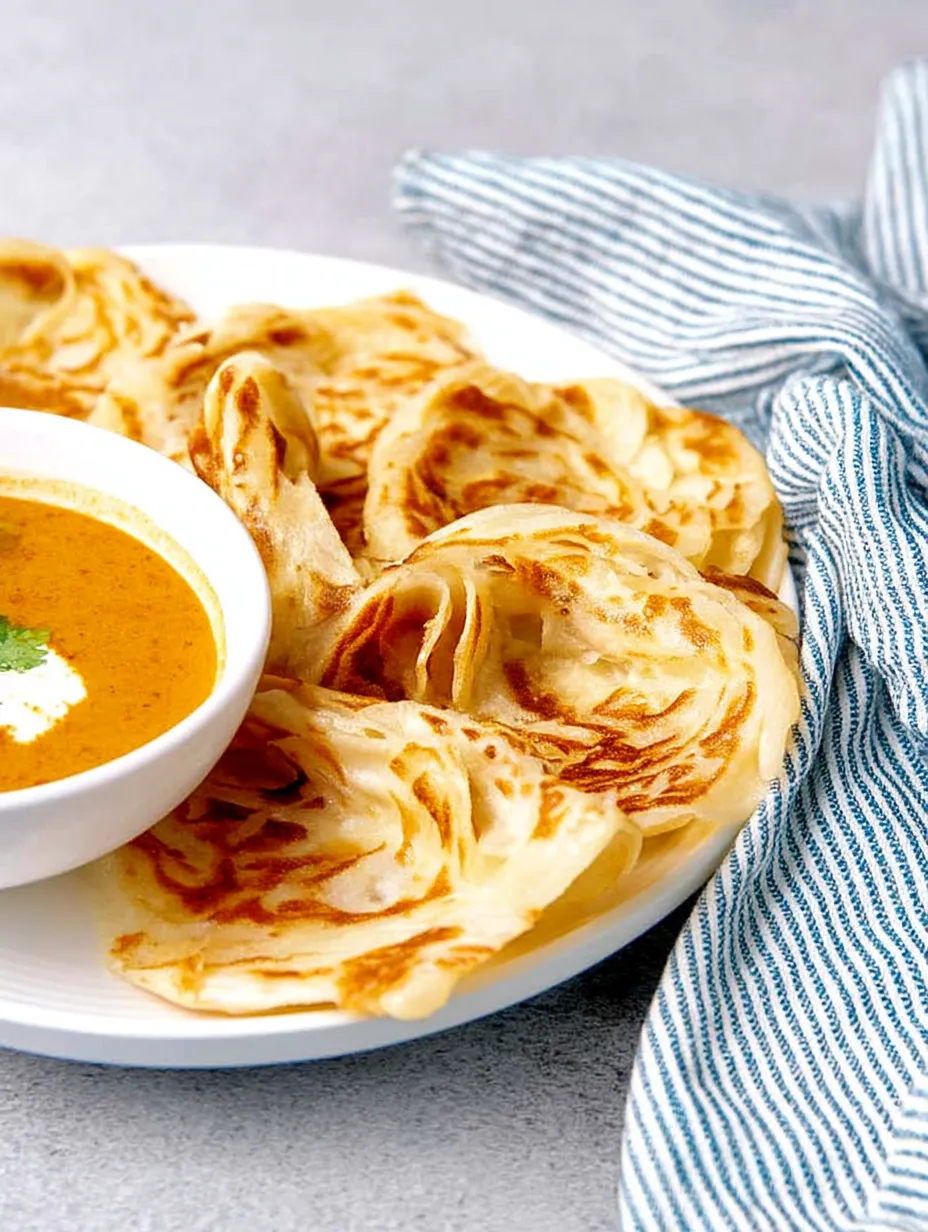
Discover the art of making perfectly flaky, multi-layered Roti Canai at home with this foolproof recipe. This beloved flatbread features delicate, buttery layers that pull apart effortlessly and are perfect for scooping up savory curries.

The first time I made this roti for friends, they couldn't believe it wasn't from a restaurant. My neighbor, who lived in Malaysia, said it took her back to morning markets watching vendors expertly flip the dough.

Roti Canai Ingredients

  • 2 cups all-purpose flour - Bread flour can substitute
  • 1/2 teaspoon salt
  • 3/4 cup hot water
  • 1/4 cup room temperature water
  • 1/4 cup vegetable oil (plus extra)
A plate of food with a bowl of soup. Pin it
A plate of food with a bowl of soup. | yummyflavorsrecipes.com

Step-by-Step Instructions

Make the dough
Combine flour, salt and hot water to form clumps
Add remaining water
Gradually add room temp water until soft dough forms
Initial rest
Cover and rest 20-30 minutes
Knead to smoothness
Knead 1-2 minutes until elastic
Divide and coat
Form 8 balls, coat with oil
Extended rest
Rest 1 hour to overnight
Stretch the dough
Stretch each ball paper-thin
Create layers
Brush with oil, coil or fold
Second rest
Rest coiled dough 15-30 minutes
Final shaping
Flatten into 6-7 inch circles
Cook the roti
Cook 2-3 minutes per side
Activate layers
Clap hot roti between hands

The Art of Perfect Layers

  • Double resting periods are essential
  • Oil coating prevents layers from fusing
  • Clapping separates layers after cooking
  • Stretching creates thin, even sheets
A white bowl of soup with a spoon in it. Pin it
A white bowl of soup with a spoon in it. | yummyflavorsrecipes.com

Regional Variations

  • Roti Canai (Malaysian) - Coiled circle
  • Roti Paratha (Indian) - Square layers
  • Godhambara Roti (Sri Lankan) - Thinner, less folded
  • Scallion Pancake - With chopped scallions

Serving Suggestions

  • Breakfast: Egg Roti or Kottu Roti
  • Main Meals: With curry or dhal
  • Dessert: Cinnamon sugar or Nutella banana

I learned from my grandmother, watching her coax dough into thin sheets. The smell cooking transports me back to her kitchen where we'd tear into fresh bread with fragrant curry.

Roti Canai represents the fusion of Southeast Asian cultures. This humble bread connects us to cherished culinary traditions across generations.

Frequently Asked Questions

→ Why does the dough need so much resting time?
The multiple resting periods are crucial for developing the gluten structure and allowing the dough to relax. The first rest after forming the dough helps with gluten development. The second longer rest (2-12 hours) allows the gluten to relax, making the dough more elastic and easier to stretch paper-thin without tearing. The final rest after shaping helps the layered structure set, resulting in the characteristic flaky texture when cooked.
→ Can I make roti canai without stretching the dough so thin?
Stretching the dough until it's paper-thin is essential for creating the signature flaky layers of authentic roti canai. While it takes practice to stretch without tearing, even imperfect attempts will yield delicious results. If you can't stretch it completely translucent, just do your best - each time you make it, you'll improve your technique.
→ What's the difference between roti canai, roti paratha, and murtabak?
Roti canai and roti paratha are essentially the same flatbread, with slight regional naming differences (canai in Malaysia, paratha in India and Pakistan). Both feature a flaky, layered texture created through a stretching and folding technique. Murtabak is a stuffed version of roti, typically filled with minced meat, eggs, and onions before being folded and cooked.
→ Can I freeze roti canai dough?
Yes, you can freeze roti canai at two stages: either after portioning the dough (before the long rest) or after it has been coiled (before the final rest). Wrap each portion well in plastic wrap and place in a freezer bag. Thaw completely at room temperature before proceeding with the next step. You can also freeze fully cooked roti - reheat from frozen in a dry pan over medium-low heat.
→ What's the best way to serve roti canai?
Traditionally, roti canai is served with dal (lentil curry) or other curry dishes for dipping. In Malaysia, it's commonly eaten for breakfast with a side of curry sauce or dhal. For a sweeter version, try serving it with condensed milk, sugar, or banana for dessert. It's also delicious simply torn into pieces and used to scoop up curry instead of using utensils.

Flaky Malaysian Flatbread

A traditional Malaysian flatbread with countless flaky layers, this authentic roti canai recipe requires simple ingredients but yields restaurant-quality results that are perfect for dipping in curry.

Prep Time
60 Minutes
Cook Time
40 Minutes
Total Time
100 Minutes
By: Ranah


Difficulty: Intermediate

Cuisine: Indian, Malaysian, Singaporean, South Asian, Sri Lankan

Yield: 4 Servings (8 rotis)

Dietary: Vegan, Vegetarian, Dairy-Free

Ingredients

→ Dough Ingredients

01 500 g all purpose flour (about 4 cups, measured by spoon and level method)
02 1 tsp sea salt
03 180 mL boiling water (¾ cup)
04 180 mL room temperature water (¾ cup)
05 Oil for coating, layering, and cooking
06 Butter or ghee (optional)

Instructions

Step 01

In a large bowl, place the flour and salt. Stir to combine. While stirring the flour with a fork or spatula, add the hot water to form clumps in the flour. Stir until the water is dispersed throughout the dough (forming smaller clumps). Add the room temperature water while mixing (preferably with your hands), until you form a scraggly dough. The dough should be fairly soft, but not sticky.

Step 02

Once you form a rough dough, cover the bowl with plastic wrap and let it rest for about 30 minutes. This helps to develop gluten, so you can also leave covered up to 1 hour for more gluten development.

Step 03

After 30 minutes, the dough should have absorbed all of the water well, and softened a little bit. Knead this dough for about 2-3 minutes to form a dough with a smooth, satiny surface. Knead longer if needed until the dough has a smooth surface. Weigh the dough, and divide it into 8 equal portions (about 90-100 g per portion). Shape each dough portion into a smooth dough ball.

Step 04

Keep a small bowl with vegetable oil and a large oiled plate ready. Roll the dough balls in the oil to coat. Place each coated dough ball on the plate with at least ½ inch space between them. Cover with plastic wrap, and let the dough rest for at least 2 hours, or up to 12 hours (overnight is preferable).

Step 05

Take one dough ball and flatten it out on a smooth work surface. Use your hands to stretch out the dough until it's paper thin, and you can see through the dough. To stretch the dough, flatten it with your palm, then press one end onto your work surface so it lightly sticks. Gently stretch the opposite end. Repeat all around to stretch the dough evenly into a circle or rectangle shape.

Step 06

Spread some oil (or butter or ghee) on the surface of the stretched dough. Roll up the dough into a tube, making sure to roll firmly. Alternatively, you can gather the dough from either end in 0.5-1 inch folds that are on top of each other. Once rolled up/folded, coil the dough into a tight spiral. Tuck the ends under and press down with your palm to seal.

Step 07

Place the coiled dough back on the oiled plate. Repeat with the remaining dough portions. Cover with plastic wrap and let rest for at least another hour.

Step 08

Heat an 8-inch or larger non-stick pan over medium heat. Take one coiled portion and flatten it with your hands into a 6-7 inch roti (a rolling pin can also be used). Add a few drops of oil to the pan, or brush the surface with oil. Place the roti in the pan and cook until golden brown, then flip and cook the other side (about 4 minutes total). Flip occasionally for even browning.

Step 09

Place the cooked roti on a cooling rack. While it's still hot, use your hands to squash the roti (kind of in a clapping motion). This helps separate the layers in the cooked roti. Repeat with all dough portions. Serve while warm.

Notes

  1. This recipe requires several resting periods, with a total resting time of at least 3 hours 30 minutes (or preferably overnight for one of the rests).
  2. For best results, use weight measurements rather than volume. If using cups, ensure you measure flour using the spoon and level method.
  3. To make the dough using a stand mixer: combine flour and salt in the mixing bowl, add hot water while mixing with a kneading hook, then add room temperature water to form a dough. Knead for 5-7 minutes until smooth.
  4. Two rotis are generally sufficient for a serving when served with curries or sides, but you may want more if they're the main dish.
  5. The roti can be served with curry, such as red lentil curry, or enjoyed on its own for breakfast, lunch, dinner, or even as dessert.

Tools You'll Need

  • Large mixing bowl
  • Plastic wrap
  • Kitchen scale (recommended)
  • Flat plate or container
  • Non-stick pan or tawa (at least 8 inches)
  • Cooling rack

Allergy Information

Please check ingredients for potential allergens and consult a health professional if in doubt.
  • Contains gluten (all-purpose flour)
  • May contain dairy if butter or ghee is used

Nutrition Facts (Per Serving)

It is important to consider this information as approximate and not to use it as definitive health advice.
  • Calories: 557
  • Total Fat: 13 g
  • Total Carbohydrate: 95 g
  • Protein: 13 g