
 Pin it
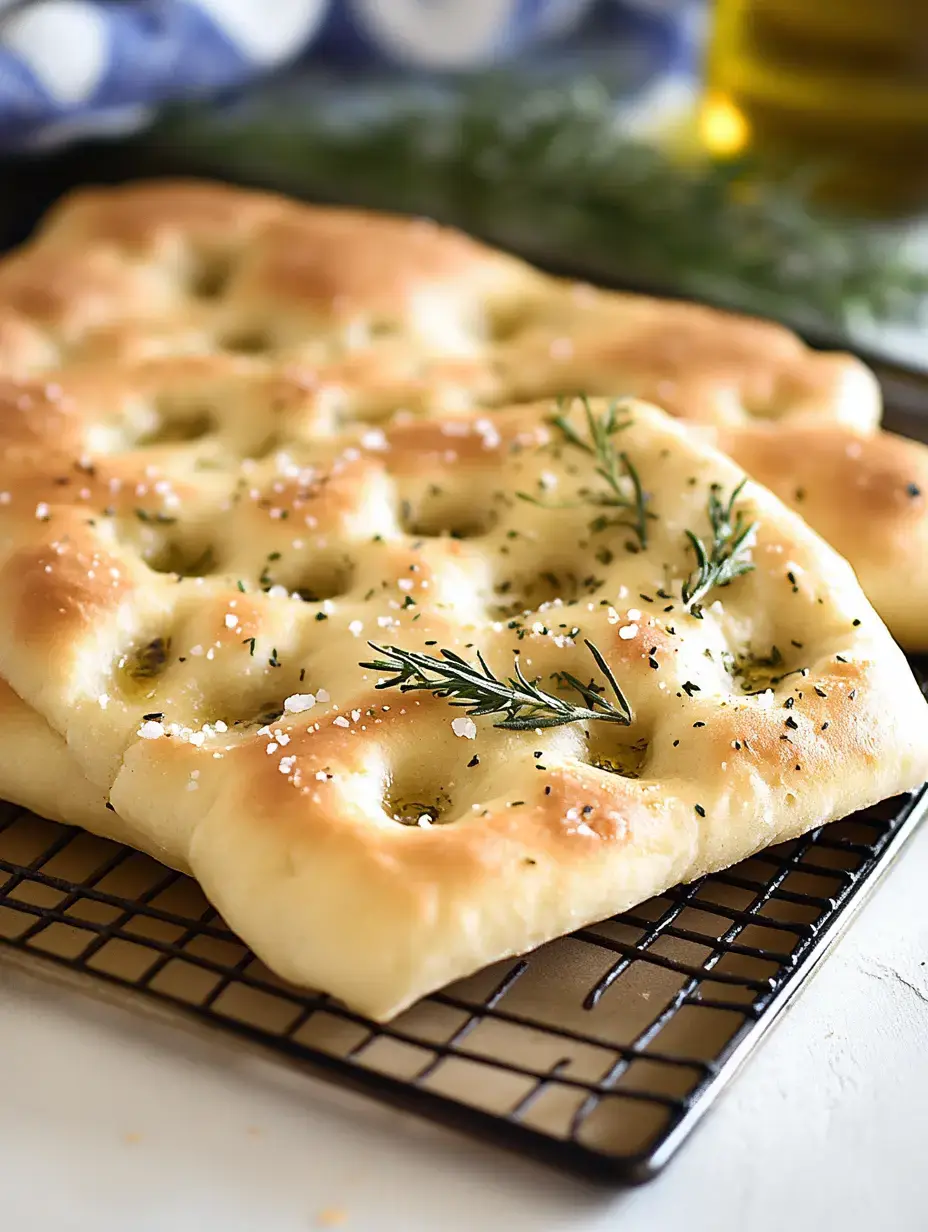
I discovered this small batch focaccia recipe during lockdown when I needed bread but didn't want a huge batch. It's become my absolute favorite! The smell of herbs and olive oil fills the kitchen as it bakes and that first warm slice with its crispy top and fluffy center is pure heaven.
Why You'll Fall in Love
What I love most about this recipe is how forgiving it is. No fancy techniques needed just mix knead and let the magic happen! Whether you're serving it with soup dipping it in olive oil or making epic sandwiches it's always perfect.
Let's Go Shopping
- Flour: Regular all-purpose is perfect here nothing fancy needed!
- Yeast: Active dry yeast is our magic ingredient.
- Water: Warm but not hot think baby bath water.
- Sugar: Just a pinch to feed our yeast honey works too.
- Olive Oil: Use the good stuff it really makes a difference.
- Salt: I love flaky sea salt on top it's like little jewels.
- Herbs: Fresh from the garden when possible dried works too!
Starting With Flavor
First things first let's get that herb oil started! Mix olive oil with your favorite herbs - I love rosemary and thyme from my garden. Let it sit while we make the dough the flavors just get better and better.
Yeast Magic
Here's my foolproof way to get the yeast going: warm water (if you have a thermometer aim for 110°F but I just test with my wrist) a pinch of sugar and give it 5-10 minutes. When it's foamy and smells like bread you're ready to roll!
Time to Mix
Now comes the fun part! Mix your flour salt and a generous drizzle of olive oil then pour in that bubbly yeast mixture. Don't worry if it looks shaggy at first it'll come together beautifully as you stir.
Let It Rise
After a quick knead (just a minute or two!) cover your dough and let it do its thing. In about 30 minutes it should double in size. I love peeking at it and watching the transformation!
Pan Prep
Here's where that good olive oil really shines! Give your pan a generous coating - don't be shy! Then gently stretch the dough to fit. If it springs back just let it rest for a few minutes then try again.
Second Rise
Another 30-minute rest lets our dough get even fluffier. This is when I usually brew some coffee and enjoy the anticipation of fresh bread!
The Fun Part
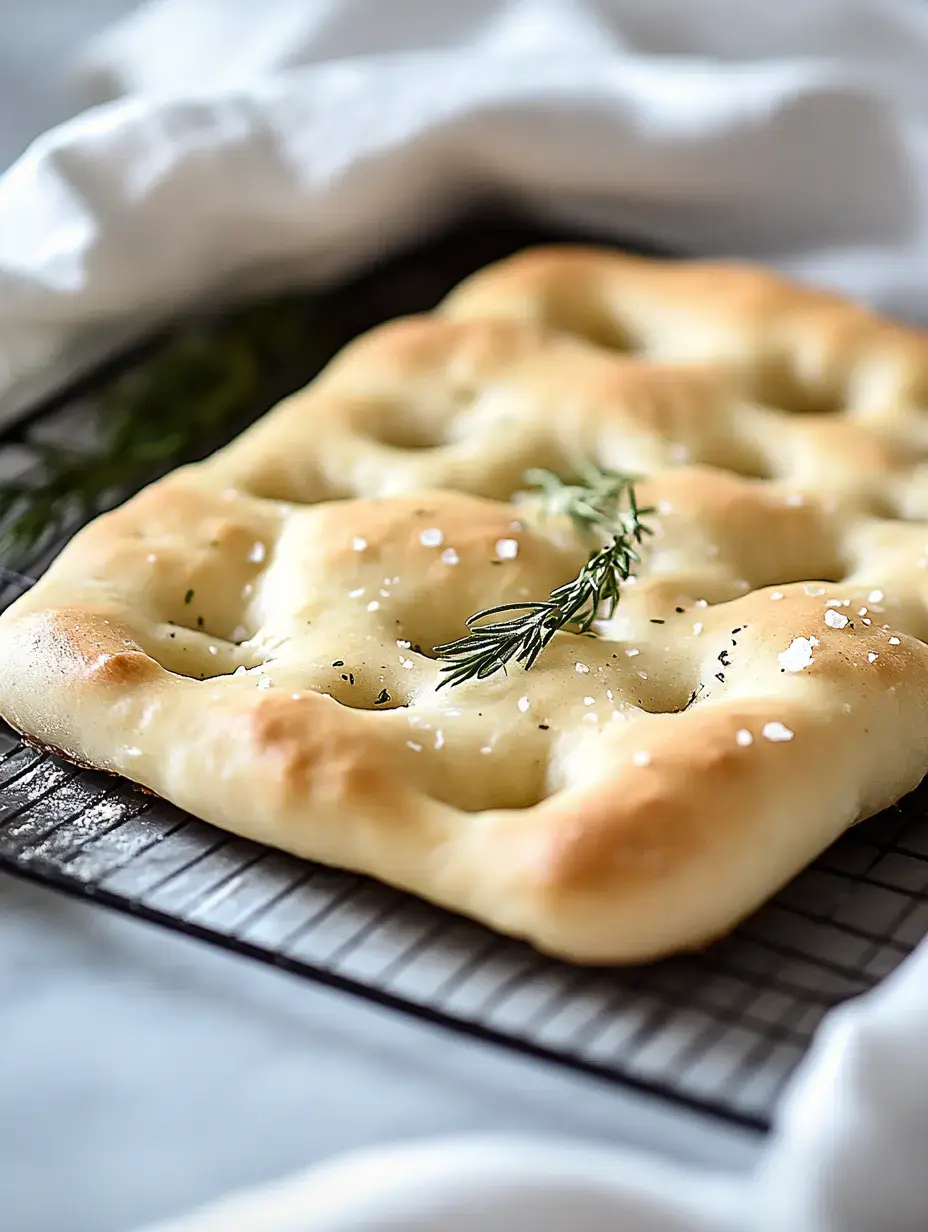
Now we get to make those signature focaccia dimples! I love this part - just poke your fingers all the way down into the dough. If it's sticking just dip your fingers in water first.

Topping Time
Pour that beautiful herb oil all over making sure it fills those dimples. Then sprinkle with flaky salt. This is what makes focaccia so special - each bite has pools of flavor!
Into The Oven
Your kitchen is about to smell amazing! Bake at 400°F until golden brown and crispy on top about 15-20 minutes. The hardest part is waiting for it to cool!
Time to Enjoy
Let it cool just enough so you don't burn your fingers then dig in! I love it straight from the oven but it's also perfect at room temperature for snacking.
Make It Your Own
Some days I top it with cherry tomatoes other times I sprinkle on parmesan or add dollops of pesto. The possibilities are endless! What will you try first?
Pro Tips
If your dough seems stubborn give it a little timeout - a few minutes rest works wonders. And don't forget to dampen those fingers for dimpling! These little tricks make such a difference.
Serving Ideas
We love this alongside soup or salad but it also makes the most amazing sandwiches! Sometimes I'll split a piece horizontally fill it with fresh mozzarella and tomatoes - heaven!
Keeping It Fresh
Store your focaccia in an airtight container and enjoy within a couple of days. A quick trip to the toaster oven brings back that fresh-baked crispiness.
Freeze For Later
Sometimes I'll make two batches and freeze one for later. Just wrap it well and freeze for up to 3 months. Reheat straight from frozen and it tastes nearly fresh-baked!
Perfect Size
This small batch is just right for a couple of people or a small family. No waste just warm fresh bread whenever you want it!
Why We Love It
There's something so satisfying about making your own bread and this recipe makes it so easy! The crispy top tender middle and those pockets of herb oil make every batch special. Once you try it you'll be hooked!

Frequently Asked Questions
- → Can I make this focaccia ahead of time?
- You can prepare the dough up to 24 hours in advance and keep it in the fridge. Let it come to room temperature before shaping and baking. The bread is best enjoyed fresh but can be stored for 2 days.
- → Why do you dimple the dough?
- Dimpling creates small wells in the dough that catch the olive oil and herbs. This adds flavor and creates the classic focaccia texture with its signature golden, oil-kissed crust.
- → Can I freeze this focaccia?
- Yes, you can freeze the baked and cooled focaccia for up to 1 month. Wrap it well in plastic wrap and foil. Thaw at room temperature and warm in the oven before serving.
- → What if my dough is too sticky?
- Focaccia dough should be sticky. Use olive oil on your hands when handling it instead of flour. Adding too much flour will make the bread dense and tough.
- → Can I double this recipe?
- Yes, you can double all ingredients and use a larger 13x9 inch pan. The baking time will need to increase by about 5-7 minutes. Watch for golden brown color.