
 Pin it
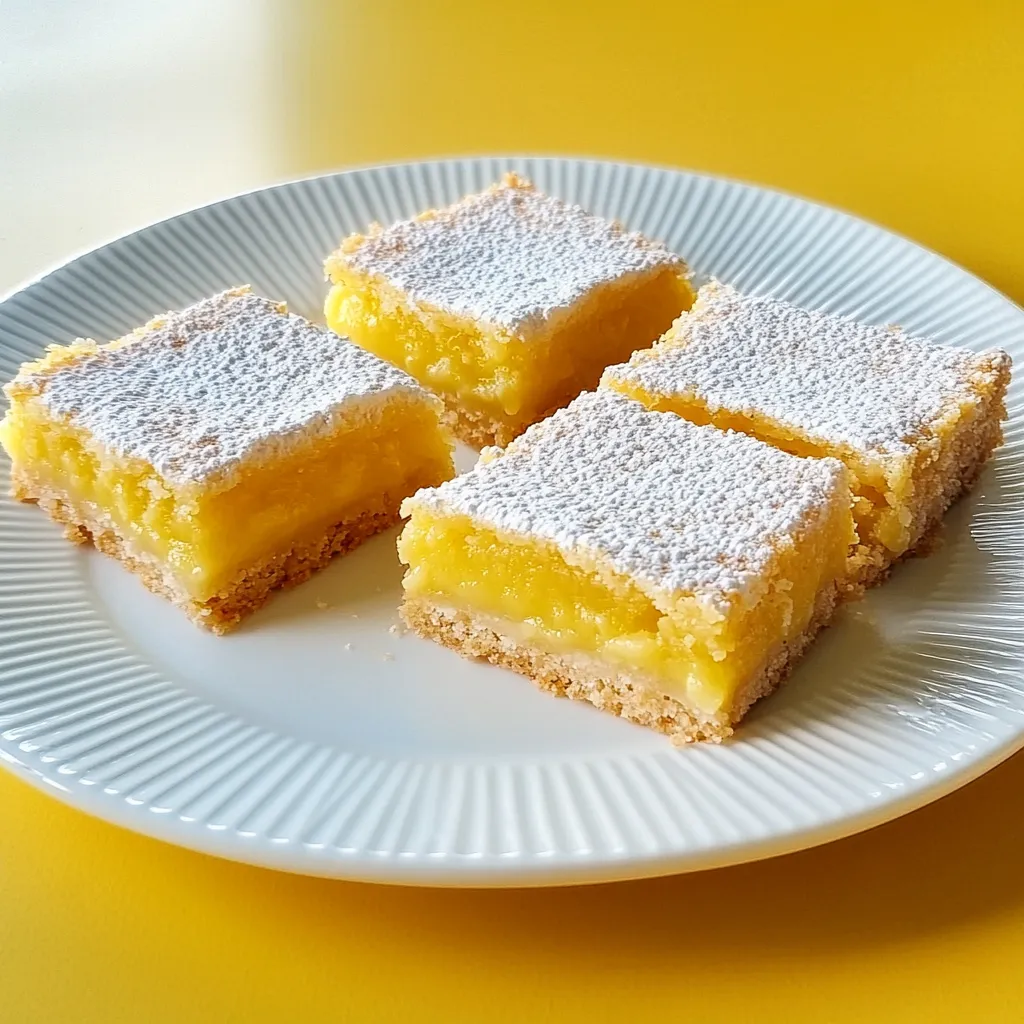
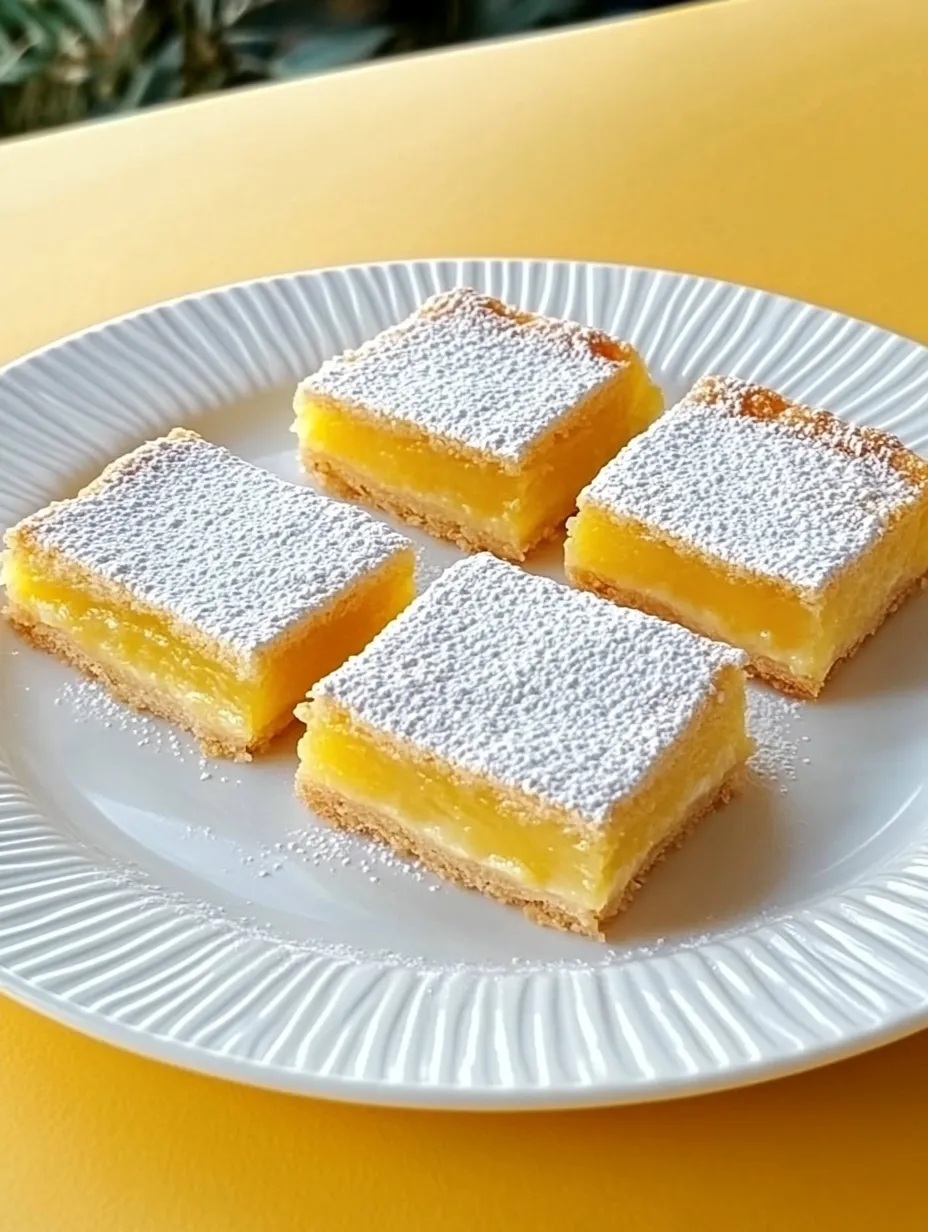
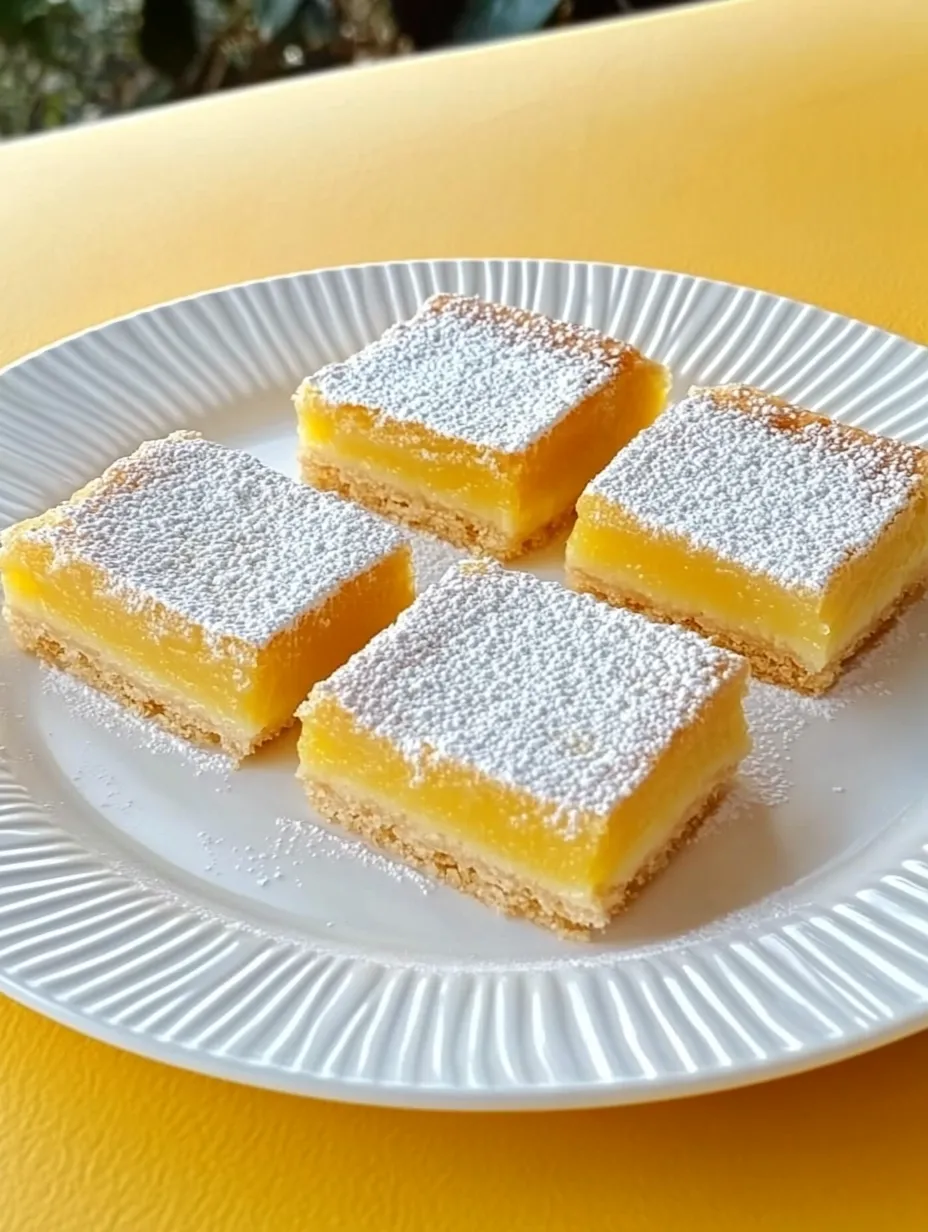
Lemon Bars combine a buttery shortbread crust with a bright, tangy lemon custard filling for the perfect balance of sweet and tart flavors. These classic treats feature that signature crackly top, dusted with powdered sugar, and a velvety smooth filling that showcases fresh lemon juice.
I made these for a neighborhood potluck and came home with an empty pan. Three different neighbors asked for the recipe, and one confessed she ate three bars before dinner even started!
Key Ingredients
- Fresh lemons: The star ingredient that provides both juice and zest. Fresh is essential here; bottled juice simply doesn't compare.
- Butter: Creates that rich, crumbly shortbread base. Use unsalted butter so you can control the salt content.
- Eggs: Provides structure and richness to the lemon filling, creating that perfect custard-like texture.
- All-purpose flour: Works in both the crust and the filling, where it helps thicken and set the lemon layer properly.
- Sugar: Balances the tartness of the lemons in both layers, while powdered sugar adds the classic finishing touch.
Step-by-Step Instructions
- Step 1:
- Prepare your pan properly - Line a 9x13-inch baking pan with parchment paper, leaving overhang on the sides for easy removal after baking.
- Step 2:
- Create a perfect shortbread base - Combine flour, butter, and sugar until the mixture resembles coarse crumbs. Press firmly and evenly into your prepared pan, creating a solid foundation for the lemon filling.
- Step 3:
- Pre-bake the crust - Bake the crust until it's just beginning to turn golden at the edges. This ensures it won't become soggy when the filling is added.
- Step 4:
- Mix the filling thoroughly - Whisk eggs, sugar, flour, and lemon juice until completely combined. The mixture should be smooth with no lumps of flour.
- Step 5:
- Bake in stages - Pour the filling over the hot crust and return to the oven. Bake until the filling is set but still has a slight jiggle in the center when the pan is gently shaken.
My grandmother taught me to make these when I was twelve, and her secret was always adding a bit of lemon zest along with the juice. "That's where the real lemon flavor lives," she'd say while demonstrating how to zest without getting the bitter white pith.
The Perfect Lemon Balance
The key to exceptional lemon bars lies in achieving the right level of tartness. If your lemons aren't particularly juicy or flavorful, add a teaspoon of lemon zest to the filling for added punch. For those who prefer a more intense lemon flavor, increase the juice by a tablespoon and add an extra teaspoon of flour to maintain the proper setting.
Making Clean Cuts
For picture-perfect bars, chill them completely before cutting. I like to refrigerate mine for at least two hours, then lift the entire slab out using the parchment paper overhang. Wipe your knife clean between cuts and use a gentle sawing motion rather than pressing straight down, which can cause the filling to tear.
Creative Variations
While classic lemon bars are hard to improve upon, subtle variations can create exciting new flavors. I sometimes add a half teaspoon of lavender to the shortbread base or substitute Meyer lemons when in season for a slightly sweeter, more complex flavor. For a sophisticated twist, add a tablespoon of limoncello to the filling before baking.
Seasonal Serving Ideas
During summer, I love serving these bars slightly chilled with fresh berries on the side. The contrast between the tart lemon and sweet berries is delightful. In winter, pairing them with a cup of Earl Grey tea creates a perfect afternoon treat, the bergamot in the tea complementing the lemon beautifully.
I've made countless desserts over the years, but these lemon bars remain one of my most requested treats. There's something about the combination of buttery crust and bright, tangy filling that appeals to almost everyone. They're sophisticated enough for special occasions but simple enough for everyday baking—the perfect balance of ease and elegance that makes them a true classic.
Frequently Asked Questions
- → How do I know when my lemon bars are done baking?
- Your lemon bars are done when the edges are lightly golden and the center is set but still slightly jiggly - similar to how a cheesecake looks when properly baked. They'll continue to set as they cool, so it's better to slightly underbake than overbake, which can cause the filling to crack.
- → Can I use bottled lemon juice instead of fresh?
- While fresh lemon juice provides the best flavor, you can substitute bottled lemon juice in a pinch. For this recipe, you'll need about 6-8 tablespoons of juice (the typical yield from 2 lemons). However, adding some fresh lemon zest even when using bottled juice will greatly enhance the citrus flavor.
- → Why did my lemon bars crack on top?
- Cracks usually occur from overbaking or cooling too quickly. To prevent cracks, make sure to remove the bars from the oven when the center is still slightly jiggly, and let them cool gradually at room temperature before refrigerating. If cracks do appear, don't worry - a dusting of powdered sugar will hide them perfectly!
- → Can I make these lemon bars ahead of time?
- Absolutely! Lemon bars are perfect for making 1-2 days ahead. Once cooled completely, cover them tightly and store in the refrigerator. Wait to dust with powdered sugar until just before serving, as it tends to absorb moisture and disappear if added too early.
- → How do I get clean-cut lemon bars?
- For perfectly clean cuts, refrigerate the bars until completely chilled (at least 2 hours or overnight). Use a sharp knife, wiping the blade clean between each cut. For extra precision, dip your knife in hot water and dry it before each slice. Remove the bars from the refrigerator about 20 minutes before serving for the best texture and flavor.