
 Pin it
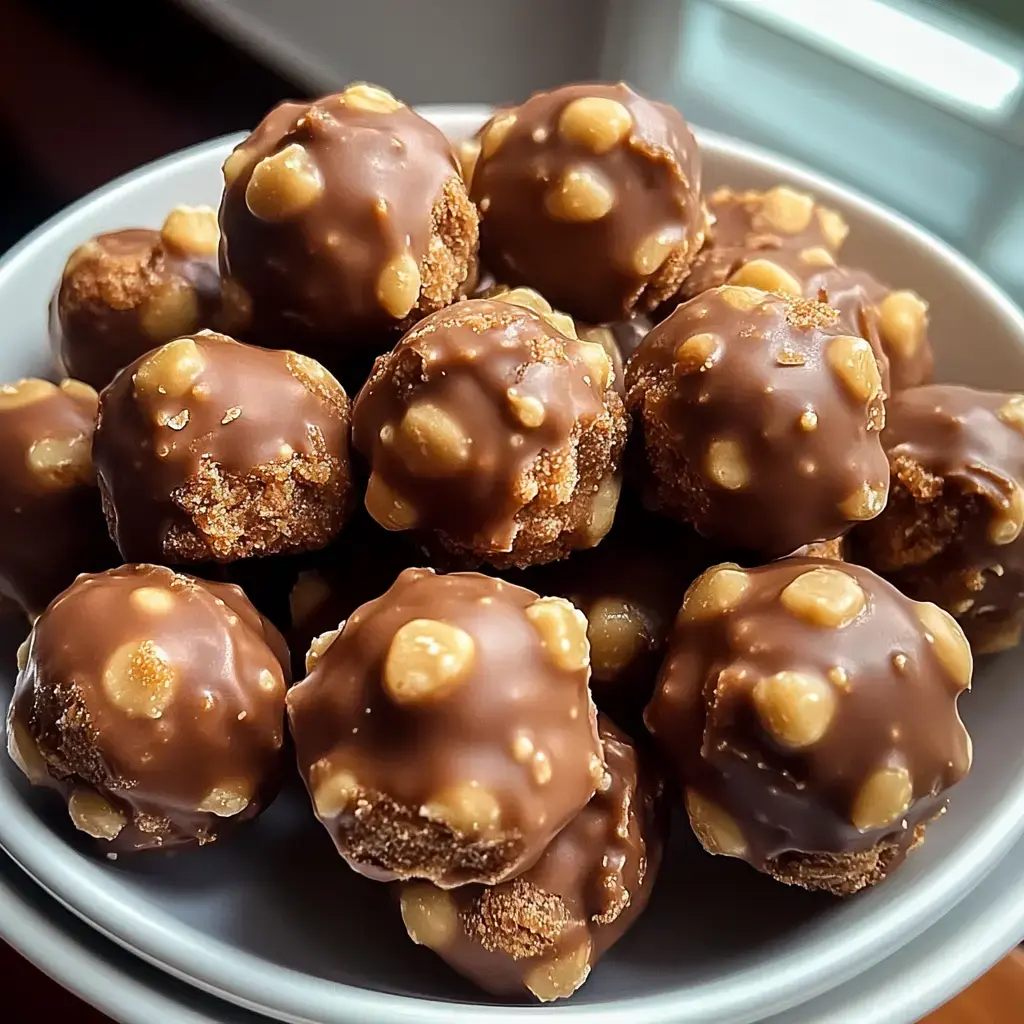
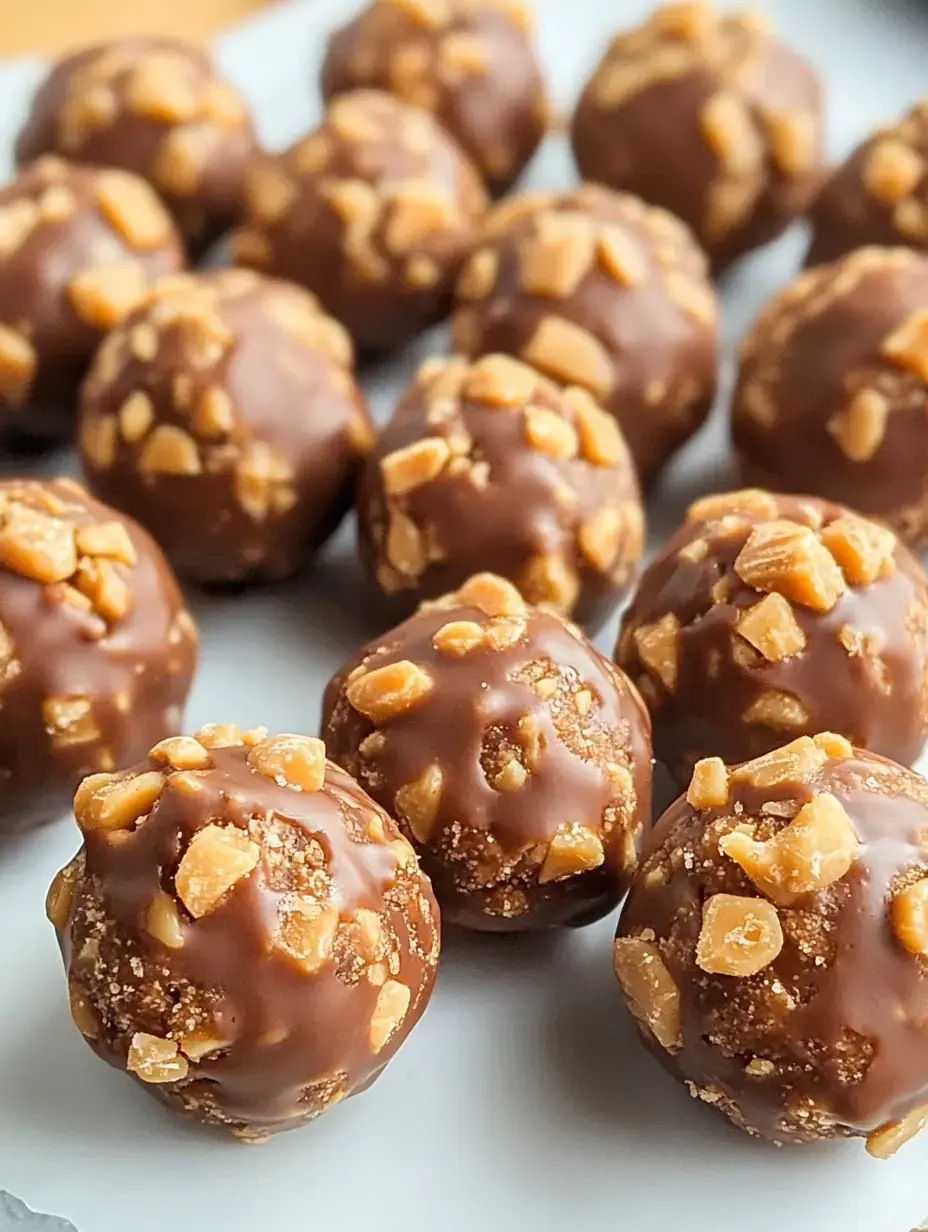
Something magical happens in my kitchen when I combine peanut butter, graham crackers and those crunchy Butterfinger candy bars. These Butterfinger Balls have become my go-to treat whenever I need to bring something special to a party or just want to spoil my family on a random weeknight. Trust me, once you try these little bites of heaven you'll understand why they disappear so quickly at every gathering.

The Secret Behind These Irresistible Treats
The magic truly comes from that perfect mix of textures and flavors. I took my favorite graham cracker peanut butter bar recipe and gave it a total makeover by adding crushed Butterfingers. The result? Pure bliss in every single bite. The way these ingredients come together creates something so uniquely delicious, my friends now request them for every potluck.
What You'll Need in Your Kitchen
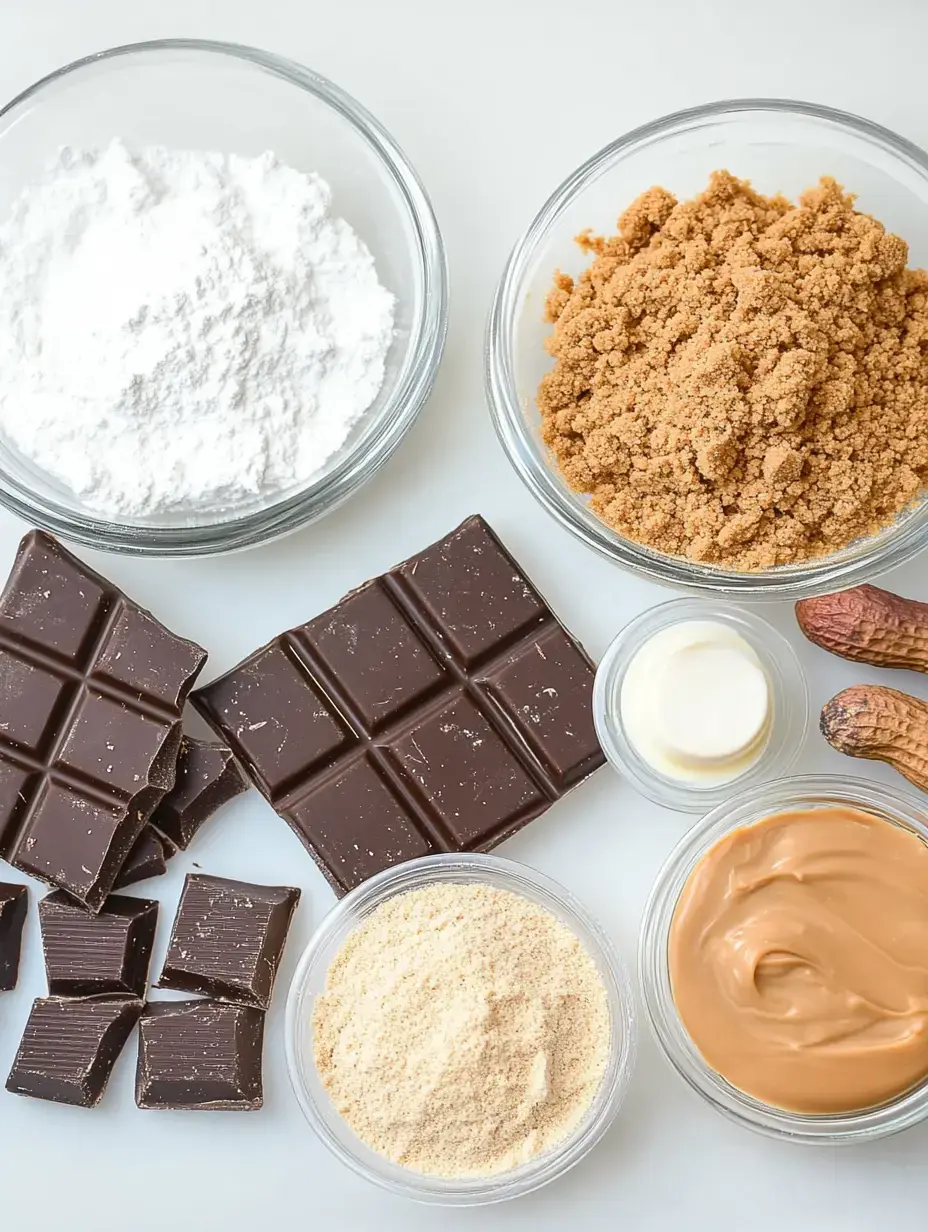
- Peanut Butter: Grab 1 cup of the creamy stuff. I stick with regular peanut butter since natural can get a bit tricky with the texture.
- Graham Crackers: You'll want 1.5 cups crushed into fine crumbs. They give these balls their perfect structure.
- Butterfinger Bars: 2 full-size bars crushed up. This is where all that amazing flavor comes from.
- Chocolate Coating: 1-2 cups of your favorite melting chocolate. I usually go for chocolate bark or melting wafers for ease.
Let's Make These Together
- Mix Your Base
- In my big mixing bowl I combine the peanut butter, crushed graham crackers and Butterfinger pieces. Just keep mixing until everything comes together beautifully. Sometimes I need to add a touch more graham crackers to get that perfect consistency.
- Roll Those Balls
- I use my tablespoon measure to scoop out portions then roll them between my palms. Place them on a parchment lined baking sheet as you go.
- Time to Chill
- Pop them in the fridge for about 30 minutes. This helps them hold their shape when we dip them.
- Chocolate Magic
- This is my favorite part. Melt your chocolate until silky smooth, then dip each ball using a fork. Give it a gentle tap to let excess chocolate drip off.
- The Final Touch
- Back onto the lined sheet they go until the chocolate sets completely. I usually keep mine in the fridge during hot months.
Making Them Your Own
My kitchen is all about experimenting and these little treats are perfect for that. Sometimes I swap in Heath bars or even Snickers. My daughter loves when I add rainbow sprinkles on top while the chocolate is still wet. Every batch can be a new adventure in your kitchen.
Keeping Your Treats Fresh
Store your Butterfinger Balls in a container with a tight seal in your fridge. They'll stay perfect for about 3 to 4 weeks. I like to separate layers with wax paper so they don't stick together. Want to save them longer? Pop them in the freezer where they'll keep for up to 6 months.
Plan Ahead for Easy Entertaining
These little treats are my secret weapon for stress free entertaining. I make a big batch whenever I have free time and keep them in the freezer. When guests are coming over I just pull them out to thaw. They're just as amazing as the day they were made.
Getting That Perfect Bite Every Time
After years of making these in my kitchen I've learned that balance is everything. The creamy peanut butter needs just enough graham cracker crumbs to create that perfect moldable texture. When I use natural peanut butter I always add extra graham crackers slowly until the mixture feels right in my hands. You'll know you've got it when the balls hold their shape without sticking to your fingers.
Mastering the Chocolate Coating
The chocolate coating is what makes these treats shine. In my kitchen I usually reach for chocolate bark because it's so reliable but good quality chocolate chips work beautifully too. When I'm feeling fancy I temper my chocolate keeping it around 88 to 90 degrees. That's my secret for getting that gorgeous shine and perfect snap when you bite in.
Perfect for Every Party
I started making these Butterfinger Balls for my kids' birthday parties but now they show up at every family gathering. They're just the right size for holiday platters and always the first to vanish at potlucks. The best part? Everyone can enjoy them without needing plates or forks.
Mix It Up Your Way
Some nights I play around with different candy bars in my kitchen. Last week I tried them with crushed Kit Kats and they were amazing. My grandkids love helping me decorate them with colorful sprinkles and sometimes we drizzle white chocolate over the top. The possibilities in your kitchen are endless.
Simple Kitchen Joy
I love recipes that don't need my oven and these sweet treats hit all the right notes. My kitchen stays cool and I still get to create something absolutely delicious. Whether you're new to making desserts or spend every weekend baking these will fit right into your routine.
Making a Big Batch for Your Next Party
When I'm preparing for a big family reunion or holiday party I simply double or triple everything. My stand mixer is my best friend on these days making quick work of mixing all those ingredients together. I've learned to work in stages setting up my baking sheets with parchment paper layers ready to go. This keeps everything organized and flowing smoothly in my kitchen.
Holiday Magic in Every Bite
My grandkids get so excited when I dress these up for different holidays. For Christmas I sprinkle crushed candy canes on top while the chocolate is still wet. Halloween means lots of orange and black sprinkles and Easter brings pastel colors to our treat plate. Each season brings new ways to make these special in your kitchen.
Cooking with Little Helpers
Some of my favorite kitchen memories are making these with my grandchildren. They take turns crushing graham crackers in zip top bags and love rolling the mixture into balls. The sparkle in their eyes when they get to add sprinkles makes my heart so happy. It's messy but worth every single moment.
Kitchen Solutions That Work
In my years of making these treats I've learned a few tricks. If your mixture feels too crumbly just add tiny spoonfuls of peanut butter until it comes together. Too sticky? A sprinkle more graham cracker crumbs will fix that right up. My top tip is keeping those balls nice and cold before dipping them in chocolate. Makes the whole process so much smoother.
Serving With Style
I love tucking these little treats into pretty paper liners when company comes over. Sometimes I grab my small pastry bag and drizzle extra chocolate across the top in delicate patterns. They look gorgeous arranged on my grandmother's silver platter which I save for special occasions. Your guests will think they came from a fancy candy shop.
Conclusion
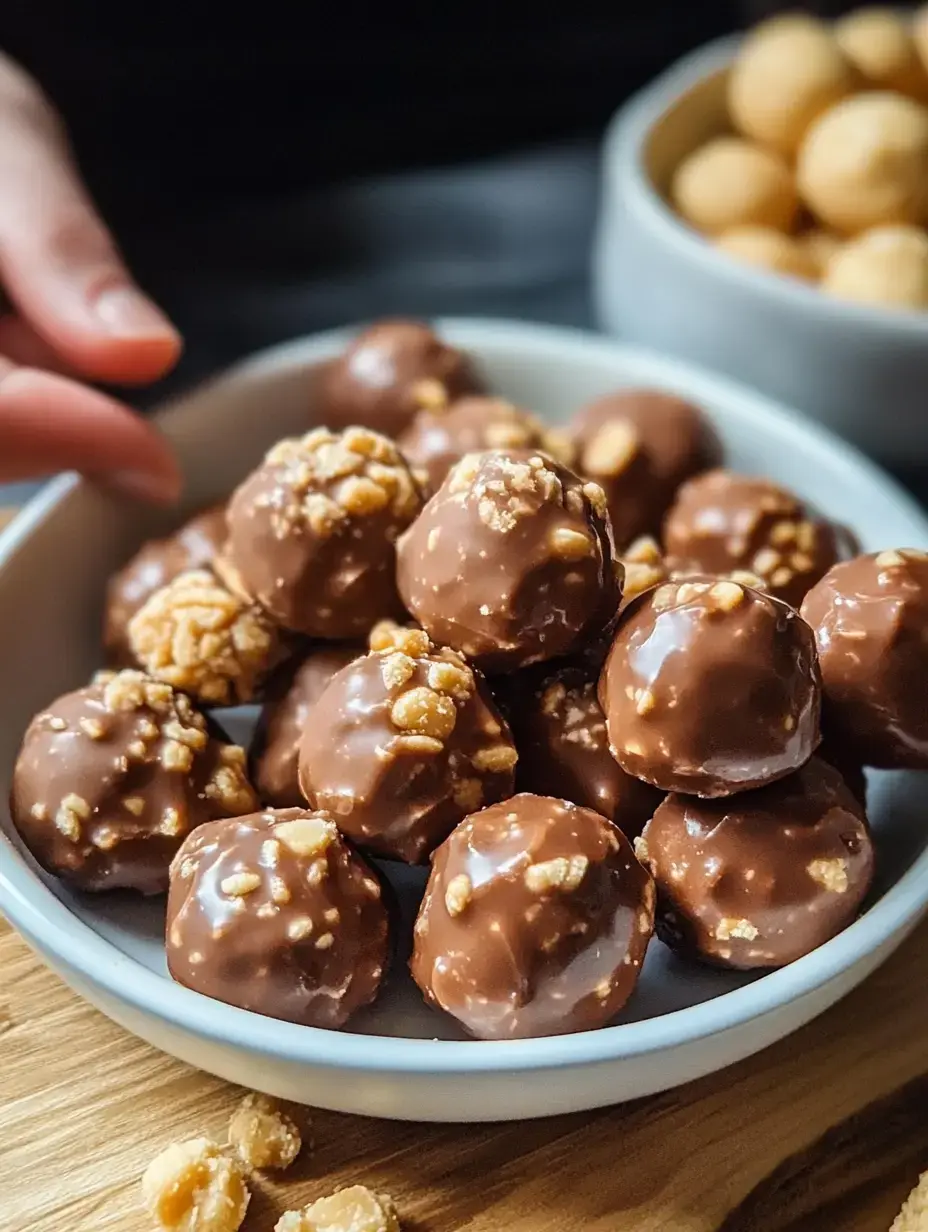
These delectable Butterfinger Chocolate Balls are a quick and easy dessert that combines the classic flavors of peanut butter, graham crackers, and Butterfinger candy, all enrobed in smooth chocolate. Perfect for gatherings, holidays, or a sweet indulgence.
Frequently Asked Questions
- → Can I freeze these Butterfinger balls?
Yes, these treats freeze well for up to 3 months. Store them in a sealed container with wax paper between layers. Thaw in the fridge before serving.
- → Why can't I use natural peanut butter?
Regular peanut butter like Jif works best because it's more stable. Natural peanut butter is too oily and can make the balls too soft or cause them to separate.
- → How do I prevent the chocolate from seizing?
Melt chocolate slowly in 30-second bursts at half power. Stop microwaving when some lumps remain and stir until smooth. Keep water away from the chocolate.
- → Can I make these smaller or larger?
Yes, you can adjust the size to your preference. Just keep them consistent for even chocolate coating and remember larger balls need more chilling time.
- → What's the best way to coat them in chocolate?
Use a fork to dip each ball in melted chocolate, tap off excess, then slide onto parchment paper. Add toppings right away before chocolate sets.