
 Pin it
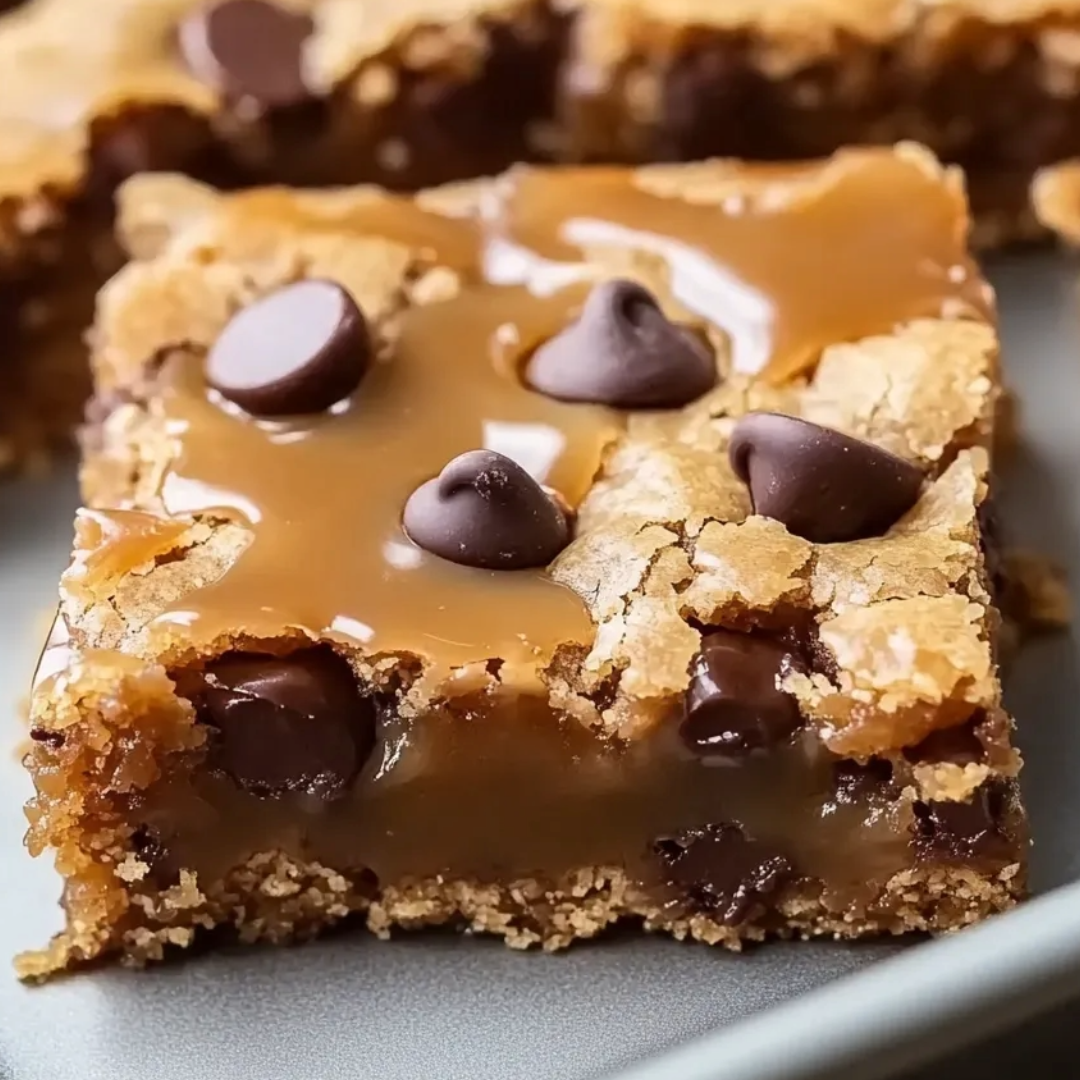
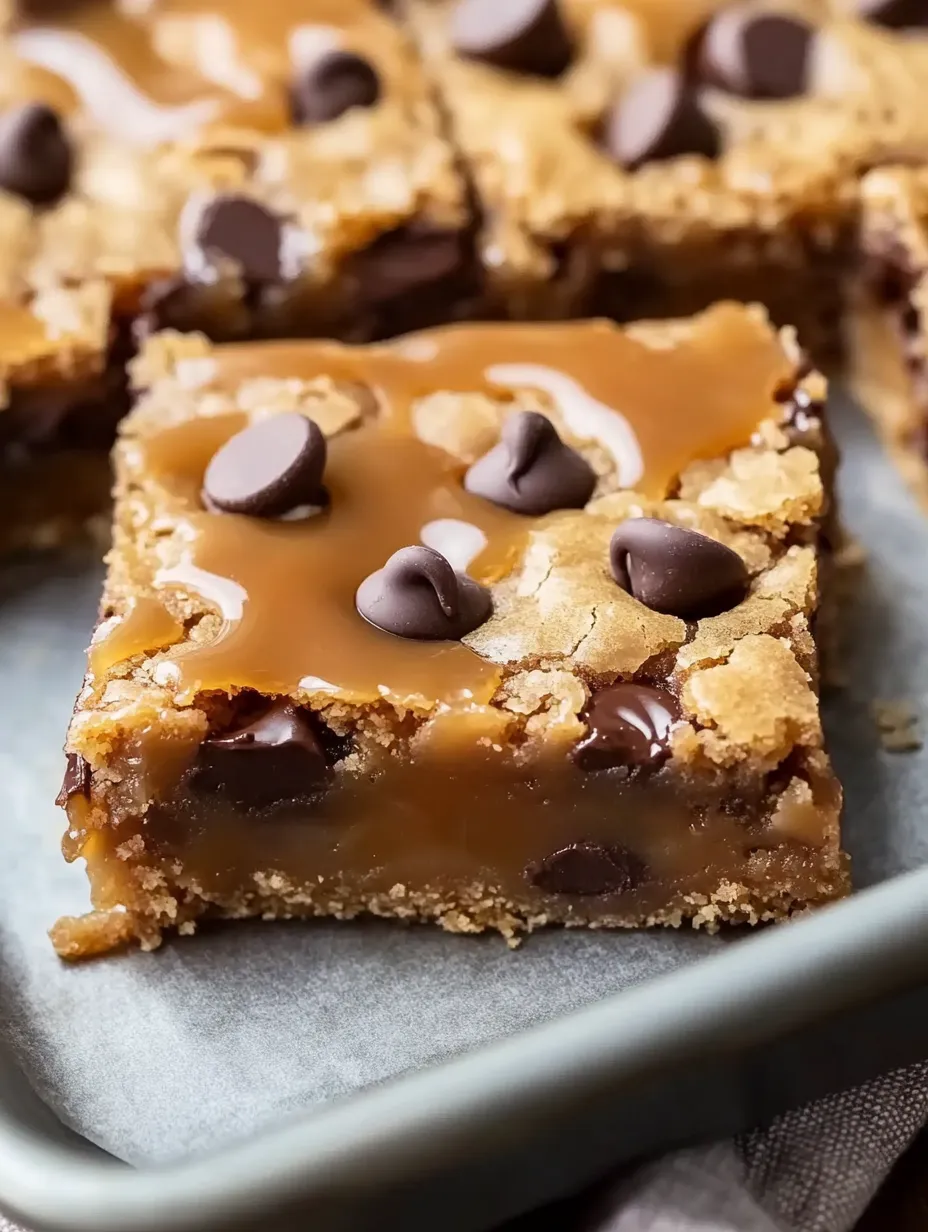
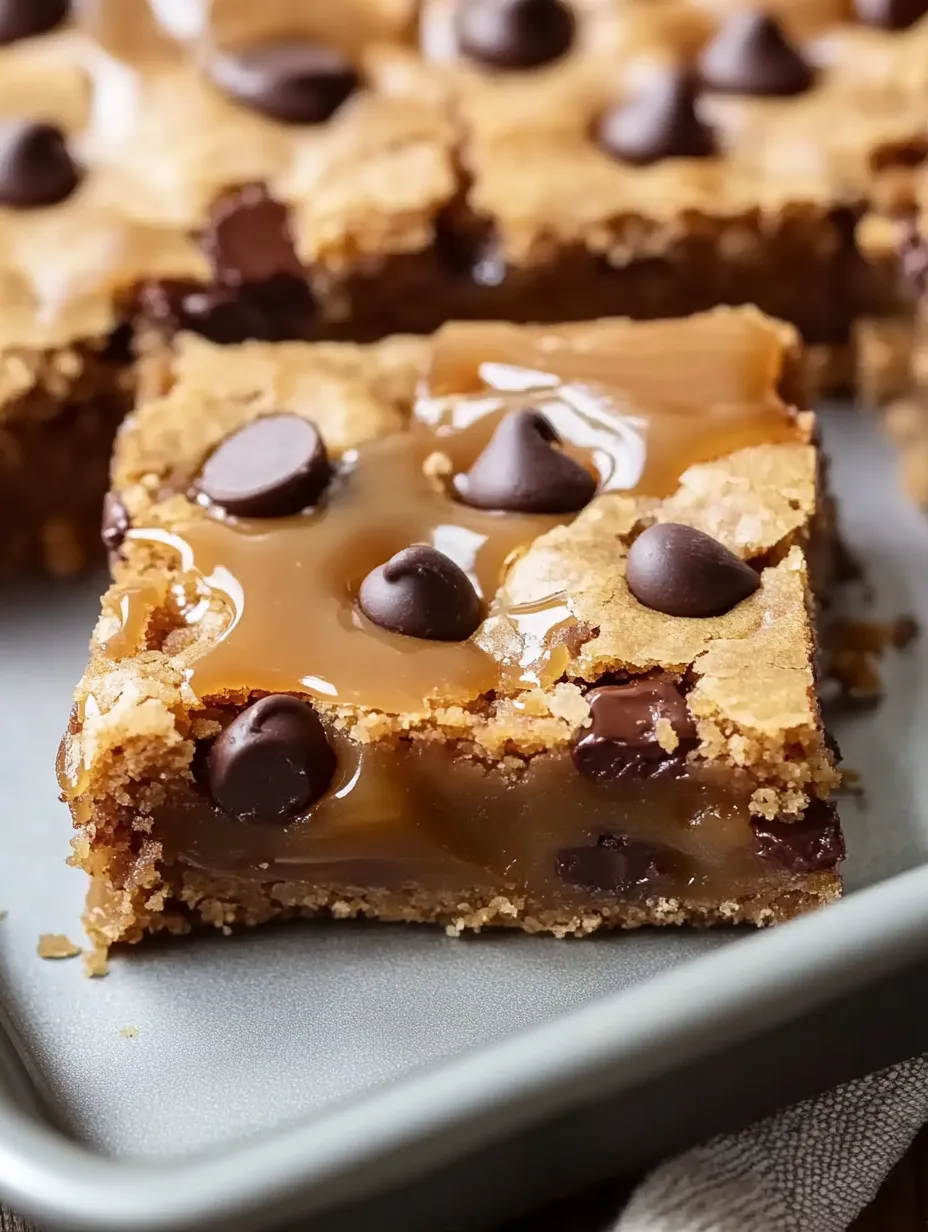
These decadent Better Than Anything Bars combine buttery cookie dough, gooey caramel, creamy peanut butter, and melting chocolate chips into a truly irresistible treat. The contrasting textures and flavors create perfect harmony in every bite—crisp edges giving way to a chewy center, with a velvety smooth caramel layer that satisfies every sweet craving. I've been making these bars for years, and they never fail to disappear within minutes whenever I serve them.
I first made these bars for my daughter's birthday party, and the guests couldn't believe they weren't from a bakery. My husband now requests them for every game night, and honestly, I don't mind because they're surprisingly simple to make despite their impressive taste.
Ingredients for Better Than Anything Bars
- 1 cup butter, softened: Use real butter for that rich, tender texture that forms the foundation of these bars. Room temperature butter creams much better with the sugars.
- 1 cup brown sugar, packed: This adds a deep caramel-like flavor with those lovely molasses notes. Always pack it firmly in your measuring cup for accurate results.
- 1/2 cup white sugar: Balances the brown sugar and creates that perfect cookie texture we're looking for.
- 2 medium eggs: These bind everything together while adding moisture. I recommend taking them out of the fridge about 15 minutes before using.
- 1 teaspoon vanilla extract: Don't skip this! It adds warmth and depth to the overall flavor profile.
- 2 1/4 cups all-purpose flour: The backbone of our cookie dough that gives structure. Measure by spooning into the cup and leveling off.
- 1 teaspoon baking soda: Essential for that slight rise and chewy texture we want.
- 1 teaspoon salt: Cuts through the sweetness and enhances all the other flavors.
- 2 cups milk chocolate chips: These melt into pockets of chocolate goodness. You can use semi-sweet for a less sweet bar if preferred.
For the Caramel Filling
- 14 ounces unwrapped caramels: These create that incredible gooey center. You can use pre-packaged caramels or caramel bits to save unwrapping time.
- 5 ounces canned evaporated milk: This creates the perfect consistency for our caramel layer. Don't substitute regular milk—it won't work the same.
- 1/2 cup peanut butter: Adds a wonderful nutty richness that pairs beautifully with the sweet caramel. Use creamy for the smoothest texture.
Step-by-Step Instructions
- Step 1:
- Prepare your workspace and oven - Begin by preheating your oven to 375°F. This temperature is perfect for getting those slightly crisp edges while maintaining a chewy center. Take out a 9×13-inch baking pan and spray it thoroughly with non-stick cooking spray. Don't skip this step—the caramel makes these bars sticky, and good preparation makes removal so much easier.
- Step 2:
- Cream butter and sugars to perfection - In a large mixing bowl, add your softened butter (it should indent easily when pressed but still hold its shape), along with both brown and white sugars. Using an electric mixer, beat them together for about 3-4 minutes until the mixture becomes noticeably lighter in color and fluffy in texture. This incorporates air into the mixture, which is crucial for the right texture.
- Step 3:
- Add the wet ingredients - Crack your eggs into a small bowl first (to catch any shell fragments), then add them to your butter-sugar mixture one at a time. Beat well after each addition until fully incorporated—about 30 seconds per egg. Pour in the vanilla extract and mix until the batter looks uniform and smooth.
- Step 4:
- Incorporate the dry ingredients - In a separate bowl, whisk together your flour, baking soda, and salt until evenly combined. Gradually add this dry mixture to your wet ingredients, about a third at a time. Mix on low speed just until no flour streaks remain—overmixing can make your bars tough instead of tender.
- Step 5:
- Fold in the chocolate chips - Add those chocolate chips and gently fold them in using a spatula or wooden spoon. This ensures they're evenly distributed throughout the dough without overmixing. Your dough should be thick, slightly sticky, and studded with chocolate throughout.
- Step 6:
- Bake the first layer - Take half of your cookie dough (about 2 cups) and press it into an even layer in your prepared baking pan. Use slightly damp fingers or the back of a measuring cup to press it out evenly. Bake this bottom layer for 8-10 minutes—you want it just set but not fully baked, as it'll go back in the oven later.
- Step 7:
- Prepare the caramel filling - While that first layer bakes, make your caramel filling. Combine the unwrapped caramels and evaporated milk in a microwave-safe bowl. Heat them on medium power (power level 5) for 1-2 minutes, stopping to stir every 30 seconds. This prevents hot spots and helps the caramels melt evenly. Keep heating and stirring until completely smooth.
- Step 8:
- Add the peanut butter to the caramel - While the caramel mixture is still hot, add your peanut butter and stir vigorously until fully incorporated. The warmth of the caramel will help melt the peanut butter, creating a smooth, luscious filling that's to die for.
- Step 9:
- Assemble the layers - Once your bottom cookie layer comes out of the oven, immediately pour the warm caramel-peanut butter mixture over it, spreading it evenly with a spatula. Work quickly as the caramel will start to set as it cools.
- Step 10:
- Add the top cookie layer - Take the remaining cookie dough and drop it by spoonfuls over the caramel layer. Don't worry about covering the caramel completely—those peek-through spots create beautiful caramel pockets that make these bars special. Plus, the dough will spread slightly as it bakes.
- Step 11:
- Complete the baking process - Return the pan to the oven and bake for another 17-20 minutes. Look for golden brown edges and a slightly softer center. The caramel should be bubbling around the edges—that's how you know it's done to perfection.
- Step 12:
- Cool completely before cutting - This is perhaps the hardest part—waiting! Let the bars cool completely in the pan, which usually takes about 2 hours at room temperature. This cooling time allows the caramel to set properly, making the bars easier to cut and giving them that perfect chewy-gooey texture.
The Magic of Layered Desserts
What makes layered bar cookies so irresistible is how each component brings something special to the table. The contrast between the buttery cookie layers and the sweet-savory filling creates a symphony of flavors that keeps you coming back for more. I've found that layered desserts like these Better Than Anything Bars create memorable experiences because they offer different sensations with each bite.
Perfect Occasions for These Bars
These bars have become my signature dessert for potlucks and school bake sales. They travel well and don't require refrigeration, making them incredibly convenient. Last summer, I brought them to our family reunion, and three people asked for the recipe before the day was over. The beauty of these bars is that they look impressive but don't require advanced baking skills.
The Secret to Perfect Caramel
The caramel layer is truly what elevates these bars from good to extraordinary. Getting the right consistency depends on both the ingredients and the method. Using evaporated milk rather than regular milk creates that thick, creamy texture that sets beautifully without becoming too hard or sticky. I've experimented with homemade caramel, but for consistent results, the wrapped caramels method is foolproof.
Chocolate Selection Matters
While the recipe calls for milk chocolate chips, changing the type of chocolate dramatically affects the final flavor profile. Semi-sweet chips create a more balanced dessert with less sweetness, while dark chocolate chips add sophisticated bitter notes that contrast beautifully with the sweet caramel. For a truly decadent version, I've even used chocolate chunks instead of chips for bigger pockets of melted chocolate.
Sometimes I make these a day ahead specifically for this reason. My family has developed a tradition of "next-day bars" where we purposely wait until the following day to enjoy them. The caramel seems to permeate the cookie layers more fully, and the texture becomes even more chewy and perfect.
I learned the hot knife trick from my grandmother, who was known for her perfect dessert squares. It makes such a difference in presentation, giving you those clean, bakery-worthy edges that make the bars look as good as they taste.
These Better Than Anything Bars truly live up to their name. Every time I make them, I'm reminded of why simple ingredients combined thoughtfully can create something greater than the sum of their parts. The marriage of cookie, caramel, and chocolate creates a dessert experience that satisfies on every level. Whether you're baking for loved ones or treating yourself, these bars are guaranteed to become a favorite in your recipe collection.
Frequently Asked Questions
- → Can I make these bars ahead of time?
- Yes! These bars store well for up to 5 days in an airtight container at room temperature, or can be frozen for up to 3 months.
- → What can I substitute for peanut butter if there's an allergy?
- You can easily substitute almond butter or sunflower seed butter for a nut-free version with similar results.
- → Do I need to let these cool completely before cutting?
- Yes, it's important to let them cool completely so the caramel layer can set, which makes them easier to cut cleanly.
- → Can I use caramel sauce instead of melting caramels?
- Store-bought caramel sauce is typically thinner than melted caramels, so your bars might be messier. Better to use caramel bits or wrapped caramels.
- → What's the best way to store leftovers?
- Store in an airtight container with parchment paper between layers. They'll keep at room temperature for 3-5 days or can be refrigerated for up to a week.