
 Pin it
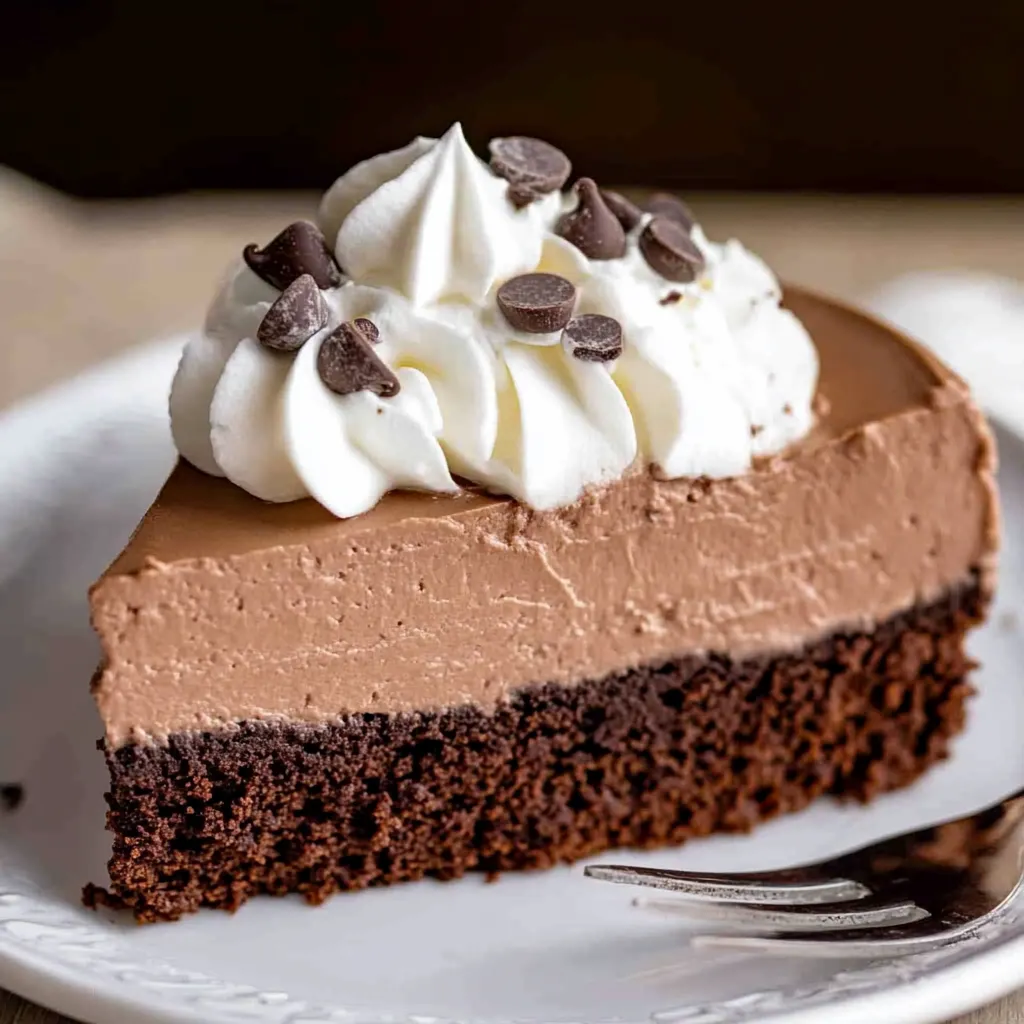
Chocolate Brownie Mousse Cake layers rich, fudgy brownie with cloud-like chocolate mousse for an indulgent dessert that looks impressive while being surprisingly simple to make. By using a boxed brownie mix as the base, this recipe becomes accessible even on busy days when you need something special without hours of work.
I made this for a friend's birthday dinner last month, and everyone thought I'd spent hours in the kitchen. When I revealed the boxed brownie shortcut, my friend's husband immediately asked for the recipe, saying he could actually manage this for their anniversary.
Key Ingredients
- Boxed brownie mix: Provides a foolproof fudgy base. Choose a "premium" or "extra fudgy" variety for the best texture contrast with the mousse.
- Bittersweet chocolate: The foundation of the mousse. Look for chocolate with 60-70% cocoa content for rich flavor that isn't overly sweet.
- Heavy whipping cream: Creates the light, airy texture in the mousse. Make sure it's very cold for the best whipping results.
- Vanilla extract: Enhances the chocolate flavor in both layers. Pure extract offers the cleanest flavor.
- Salt: A small amount balances the sweetness and intensifies the chocolate flavor. Don't skip this seemingly minor ingredient!
Step-by-Step Instructions
- Step 1:
- Prepare your springform pan properly - Line the bottom with parchment paper and lightly grease the sides for easy release later. The parchment prevents the brownie from sticking to the bottom.
- Step 2:
- Bake brownie layer carefully - Follow the box directions for a 9x9 pan, but watch closely as springform pans can alter baking time slightly. The brownie should be just set with a few moist crumbs when tested.
- Step 3:
- Chop chocolate finely - Smaller pieces melt more evenly when the hot cream is added. Uneven melting can lead to grainy mousse.
- Step 4:
- Heat cream to the right temperature - The cream should be hot enough to melt the chocolate completely but not boiling. If it's too hot, it can cause the chocolate to separate.
- Step 5:
- Fold whipped cream properly - Use a gentle folding motion with a spatula to preserve the air bubbles in the whipped cream, which gives the mousse its signature texture.
My sister-in-law doesn't typically enjoy chocolate desserts, claiming they're "too rich," but she had seconds of this cake at our last family gathering. She said the contrast between the dense brownie and light mousse created a perfect balance that didn't overwhelm her palate.
The Perfect Mousse Texture
The key to silky-smooth mousse lies in the folding technique. I've found that adding a small portion of whipped cream first to "lighten" the chocolate mixture makes incorporating the rest much easier without deflating those precious air bubbles. When folding in the remaining cream, use a large spatula and cut down through the center, scrape along the bottom, and fold up and over. Rotate the bowl a quarter turn and repeat until just combined.
Make-Ahead Magic
This dessert actually improves when made a day ahead, as the flavors meld and deepen overnight. It's perfect for entertaining since all the work is done well before guests arrive. I often make it on Friday for weekend dinner parties, which means less stress and more time enjoying my company.
Presentation Possibilities
While delicious as is, this cake offers a beautiful canvas for creative garnishes. I sometimes add chocolate curls made by dragging a vegetable peeler across a chocolate bar, or dust the top with cocoa powder through a fine mesh sieve. Fresh raspberries or sliced strawberries add a pop of color and bright flavor contrast.
Serving Suggestions
For the most beautiful slices, dip your knife in hot water and wipe dry between cuts. Serve with additional whipped cream on the side or a small scoop of vanilla ice cream for those who enjoy the hot-cold contrast.
I've made many elaborate desserts over the years, but this chocolate brownie mousse cake remains one of my favorites for its perfect balance of effort to reward. There's something magical about the contrast between the chewy brownie and ethereal mousse that satisfies chocolate cravings on multiple levels. When I need a dessert that's guaranteed to impress without causing kitchen stress, this is my reliable go-to.
Frequently Asked Questions
- → Can I make this Chocolate Brownie Mousse Cake ahead of time?
- Absolutely! This dessert is perfect for making ahead. The cake needs at least 6 hours to set, but can be made up to 2 days in advance. Just keep it covered in the refrigerator and add the whipped cream topping shortly before serving for the freshest presentation.
- → What kind of chocolate works best for the mousse?
- Bittersweet chocolate (around 60-70% cacao) gives the mousse the perfect balance of sweetness and rich chocolate flavor. You can use semisweet chocolate for a slightly sweeter mousse, or dark chocolate (70-85% cacao) for a more intense, less sweet flavor. Just make sure to use high-quality chocolate bars rather than chocolate chips for the smoothest texture.
- → Can I use a different size pan?
- The recipe is designed for a 9-inch springform pan, which creates the perfect height ratio of brownie to mousse. If you use a larger pan, the layers will be thinner and may require less baking/setting time. For a smaller pan, the layers will be thicker and may need more time. Just make sure your pan has high sides to accommodate both layers.
- → My mousse isn't setting properly. What went wrong?
- If your mousse isn't setting, there are a few possible causes: 1) The heavy cream wasn't whipped to proper peaks before folding into the chocolate 2) The chocolate mixture was too warm when you added the whipped cream 3) The mousse hasn't chilled long enough. Make sure to let the chocolate cool for 10 minutes before folding in the whipped cream, and give it the full 6 hours (or overnight) to set properly.
- → Can I freeze this chocolate brownie mousse cake?
- Yes, you can freeze the cake without the whipped cream topping for up to a month. Wrap it tightly in plastic wrap and then aluminum foil. Thaw overnight in the refrigerator before serving, and add fresh whipped cream topping after thawing. The texture of the mousse may change slightly after freezing but will still be delicious.