
 Pin it
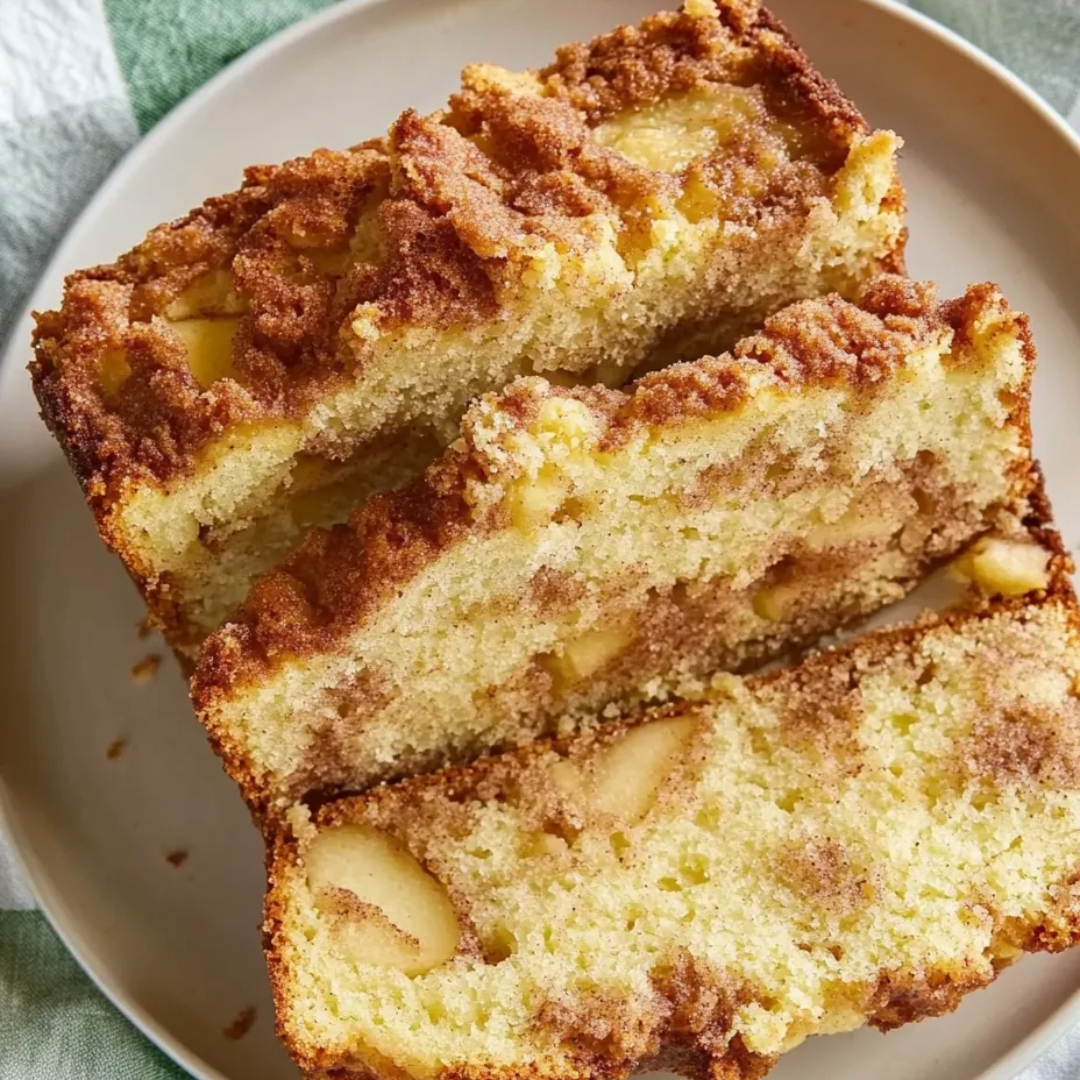
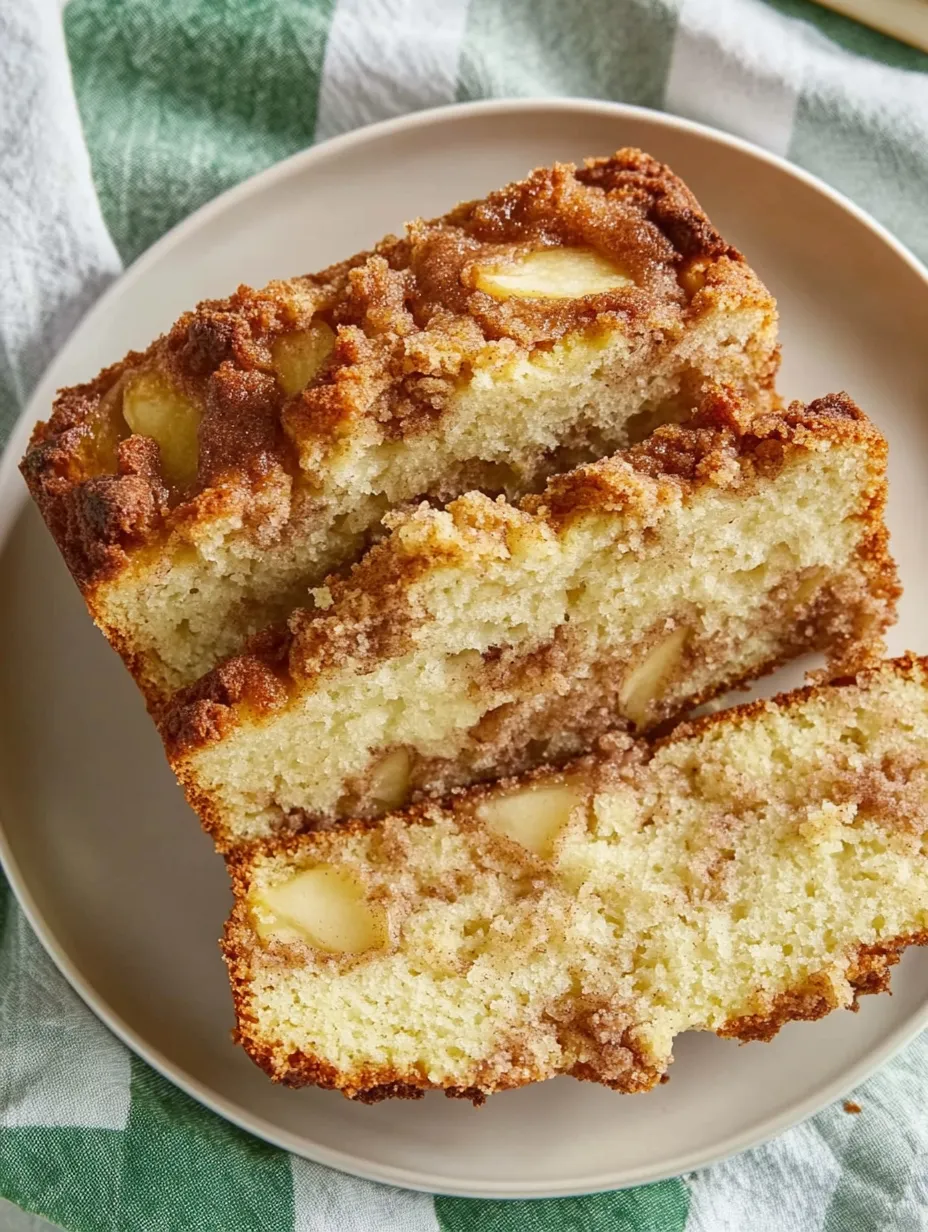
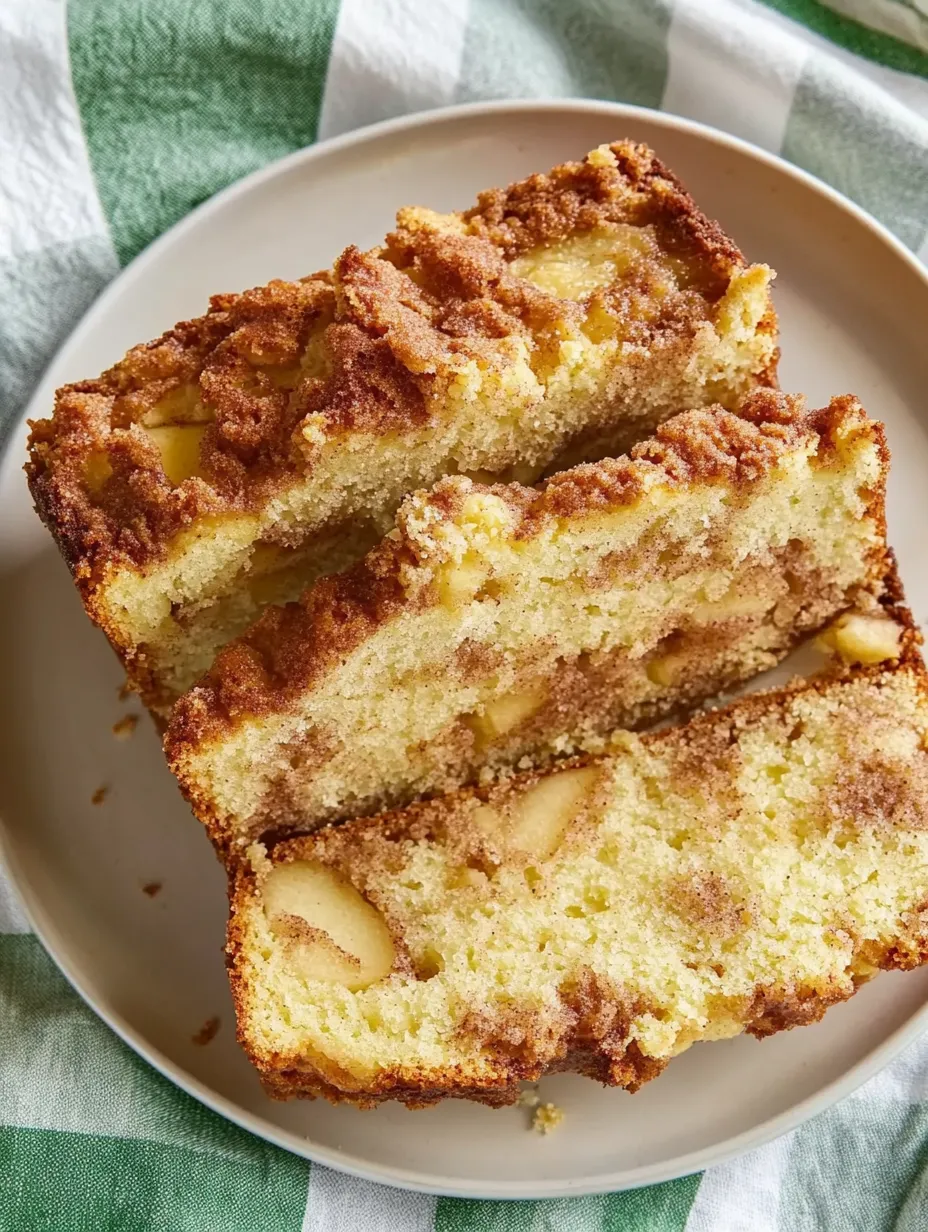
My love affair with this cinnamon apple cake began one crisp October afternoon when the first real chill of autumn had settled over our neighborhood. My daughter had just returned from apple picking with her school class, proudly carrying a paper bag overflowing with slightly imperfect but utterly charming Granny Smiths and Honeycrisps. As the wind whispered through golden leaves outside our kitchen window, I found myself craving something that would fill our home with warmth and the quintessential scents of fall. With my daughter standing on a step stool beside me, sleeves rolled up and eager to help, we measured and mixed and folded until our kitchen was perfumed with the intoxicating aroma of cinnamon and baking apples. That first bite—still slightly warm from the oven, the tender crumb studded with pockets of softened fruit and crunchy walnuts—was like autumn itself had been distilled into a perfect forkful. What began as a simple way to use up those apples has become our family's most requested fall tradition, the cake that signals the true beginning of the season in our home. There's something magical about how this unpretentious dessert transforms humble ingredients into something that tastes like it came from a high-end bakery, yet feels as comfortable and welcoming as your favorite sweater.
The first time I served this cake to my mother-in-law (who's notoriously particular about desserts), I watched nervously as she took her first bite. After a moment of silence, she looked up and asked, "Is this an old family recipe?" When I confessed it was something I'd developed on my own, she immediately requested a copy—the highest compliment she could possibly give. What surprised me most when developing this recipe was discovering how the simple addition of dark brown sugar creates a depth of caramel-like flavor that perfectly complements the apples without overwhelming them. It's become my secret weapon in creating a cake that tastes like it took hours of effort, when in reality it comes together in minutes.
Ingredients (with Selection Tips)
- Apples (1½ cups, peeled and chopped): Choose firm, tart varieties like Granny Smith, Honeycrisp, or Braeburn for the best texture and flavor balance. The tartness provides a perfect counterpoint to the sweet cake. When chopping, aim for uniform ½-inch pieces to ensure even baking and prevent the cake from becoming soggy in spots. A vegetable peeler makes quick work of removing the skins while preserving most of the fruit beneath.
- Butter (½ cup, softened): Real, unsalted butter is non-negotiable here for its incomparable flavor. Remove from the refrigerator about 30 minutes before baking for ideal softening. It should yield to gentle pressure but still hold its shape, not be melted or oily. The butter creates a tender crumb and carries the flavors of the spices throughout the cake.
- Granulated Sugar (½ cup): Regular white sugar provides the base sweetness and helps create a light texture by incorporating air when creamed with the butter. It also helps the exterior develop that slight crispness that contrasts beautifully with the moist interior.
- Dark Brown Sugar (½ cup, packed): This is my secret weapon in this recipe. The molasses content in dark brown sugar adds incredible depth and a subtle caramel undertone that perfectly complements the apples and cinnamon. Light brown sugar works in a pinch, but won't deliver quite the same richness. Make sure to pack it firmly when measuring for accurate results.
- Eggs (2 large): Eggs provide structure, moisture, and richness. Room temperature eggs incorporate more easily into the batter, so set them out with your butter if possible. The quality of your eggs makes a difference in both flavor and texture, so use the freshest available.
- Vanilla Extract (¼ teaspoon): A small amount enhances the other flavors without dominating. Use pure vanilla extract rather than imitation for the best flavor. While this isn't a primary flavor, its absence would be noticeable in the finished cake.
- All-Purpose Flour (1¼ cups): The structure of our cake. Measure by spooning flour into the measuring cup and leveling off with a knife for accuracy. Avoid scooping directly with the measuring cup, which can pack too much flour and result in a dense cake. For the tenderest crumb, handle the flour mixture gently once added to the wet ingredients.
- Baking Soda (1 teaspoon): The leavening agent that gives the cake its perfect rise. Make sure yours is fresh—if it's been open for more than six months, consider replacing it. The slightly tangy notes in the apples activate the baking soda for optimal leavening.
- Ground Cinnamon (1 teaspoon): The signature spice that makes this cake sing. Use fresh, aromatic cinnamon for the best flavor—cinnamon that's been sitting in your cabinet for years loses its potency. Ceylon cinnamon provides a more delicate flavor, while cassia (the most common type) offers a stronger, spicier note. Either works beautifully.
- Salt (¼ teaspoon): Just enough to balance the sweetness and enhance all the other flavors. I prefer kosher salt for its clean taste, but table salt works fine as well. Never skip the salt in sweet recipes—it's what makes them taste complete rather than flat.
- Walnuts (½ cup, chopped): For delightful textural contrast and nutty flavor. Chop them coarsely so they maintain some crunch against the tender cake. For maximum flavor, consider toasting them lightly in a dry skillet before adding to the batter. The walnuts provide a wonderful textural counterpoint to the soft apples and tender cake.
Step-by-Step Cooking Instructions
- Step 1:
- Preheat your oven to 350°F (175°C). This moderate temperature allows the cake to bake evenly, developing a golden exterior while keeping the interior moist and tender. While the oven heats, grease a 9-inch round cake pan thoroughly with cooking spray or butter. For easier removal, you can also line the bottom with parchment paper after greasing. A properly prepared pan ensures your beautiful cake won't stick when it's time to serve.
- Step 2:
- In a large mixing bowl, combine the softened butter, granulated sugar, and dark brown sugar. Using an electric mixer set to medium speed, beat this mixture for 2-3 minutes until it becomes noticeably lighter in both color and texture. This step is crucial—you're not just combining ingredients but incorporating air, which creates the foundation for a tender crumb. The mixture should look fluffy and almost mousse-like when properly creamed. Scrape down the sides of the bowl occasionally to ensure everything is evenly incorporated.
- Step 3:
- Add the eggs one at a time, beating well after each addition until fully incorporated. This gradual addition prevents the batter from curdling and ensures a smooth, even texture. After both eggs are incorporated, stir in the vanilla extract. The batter should now be smooth, glossy, and cohesive—a good sign that you're on the right track for a tender cake.
- Step 4:
- In a separate bowl, whisk together the all-purpose flour, baking soda, ground cinnamon, and salt. This even distribution of leavening agents and spices ensures no unpleasant pockets of any one ingredient in the finished cake. The whisking also aerates the flour slightly, contributing to a lighter texture. This may seem like an extra step, but it makes a noticeable difference in the even rise and flavor distribution of your cake.
- Step 5:
- Gradually add the dry ingredient mixture to the butter-sugar mixture, beating at low speed just until combined. The key word here is "just"—overmixing at this stage develops gluten, which can make your cake tough rather than tender. Stop mixing as soon as the last streaks of flour disappear. The batter will be fairly thick, which helps suspend the apples and nuts throughout rather than letting them sink to the bottom.
- Step 6:
- Using a rubber spatula, gently fold in the chopped apples and walnuts until evenly distributed throughout the batter. The folding motion—cutting down through the center, scraping across the bottom, and turning the batter over—preserves the air you've incorporated while ensuring even distribution. This gentle hand keeps your cake light while distributing the star ingredients throughout every slice.
- Step 7:
- Pour the batter into your prepared cake pan, using the spatula to spread it evenly to the edges. Give the pan a couple of gentle taps on the counter to release any large air bubbles that might create holes in your finished cake. The top doesn't need to be perfectly smooth—it will even out as it bakes, and any little peaks will become deliciously crisp in the oven.
- Step 8:
- Place the pan in the center of your preheated oven and bake for 40-45 minutes, until the top is golden brown and a toothpick inserted into the center comes out clean or with just a few moist crumbs (not wet batter). Begin checking at the 35-minute mark, as ovens vary. The cake will also pull away slightly from the sides of the pan when it's done. Your kitchen will fill with the most incredible aroma of cinnamon and baking apples—better than any candle you could buy!
- Step 9:
- Allow the cake to cool in the pan for 10-15 minutes. This rest period allows the structure to set, making it less likely to break when removed from the pan. After this initial cooling, carefully invert the cake onto a wire rack, then turn it right side up to cool completely. If you used parchment paper, it should release easily; if not, running a thin knife around the edge before inverting helps ensure clean removal.
- Step 10:
- Once completely cooled, transfer to a serving plate. For a simple but elegant presentation, dust the top with powdered sugar just before serving. For a more decadent dessert, serve slightly warm with a scoop of vanilla ice cream or a drizzle of caramel sauce. The cake can be served at room temperature but tastes especially wonderful when warmed slightly—15 seconds in the microwave brings back that fresh-baked quality.
I've always been particularly fond of how this cake transforms throughout its life. Fresh from the oven, it's all about the contrast between the slightly crisp exterior and the tender, warm interior. The next morning, it becomes the perfect breakfast companion to coffee, with the flavors having deepened overnight. By the third day (if it lasts that long), warming a slice gently brings back all its original charm. My husband claims the edge pieces as his territory, loving the slightly caramelized crust, while my daughter always reaches for the center slices with their super-moist texture. For my part, I'm happy with any piece, especially when enjoyed in that quiet moment when the house is still and I can savor each bite along with the satisfaction of having created something that brings my family such simple joy.
Storage and Serving Suggestions
This cake keeps beautifully at room temperature, covered loosely with foil or plastic wrap, for up to two days. For longer storage, refrigerate in an airtight container for up to five days. The cake actually improves after a day as the flavors meld and develop.
For the ultimate dessert experience, warm a slice slightly and serve with a scoop of vanilla ice cream or a dollop of lightly sweetened whipped cream. For breakfast or afternoon tea, it's perfect as is or with a light dusting of powdered sugar. If you're feeling indulgent, a drizzle of warm caramel sauce takes it to heavenly heights.
Creative Variations
Over the years, I've experimented with several delicious variations on this basic recipe:
- Autumn Spice Version: Add ¼ teaspoon each of nutmeg, allspice, and cloves for a more complex spice profile.
- Maple Glaze Topping: Combine 1 cup powdered sugar with 2 tablespoons maple syrup and 1-2 tablespoons milk for a sweet finish.
- Apple-Cranberry Twist: Substitute ½ cup of the apples with fresh or dried cranberries for a festive holiday variation.
This Easy Cinnamon Apple Cake embodies everything I love about fall baking—simple ingredients transformed into something that tastes complex and special, a recipe forgiving enough for beginners but delicious enough for discerning palates, and a dessert that fills your home with the season's best aromas. There's something profoundly satisfying about serving a slice of still-warm cake on a chilly evening, watching faces light up with the first bite, and knowing that you've created not just a dessert but a moment of connection and comfort. In our fast-paced world, these simple pleasures—the ritual of mixing and measuring, the transformative magic of baking, and the joy of sharing something made with care—remind us that sometimes the most ordinary ingredients can create the most extraordinary experiences.
Frequently Asked Questions
- → Can I use different types of apples in this cake?
- Yes! While Honeycrisp or Gala apples are recommended for their sweet-tart flavor and firm texture, you can use any baking apple. Granny Smith provides more tartness, while Fuji or Pink Lady offer sweetness. Mix varieties for complex flavor.
- → Can I make this cake without nuts?
- Absolutely! Simply omit the walnuts for a nut-free version. You can replace them with raisins, dried cranberries, or even white chocolate chips if you'd like to maintain the extra texture and flavor dimension.
- → How do I know when the cake is done baking?
- Insert a toothpick into the center of the cake - it should come out clean or with a few moist crumbs (but no wet batter). The cake should also be golden brown and slightly pulling away from the sides of the pan.
- → Can I freeze this apple cake?
- Yes, this cake freezes beautifully! Let it cool completely, then wrap tightly in plastic wrap followed by aluminum foil or place in an airtight container. Freeze for up to 3 months. Thaw overnight in the refrigerator before serving.
- → What can I serve with this cinnamon apple cake?
- This cake is delicious on its own, but pairs wonderfully with vanilla ice cream, whipped cream, or a drizzle of caramel sauce. For a special brunch, serve with a dollop of Greek yogurt and a light dusting of powdered sugar.