
 Pin it
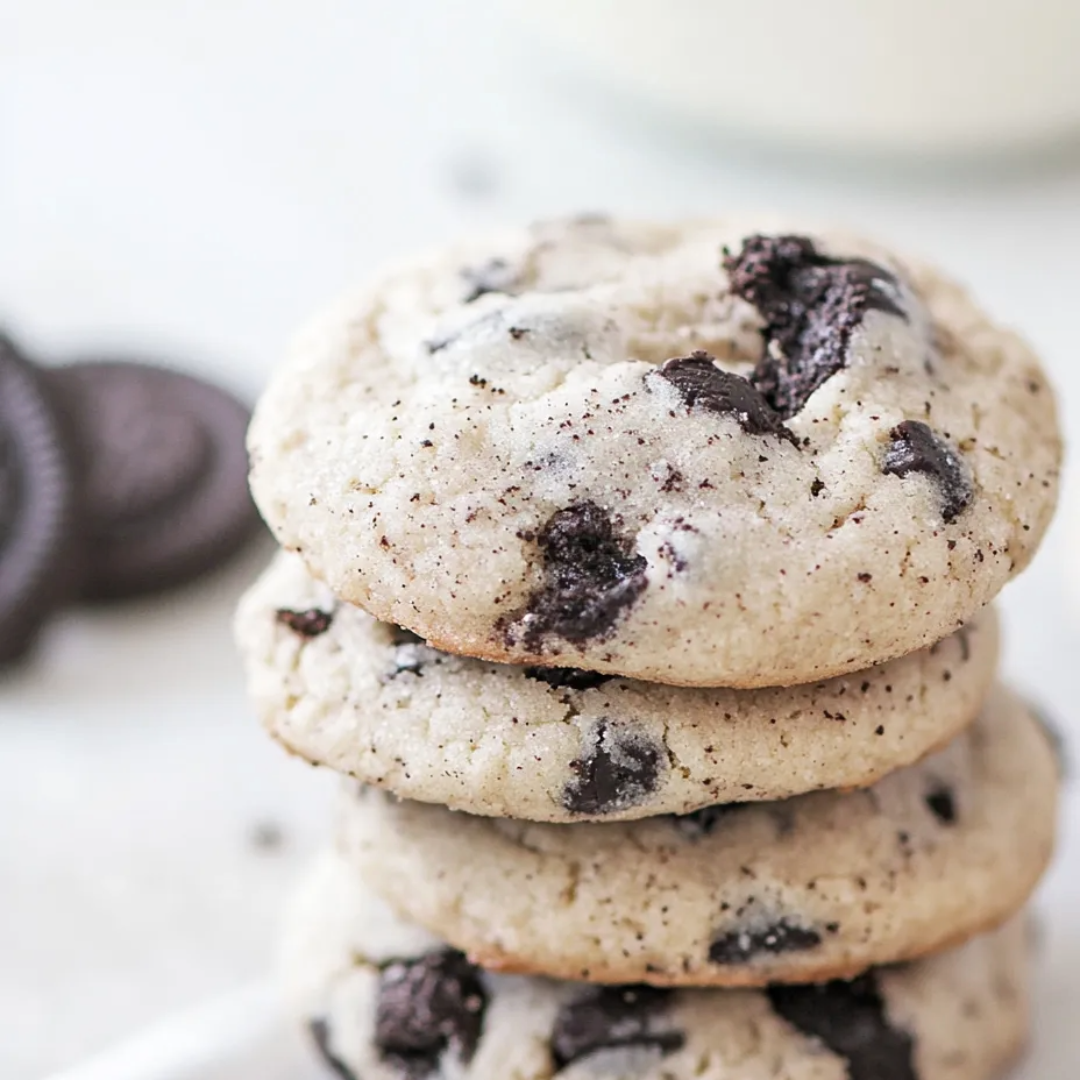
These soft vanilla cookies packed with chopped Oreos create the ultimate cookies 'n' cream experience in cookie form! The sweet vanilla cookie dough perfectly complements the chocolate cookie pieces throughout, creating a treat that's impossible to resist. I've made these countless times, and they vanish within minutes every single time.
I first made these for my son's study group, and they've requested them for every meeting since. The first time I mixed this dough, I actually had to make a second batch because I couldn't stop sneaking spoonfuls of the raw dough—it's that irresistible!
Ingredients
- 1 cup (2 sticks) unsalted butter, softened: The butter needs to be at room temperature so it creams properly with the sugar, creating that perfect cookie texture.
- 1½ cups granulated sugar: Provides sweetness and helps create those slightly crisp edges while maintaining a soft center.
- 2 large eggs: They bind everything together and add moisture. Room temperature eggs incorporate much better into the dough.
- 2 teaspoons vanilla extract: Don't skimp here! The vanilla flavor is what makes these cookies special and complements the Oreos perfectly.
- 3 cups all-purpose flour: Provides structure to the cookies. Measure by spooning into your measuring cup and leveling off for accuracy.
- 1 teaspoon baking soda: The leavening agent that helps the cookies rise just enough without becoming cakey.
- ½ teaspoon salt: Enhances all the flavors and balances the sweetness.
- 20 Oreo cookies, coarsely chopped: About 2 cups when chopped. Don't crush them too finely—you want visible chunks throughout the cookies.
Step-by-Step Instructions
- Prepare your baking space:
- Preheat your oven to 350°F. Line your baking sheets with parchment paper or silicone baking mats. This prevents sticking and makes cleanup easier. Make sure your butter and eggs are at room temperature before starting.
- Cream butter and sugar:
- In a large mixing bowl, beat the softened butter and granulated sugar together until light and fluffy, about 3-4 minutes. Don't rush this step! Proper creaming incorporates air into the dough, creating the perfect texture. The mixture should visibly lighten in color and appear fluffy.
- Add eggs and vanilla:
- Add the eggs one at a time, beating well after each addition until fully incorporated. Pour in the vanilla extract and mix until well combined. Scrape down the sides of the bowl with a rubber spatula to ensure everything is evenly mixed.
- Combine dry ingredients:
- In a separate bowl, whisk together the flour, baking soda, and salt. This ensures the leavening agents are evenly distributed throughout the flour.
- Mix wet and dry ingredients:
- Gradually add the dry ingredients to the wet mixture, mixing on low speed just until combined. Be careful not to overmix, as this can result in tough cookies. Stop mixing as soon as no flour streaks remain.
- Prepare the Oreos:
- Place the Oreo cookies in a ziplock bag and crush them using a rolling pin, or chop them with a knife on a cutting board. You want a mix of larger chunks and smaller pieces for texture variety throughout the cookies.
- Fold in the Oreos:
- Gently fold the chopped Oreos into the cookie dough using a wooden spoon or rubber spatula. Make sure they're evenly distributed throughout the dough.
- Portion the cookies:
- Using a medium cookie scoop (about 2 tablespoons), scoop the dough onto the prepared baking sheets, spacing them about 2 inches apart. These cookies will spread slightly while baking.
- Bake to perfection:
- Bake the cookies for 10-12 minutes, until the edges are just set and turning a light golden color. The centers will look slightly underdone—this is perfect! They'll continue cooking on the hot baking sheet after removal from the oven.
- Cool properly:
- Allow the cookies to cool on the baking sheet for 5 minutes before transferring them to a wire rack to cool completely. This cooling period on the sheet allows them to set up properly without overcooking.
The Perfect Cookie Texture
What makes these cookies so special is their perfect texture—slightly crisp at the edges but wonderfully soft and chewy in the center. The key is not overmixing the dough and not overbaking the cookies. When you remove them from the oven, they should look slightly underdone in the centers, as they'll continue to bake from the residual heat.
The Magic of Vanilla and Oreos
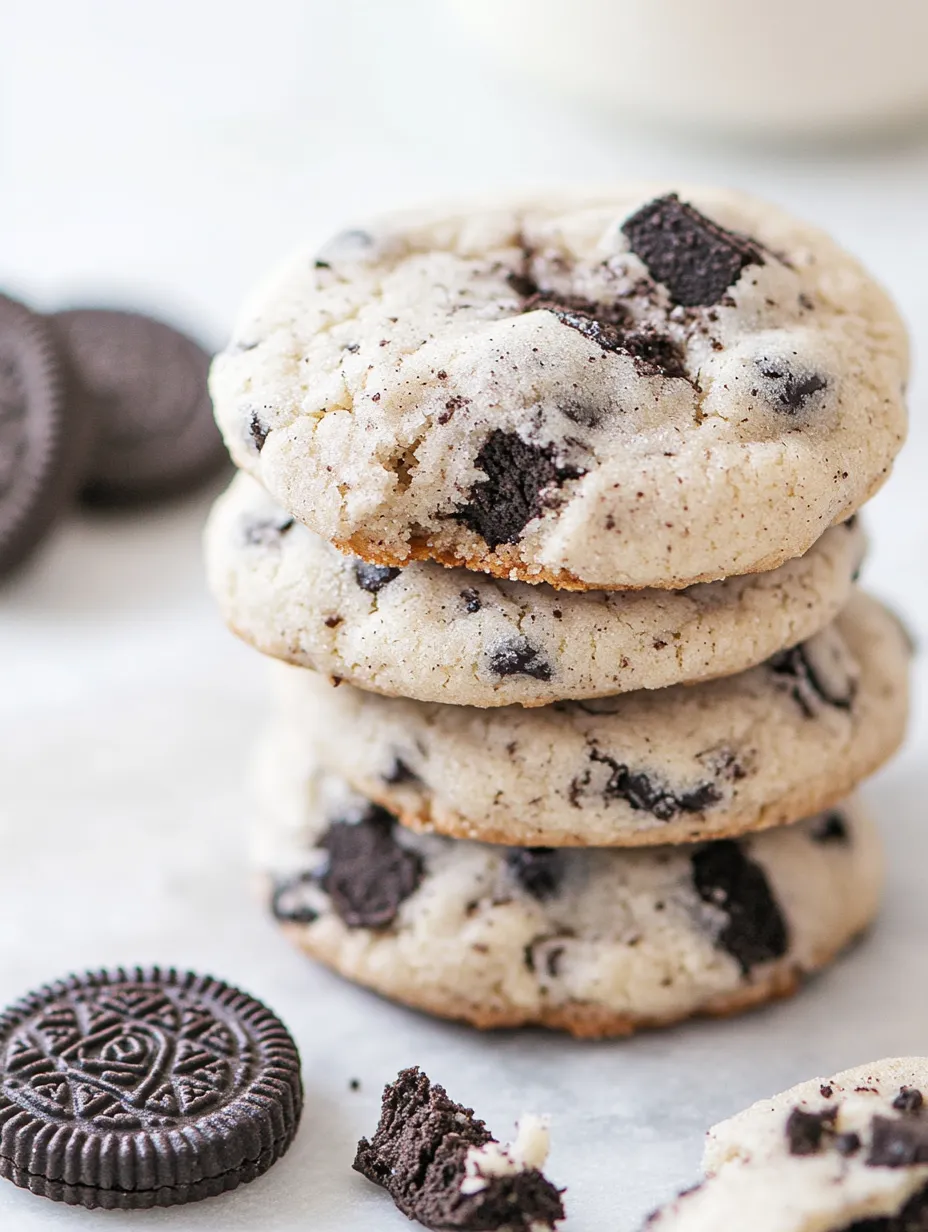
There's something magical about the combination of a vanilla cookie base with chunks of Oreos. The contrast between the sweet, vanilla-forward dough and the chocolatey, slightly bitter Oreo pieces creates a perfect harmony that's more complex than either component on its own. It's like having cookies and cream ice cream in cookie form!
Cookie Storage Secrets
These cookies stay amazingly soft for days when stored properly. The key is to store them in an airtight container once they've completely cooled. For maximum freshness, place a piece of bread in the container with the cookies—it will give up its moisture to the cookies, keeping them soft and chewy.
Freezing Options
The dough freezes beautifully if you want to prepare ahead of time. Roll the dough into balls, place them on a baking sheet, and freeze until solid. Transfer the frozen dough balls to a ziplock bag and store in the freezer for up to 3 months. When ready to bake, you can place the frozen dough balls directly on a baking sheet and add 2-3 minutes to the baking time.
I learned the hard way that store-brand sandwich cookies just don't have the same flavor profile as genuine Oreos. The filling has a different sweetness level, and the chocolate cookies lack that distinctive Oreo taste that makes these cookies so special. Treat yourself to the real thing for this recipe!
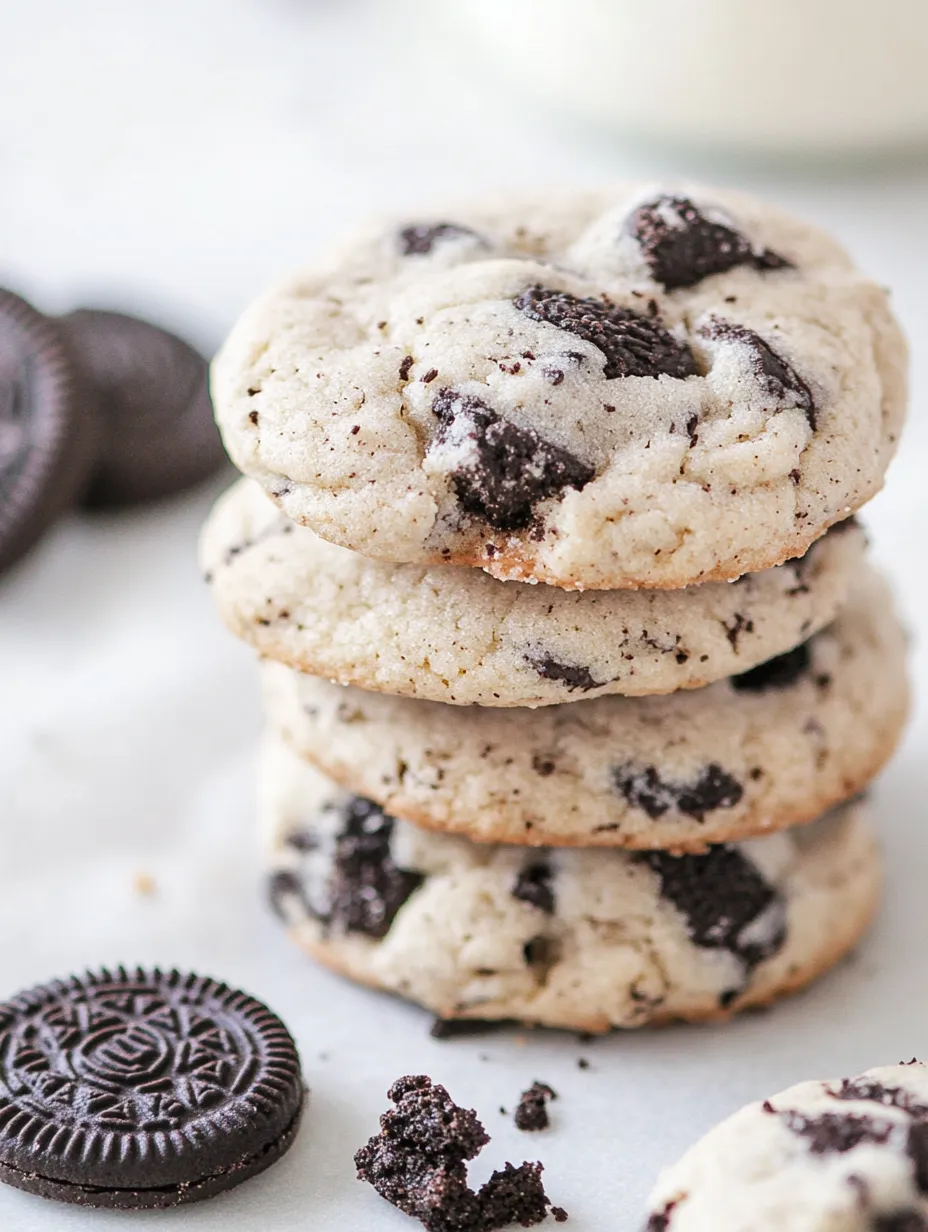
After making these countless times, I've found that hand-chopping the Oreos gives the best distribution of pieces throughout the cookie. The food processor tends to pulverize them too much, and you lose those delightful chunks that make biting into these cookies so satisfying.
These Cookies 'n' Cream Cookies have become my go-to when I need to impress guests or bring something to a gathering. They manage to be both familiar and exciting at the same time, and their contrast of textures and flavors makes them irresistible to just about everyone. The dough alone is worth making the recipe, but if you can resist eating it all before baking, the finished cookies are truly spectacular!
Frequently Asked Questions
- → Why do I need to freeze the Oreo pieces?
- Freezing the chopped Oreos helps them keep their structure during baking, ensuring you get distinct crunchy Oreo pieces in your finished cookies.
- → Can I substitute the coconut oil?
- You can substitute the coconut oil with an equal amount of butter if preferred, though it may slightly change the texture and flavor.
- → How do I know when these cookies are done baking?
- The cookies are done when they're puffy and firm around the edges but still look pale. If you wait until they're golden, they'll be crunchy rather than soft.
- → Can I use different Oreo flavors?
- Absolutely! Try using mint, golden, or any seasonal Oreo varieties to create your own unique flavor combinations.
- → How should I store these cookies?
- Store in an airtight container at room temperature for up to 5 days. You can also freeze the baked cookies for up to 3 months.