Homemade French bread recipe making two loaves. Takes about 3 hours 40 minutes total with rise time. Creates golden, crusty bread perfect for any meal.
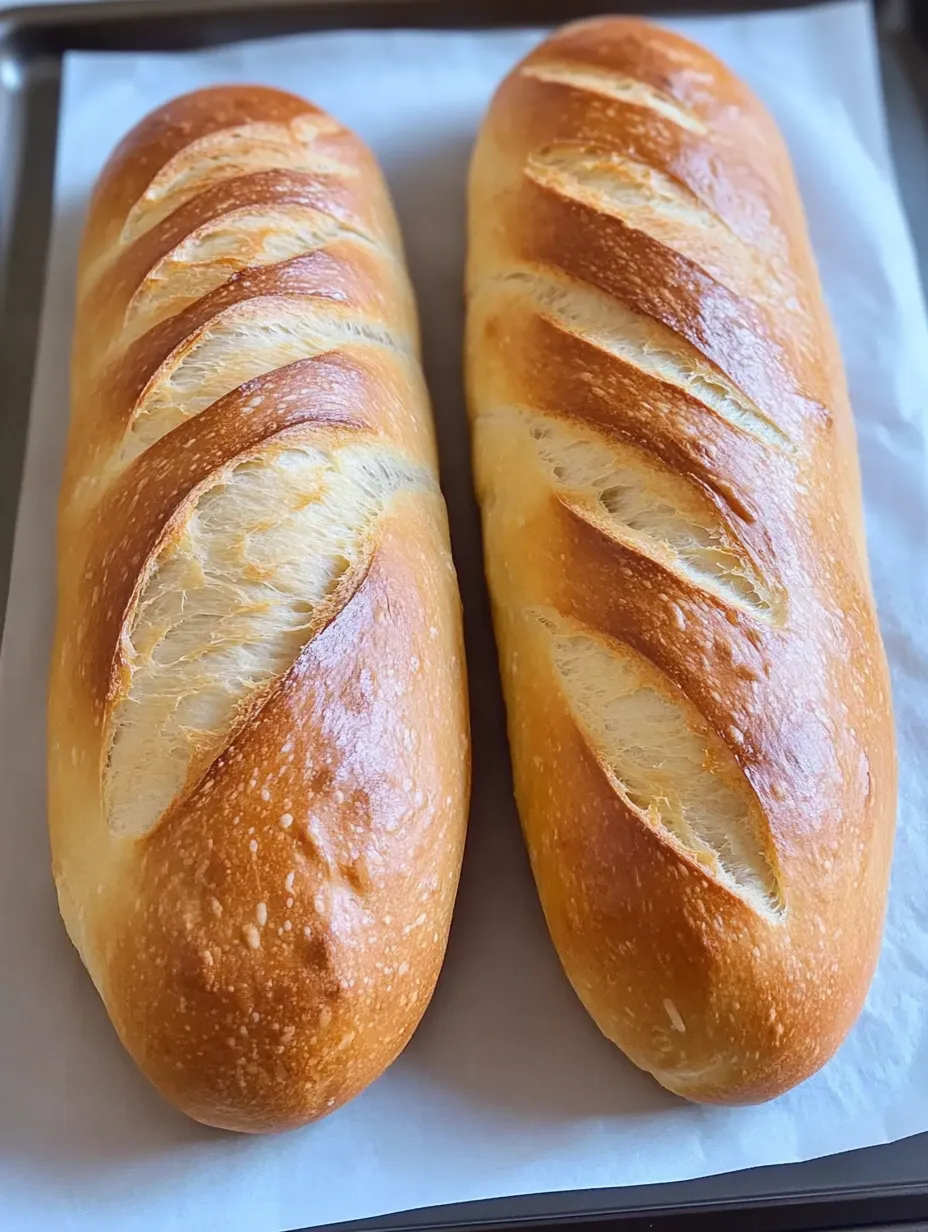
Pin itTwo loaves of bread are sitting on a tray, ready to be eaten. | yummyflavorsrecipes.com
A perfectly crusty loaf of homemade French bread is one of life's simple pleasures. This beginner-friendly recipe creates light, fluffy bread with a golden crust that rivals any bakery version. After years of bread baking, I've found that this straightforward method produces consistent, delicious results that make your kitchen smell like a Parisian boulangerie.
Just last week, I taught my neighbor this recipe, and she couldn't believe how simple it was to achieve that perfect crusty exterior and tender interior. The look on her face when she pulled those golden loaves from the oven was priceless.
Essential Ingredients and Selection Tips:
Flour: All-purpose or bread flour work equally well - measure by spooning into cups
Yeast: Either instant or active dry yeast produces great results
Water: The temperature should feel like warm bath water on your wrist
Salt: Don't skip it - it's crucial for flavor and proper rising
Sugar: Just a touch helps activate the yeast and encourages browning
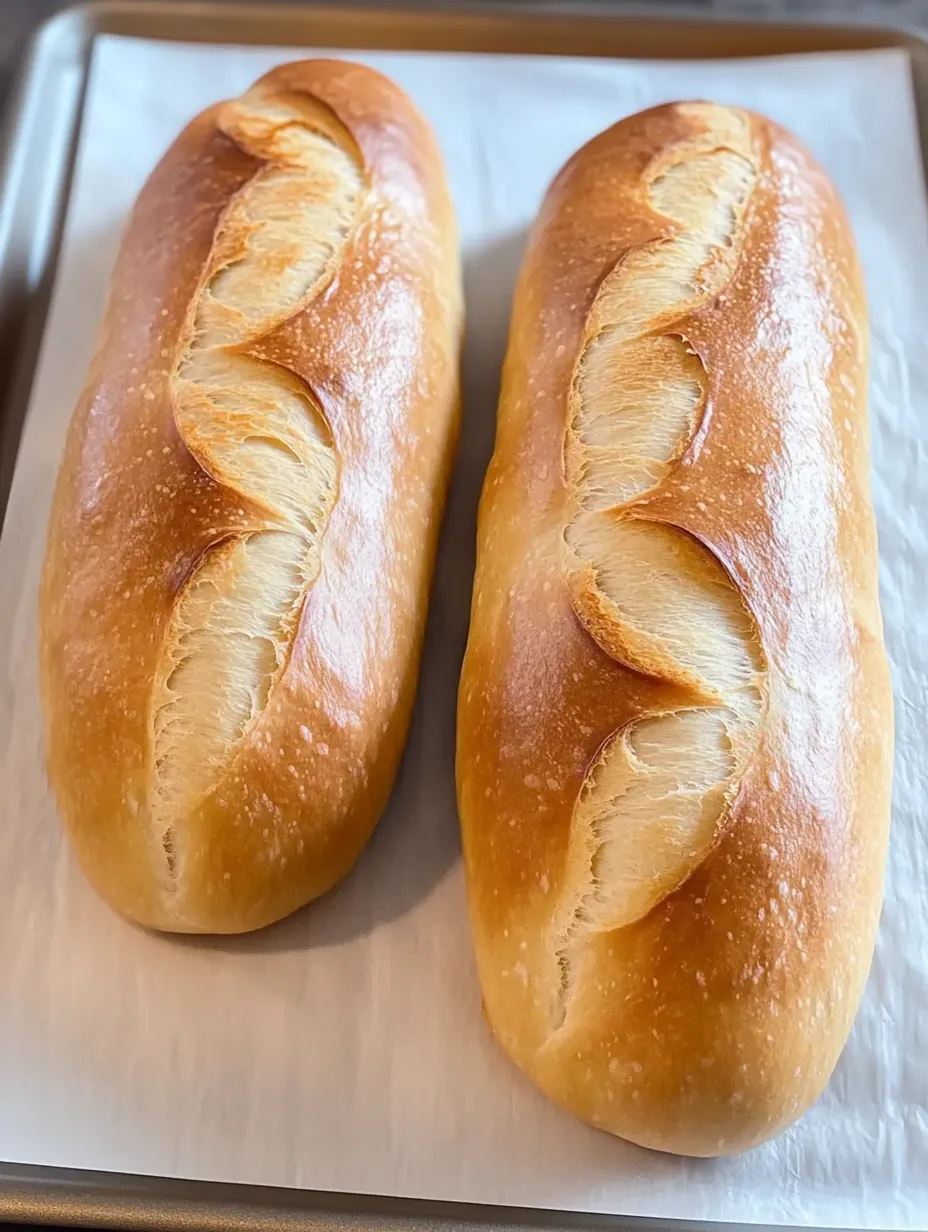
Two loaves of bread are sitting on a table. | yummyflavorsrecipes.com
Detailed Cooking Instructions:
Making the Perfect Dough: Start with warm water to activate the yeast properly
Add ingredients in the right order for best incorporation
Knead until the dough becomes smooth and elastic
Look for the dough to clear the sides of the bowl
Mastering the Rise: Choose either the 10-minute increment method or traditional rise
Watch for the dough to double in size
Test readiness by gently pressing with a finger
Keep dough covered to prevent drying
Shaping with Confidence: Press each portion into a flat rectangle
Roll tightly from the bottom edge
Seal seams thoroughly with fingertips
Create even thickness throughout
Baking to Perfection: Score loaves before final rise
Create steam with ice cubes for crispy crust
Watch for golden brown color
Cool on rack before slicing
Growing up watching my mother bake bread, she always said "the dough will tell you what it needs." Those words ring true every time I make this recipe. The texture of the dough is your best guide - it should feel alive and cooperative under your hands.
Understanding Your Dough:
The magic happens during kneading when the dough transforms from shaggy to smooth. I've learned to trust my hands more than the clock - you're looking for a dough that feels like a soft earlobe when poked. Too sticky means add flour gradually; too firm means you might need a touch more water.
Temperature Matters:
Your kitchen's temperature plays a crucial role in bread making. On chilly days, I create a warm environment by placing the dough near (not on) a preheating oven. Some bakers use the "proof" setting on their oven, but I find the gentle warmth of a kitchen corner works just as well.
Perfecting the Shape:
Shaping French bread is like swaddling a baby - you want it snug but not too tight. Each fold creates layers that contribute to that perfect interior texture. Take your time with the sealing process; those well-pinched seams ensure your loaf holds its shape during baking.
Storage Success:
French bread is best enjoyed fresh, but proper storage helps maintain quality. Store completely cooled bread in a paper bag at room temperature for up to two days. For longer storage, freeze whole or sliced loaves in airtight bags for up to three months.
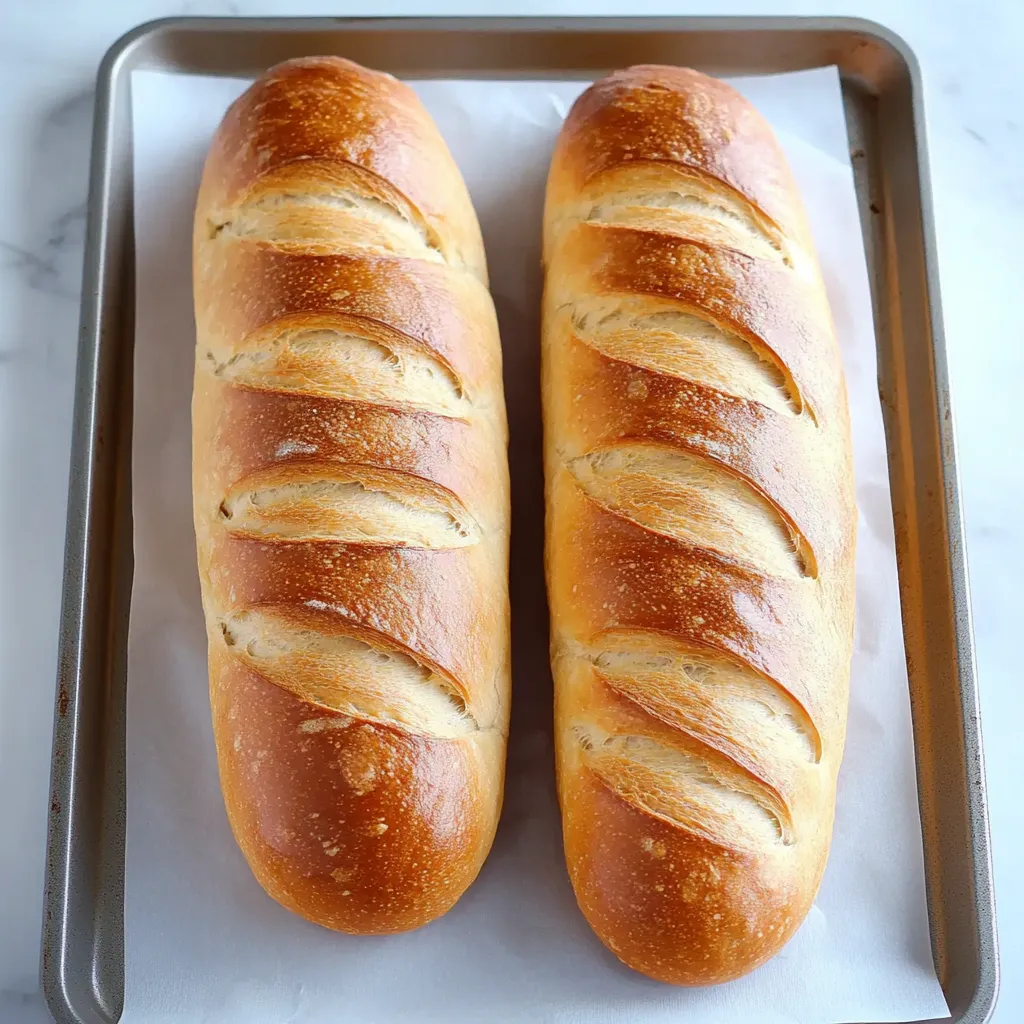
Two loaves of bread are sitting on a table. | yummyflavorsrecipes.com
Chef's Helpful Tips:
Brush the loaves with water just before baking for extra crispiness
Position your oven rack in the center or slightly above for optimal browning
Let loaves cool completely before slicing for the best texture
After years of baking this bread, I've come to appreciate how forgiving this recipe truly is. Whether you're an experienced baker or just starting out, success comes from understanding the dough and being patient with the process. The reward is those perfect loaves, crackling as they cool on your counter, filling your home with the irreplaceable aroma of freshly baked bread.
Frequently Asked Questions
→ Can I use whole wheat flour?
Yes, start by substituting half the flour with white whole wheat and increase kneading time by 2-3 minutes.
→ Why add ice cubes to the oven?
Creates steam for a crispier crust, but check your oven manual first as not all ovens allow this.
→ Can I make this without a mixer?
Yes, mix and knead by hand using a large bowl and wooden spoon.
→ How do I know when to stop adding flour?
Dough should be soft and slightly tacky but not sticky, clearing sides of bowl.
→ Should I brush with butter after baking?
Optional - butter creates softer crust, skip for crispier crust.
Classic French Bread Recipe
Classic French bread with a golden crust and soft interior - makes two perfect loaves.

 Pin it