
 Pin it
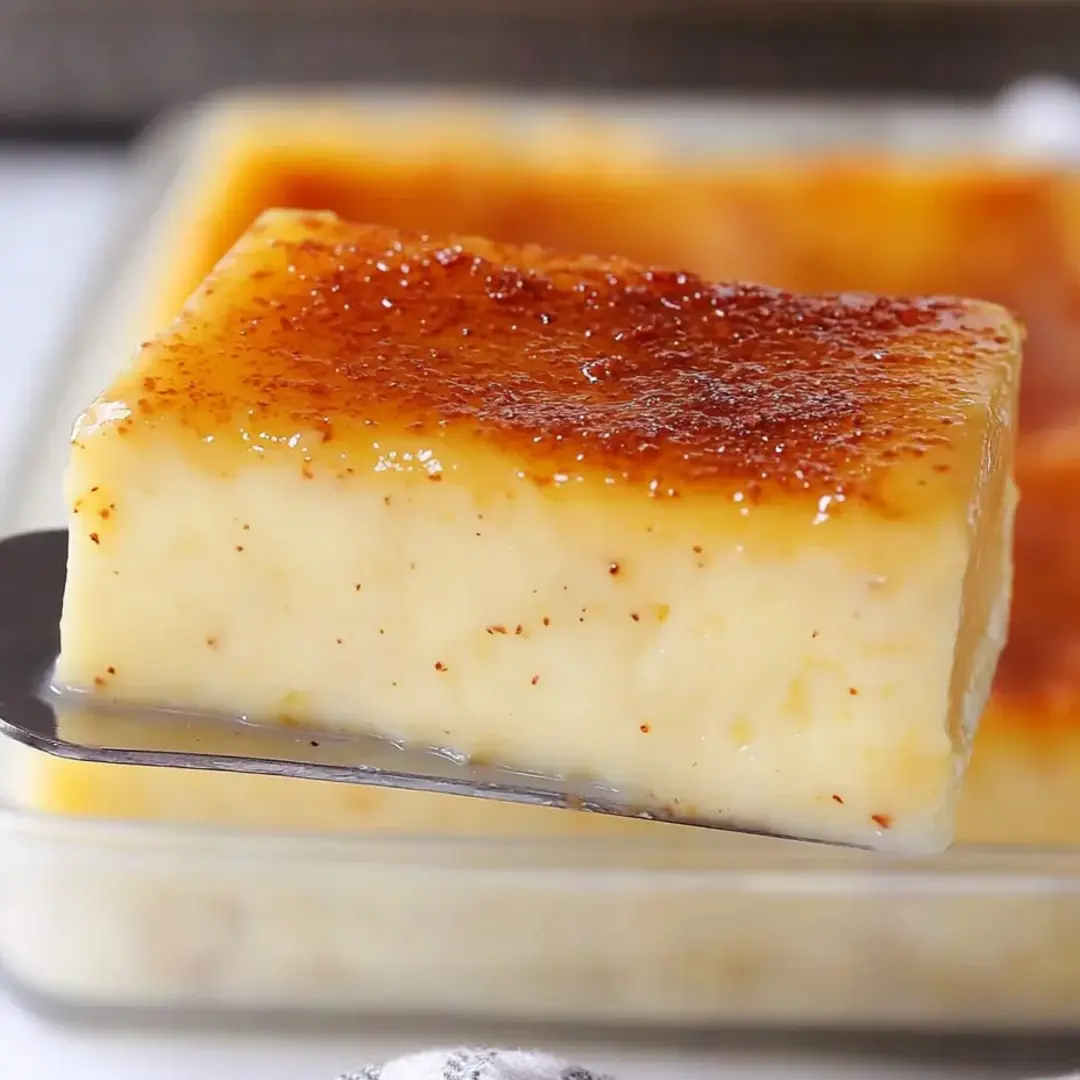
Silky, Foolproof Egg Custard: A Nostalgic Comfort Dessert
Egg custard captivates with its silky texture and delicate sweetness, creating a dessert that feels like a warm hug in each spoonful. This classic treat transforms humble ingredients into something truly special through a careful balance of temperature and technique. After years of frustrating attempts resulting in either soupy or curdled messes, I've finally perfected a foolproof method that delivers that nostalgic, smooth custard that rivals what grandmothers have been making for generations. The subtle vanilla notes and warming nutmeg create a dessert that's sophisticated in its simplicity and comforting in its familiarity.
I first became obsessed with custard as a child, watching my grandmother effortlessly whip up batches that seemed like pure magic. My own attempts fell flat for years until I discovered the precise techniques that make all the difference. The first time I successfully made this recipe, I called my mother immediately – the student had finally become the master! Now it's my go-to dessert when I need something dependable yet impressive.
Essential Ingredients
- Fresh eggs: Form the foundation of your custard, providing structure and richness. Look for eggs with bright, orange-yellow yolks for the most vibrant color and flavor. Farm-fresh eggs make a noticeable difference here.
- Whole milk: Creates the silky base that carries the flavor. Full-fat milk is essential – don't substitute lower-fat alternatives as they'll produce a thinner, less satisfying texture.
- Granulated sugar: Balances the egg flavor with just the right sweetness. Fine sugar dissolves more easily, ensuring a smooth finish without grittiness.
- Pure vanilla extract: Adds depth and warmth to the custard. Choose real vanilla extract rather than artificial for a cleaner, more authentic flavor profile.
- Ground nutmeg: Provides that classic custard finish with gentle warming spice. Freshly grated nutmeg offers significantly more aroma and flavor than pre-ground, but either will work.
- Salt: The unsung hero that enhances all other flavors. Even this small amount makes a significant difference in the final taste, bridging the gap between sweet and rich.
Detailed Cooking Instructions
- Step 1:
- Prepare your baking environment - Begin by preheating your oven to 325°F. This moderate temperature is crucial – too hot and your eggs will curdle, too cool and the custard won't set properly. Place a rack in the middle position of your oven where heat distributes most evenly. Find a baking dish that will comfortably hold your 6-8 ramekins with space between them.
- Step 2:
- Create your egg mixture with precision - In a medium bowl, gently whisk 4 large eggs just until the yolks and whites are combined – overbeating will incorporate too much air, resulting in a less smooth texture. Add ½ cup granulated sugar, ¼ teaspoon salt, and 2 teaspoons vanilla extract. Whisk until the sugar begins to dissolve and the mixture looks homogeneous, about 1 minute. The mixture should feel silky between your fingers, with no distinct sugar granules.
- Step 3:
- Heat milk to the perfect temperature - Pour 2 cups of whole milk into a saucepan over medium heat. Using a kitchen thermometer, monitor the temperature closely as it rises. Look for tiny bubbles forming around the edge of the pan as it approaches 180°F – this precise temperature is critical as it's hot enough to infuse flavor but not so hot that it will instantly cook the eggs when combined. Remove from heat immediately when the temperature is reached.
- Step 4:
- Master the tempering technique - Here's where the magic happens: Very slowly pour the hot milk into the egg mixture in a thin stream while whisking continuously and vigorously. This gradual incorporation prevents the hot milk from cooking the eggs too quickly. Keep the whisk moving constantly throughout this process, focusing on the area where the milk enters the bowl to immediately incorporate it.
- Step 5:
- Strain for ultimate smoothness - Even with careful tempering, tiny bits of cooked egg proteins might form. Pour the mixture through a fine-mesh strainer into a large measuring cup or bowl with a pour spout. This extra step ensures the silkiest possible custard by removing any lumps or coagulated proteins that would disrupt the smooth texture.
- Step 6:
- Set up for even baking - Arrange 6-8 ramekins (depending on size) in your baking dish, leaving space between each one for even heat distribution. Carefully pour the strained custard mixture into each ramekin, filling them about ¾ full. The space at the top prevents spillover during baking and makes for easier transport to the oven.
- Step 7:
- Create a protective water bath - Place the baking dish with filled ramekins on the oven rack, then carefully pour hot water into the baking dish until it reaches halfway up the sides of the ramekins. This water bath, or bain-marie, ensures gentle, even heating that prevents the custard from curdling or cracking. The water temperature moderates the cooking process beautifully.
- Step 8:
- Bake with attention - Gently sprinkle a light dusting of ground nutmeg over the top of each custard. Bake for 25-30 minutes, but begin checking at the 20-minute mark. The custards should be set around the edges but still have a slight jiggle in the center when gently shaken – similar to how a just-set gelatin moves. A knife inserted near the center should come out clean, but don't overbake waiting for complete firmness.
- Step 9:
- Cool with care - Carefully remove the baking dish from the oven, then lift the ramekins from the water bath using tongs or a spatula. Allow the custards to cool on a wire rack for 15 minutes before serving warm, or refrigerate for at least 2 hours to enjoy chilled. The custard will continue to set as it cools, achieving that perfect, silky texture.
Serving Suggestions and Variations
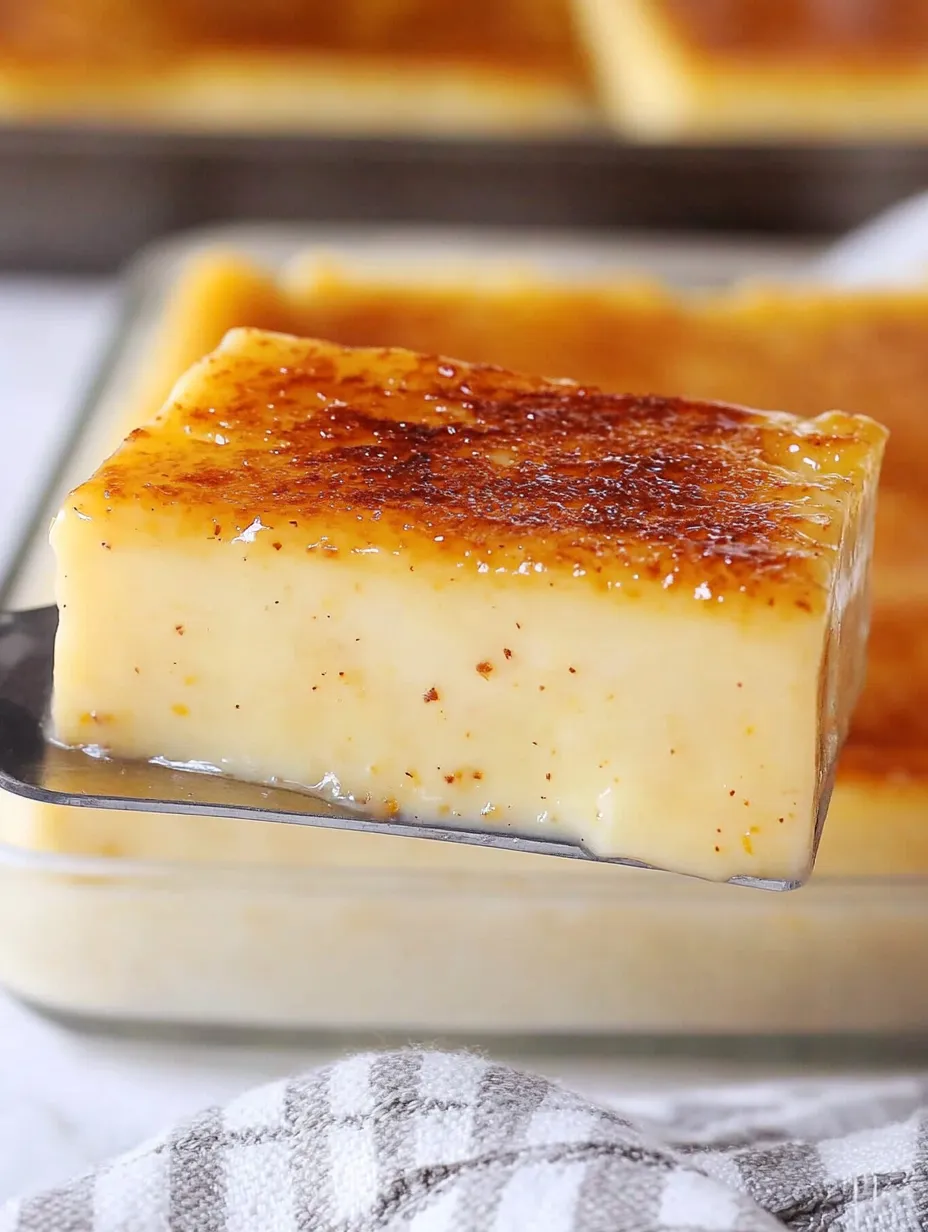
While classic egg custard needs no embellishment, there are wonderful ways to adapt this recipe throughout the year. In spring, try topping with fresh berries and a light dusting of powdered sugar. Summer calls for a drizzle of local honey and perhaps a sprig of fresh mint. Fall is perfect for swapping the nutmeg for cinnamon and adding a touch of maple syrup to the custard base. Winter holidays invite a splash of bourbon in the mix and perhaps a caramelized sugar topping, reminiscent of crème brûlée.
Make-Ahead and Storage Tips
One of the beautiful aspects of egg custard is that it actually improves with a bit of time. Make it up to two days ahead and store covered in the refrigerator for the perfect ready-made dessert. The flavors meld and deepen, while the texture sets into silky perfection. If serving chilled custards that have been refrigerated overnight, let them sit at room temperature for about 15 minutes before serving to take the edge off the cold and allow the flavors to bloom.
Troubleshooting Common Custard Problems
Even with a foolproof recipe, custards can sometimes be temperamental. If your custard develops a slightly grainy texture, your oven temperature was likely too high. Next time, reduce by 25°F and extend the baking time. Weeping or syneresis (when liquid separates from the custard) usually indicates overcooking – remember that custards firm up significantly as they cool. If custard never sets properly, the mixture may not have reached a high enough temperature during baking; ensure your oven is properly calibrated.
The Secret to Restaurant-Quality Presentation
For a truly professional finish, try this restaurant trick: after custards are completely chilled, run a thin knife around the edge of each ramekin, place a dessert plate on top, and quickly invert. Give the ramekin a gentle shake and lift – the custard should release in a perfect, freestanding form. Garnish the plate with fresh seasonal berries or a light cookie for a dessert worthy of any fine dining establishment.
I've found that farm-fresh eggs make a noticeable difference in both the color and flavor of the final custard. The first time I made this with eggs from my neighbor's chickens, the custard had a gorgeous golden hue that store-bought eggs just couldn't match. My daughter, who had always been lukewarm about custard, took one bite and declared it tasted like "sunshine and comfort" – perhaps the highest praise a dessert can receive!
My final thought on this foolproof egg custard is that it exemplifies how the simplest ingredients, when treated with care and precision, can create something truly extraordinary. There's something profoundly satisfying about carrying on culinary traditions that have brought comfort to generations before us. Whether served as an elegant finish to a dinner party or as a nurturing treat during illness, this custard connects us to the warmth of kitchens past while creating new memories around our own tables.
Frequently Asked Questions
- → Why is my custard taking longer to bake than the recipe states?
- Baking times can vary based on your oven, the depth of your baking dish, and the starting temperature of your ingredients. The key indicator of doneness is when a knife inserted comes out clean but the custard still has a slight jiggle. It will continue to set as it cools.
- → What is the purpose of the water bath when baking custard?
- The water bath (or bain-marie) creates a gentle, humid environment that helps the custard cook evenly without curdling or cracking. Water maintains a consistent temperature and prevents the edges from cooking faster than the center.
- → Can I use alternative sweeteners instead of sugar?
- Yes, you can substitute with honey (use about 1/3 cup instead of 1/2 cup sugar), maple syrup, or even artificial sweeteners like stevia or monk fruit (follow package directions for sugar equivalents). Keep in mind that changing the sweetener may slightly alter the final texture and flavor.
- → Can I add other flavors to this basic custard recipe?
- Absolutely! Try adding cinnamon, cardamom, or citrus zest to the milk as you heat it (strain before adding to eggs). You can also substitute the vanilla with almond extract, rum, or bourbon for different flavor profiles.
- → Why did my custard curdle or separate?
- Custard typically curdles from overheating. This happens if the milk is too hot when added to the eggs (causing them to scramble), if you don't whisk constantly while combining, or if the oven temperature is too high. Always use a water bath and avoid boiling the milk to prevent curdling.