
 Pin it
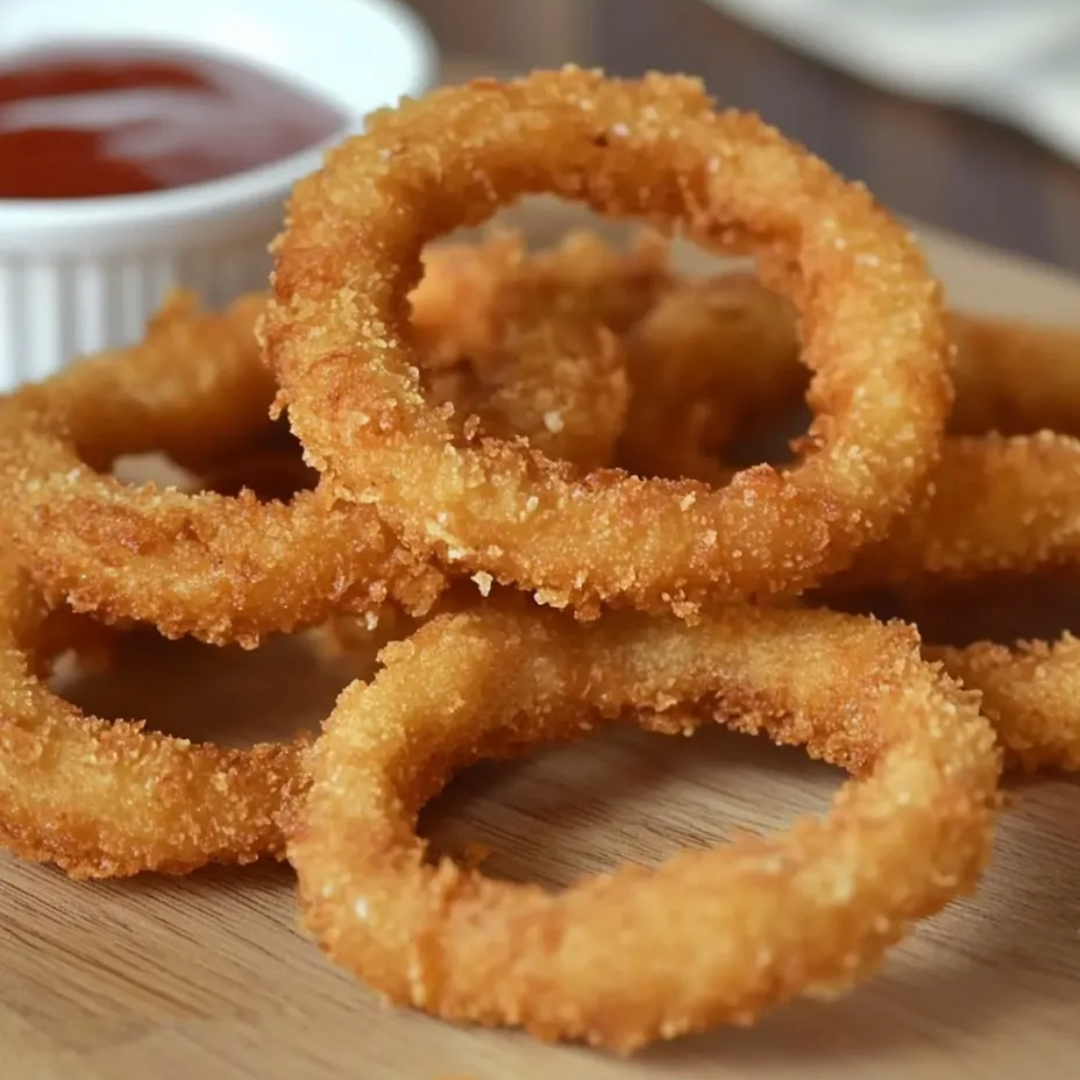
Homemade onion rings transform the humble onion into crispy, golden circles of pure satisfaction that elevate any meal from ordinary to extraordinary. This recipe creates onion rings with the perfect contrast of textures – a satisfyingly crunchy Panko coating that shatters with each bite, revealing sweet, tender onion inside. Unlike their sometimes soggy beer-battered counterparts, these onion rings maintain their impressive crispness thanks to a few simple techniques and ingredients that ensure restaurant-quality results right in your home kitchen.
I'm naturally a french fry lover, but these onion rings converted me into someone who regularly steals them from my husband's plate! They've become our go-to side when we're entertaining and grilling burgers – I prepare them ahead of time and keep them ready in the fridge, then quickly fry them right before we're ready to eat for maximum freshness and crunch.
Ingredients and Selection Tips
- Onions: Sweet, yellow, or white varieties work best; larger onions make more impressive rings; Walla Walla onions are particularly excellent if available
- Buttermilk: Creates the perfect adhesive layer for breading; can substitute with beaten eggs if necessary
- Panko Breadcrumbs: Japanese-style breadcrumbs that produce a much crunchier coating than regular breadcrumbs
- Cornstarch: The secret ingredient that helps maintain crispness even after frying
- Seasonings: Smoked paprika and garlic powder add depth of flavor; cayenne pepper provides optional heat
Detailed Cooking Instructions
- Step 1:
- Begin by preparing your onions, selecting large specimens for the most impressive rings. Slice off the top of each onion, then peel away the papery outer skin. Using a sharp knife, carefully cut the onion into cross-sections between 1/4-inch and 1/2-inch thick on a cutting board, then separate the slices into individual rings, discarding the very small inner rings or saving them for another use.
- Step 2:
- Set up your dredging station with three shallow bowls or dishes with raised edges to contain the ingredients. In the first bowl, whisk together 1 cup of all-purpose flour, 2 tablespoons of cornstarch, 1 teaspoon of smoked paprika, 1 teaspoon of salt, 1/2 teaspoon of black pepper, and 1/2 teaspoon of garlic powder until thoroughly combined.
- Step 3:
- Pour 1 cup of buttermilk into the second bowl, and place 2 cups of Panko breadcrumbs in the third bowl, arranging them in assembly-line fashion to streamline the coating process. The organization of your workspace is key to maintaining a clean, efficient operation as you prepare multiple onion rings.
- Step 4:
- Working with a few onion rings at a time, dredge them first in the seasoned flour mixture, ensuring they're completely coated on all surfaces. The natural moisture in the onions will help the flour adhere without needing a preliminary buttermilk dip, though you can soak them in buttermilk for 30 minutes beforehand if you prefer.
- Step 5:
- After coating with flour, dip the onion rings in the buttermilk, allowing excess to drip off for a few seconds before transferring to the Panko breadcrumbs. This brief draining prevents the breadcrumbs from becoming too soggy from excess liquid, which would compromise the final crispiness of your onion rings.
- Step 6:
- Thoroughly coat each ring in Panko breadcrumbs, gently pressing the crumbs onto the surface to ensure complete coverage and adhesion. Place the breaded rings on a baking sheet or large plate as you work through the remaining onions, being careful not to stack them to avoid disturbing the coating.
- Step 7:
- Heat 1 to 2 inches of vegetable or canola oil in a heavy-bottomed pot, deep cast iron skillet, or Dutch oven over medium-high heat until it reaches between 350°F and 375°F, using a deep-fry or candy thermometer to monitor the temperature precisely. Maintaining proper oil temperature is crucial – too low and the onion rings will absorb oil and become soggy, too high and they'll burn before cooking through.
- Step 8:
- Carefully lower 4-6 breaded onion rings into the hot oil, working in small batches to avoid overcrowding which would lower the oil temperature dramatically. Fry for 2-3 minutes, turning occasionally with tongs or a slotted spoon, until they achieve a beautiful golden-brown color on all sides.
- Step 9:
- Transfer the fried onion rings to a wire rack set over a paper towel-lined baking sheet. The wire rack allows air to circulate around the entire onion ring, preventing the bottom from becoming soggy from trapped steam, while the paper towels absorb any excess oil that drips down.
- Step 10:
- Continue frying in batches, monitoring and adjusting the oil temperature between batches to maintain the optimal frying range. For the best eating experience, serve immediately while hot and supremely crispy, accompanied by your favorite dipping sauce.
I learned these tips through trial and error while perfecting this recipe. My first attempts resulted in onion rings where the entire onion would slide out with the first bite! Slicing them thinner solved this problem completely and improved the overall texture.
The first time I served these homemade onion rings to friends at a barbecue, several people asked if I'd picked them up from a restaurant! What I love most about this recipe is that it transforms a simple, inexpensive vegetable into something that feels indulgent and special. While we don't eat fried foods often, these onion rings make occasional appearances for gathering around the grill or watching the big game. They're the perfect example of how a little extra effort with basic ingredients can create something truly memorable that elevates an entire meal from everyday to special occasion.
Frequently Asked Questions
- → Can I make these onion rings without buttermilk?
- Yes! If you don't have buttermilk, make a quick substitute by adding 1 tablespoon of lemon juice or white vinegar to 1 cup of regular milk and letting it sit for 5-10 minutes until slightly thickened. Regular milk will also work, though the coating may not adhere quite as well.
- → What type of onion works best for onion rings?
- Sweet onions like Vidalia or Walla Walla are ideal because of their mild flavor and natural sweetness, which balances the savory coating. Yellow onions work well too. White onions have a sharper taste but can be used, while red onions tend to be too strong for most preferences.
- → How do I keep the breading from falling off during frying?
- The key is following the recipe's instruction to let the breaded rings rest for 10-15 minutes before frying. This allows the coating to adhere better. Also, make sure your oil is at the right temperature (350-375°F) - too cool and the coating gets soggy, too hot and it burns before adhering properly.
- → Can I make these onion rings ahead of time?
- While best enjoyed fresh, you can bread the onion rings up to 2 hours ahead and keep them refrigerated until ready to fry. For leftovers, store in an airtight container in the refrigerator and reheat in an oven or air fryer at 350°F for 3-5 minutes to restore crispness.
- → What dipping sauces pair well with these onion rings?
- Classic choices include ketchup, ranch dressing, honey mustard, or BBQ sauce. For something special, try a spicy sriracha mayo (mix mayo with sriracha sauce), horseradish sauce, or a zesty remoulade. A simple aioli with garlic and herbs is also delicious.