 Pin it
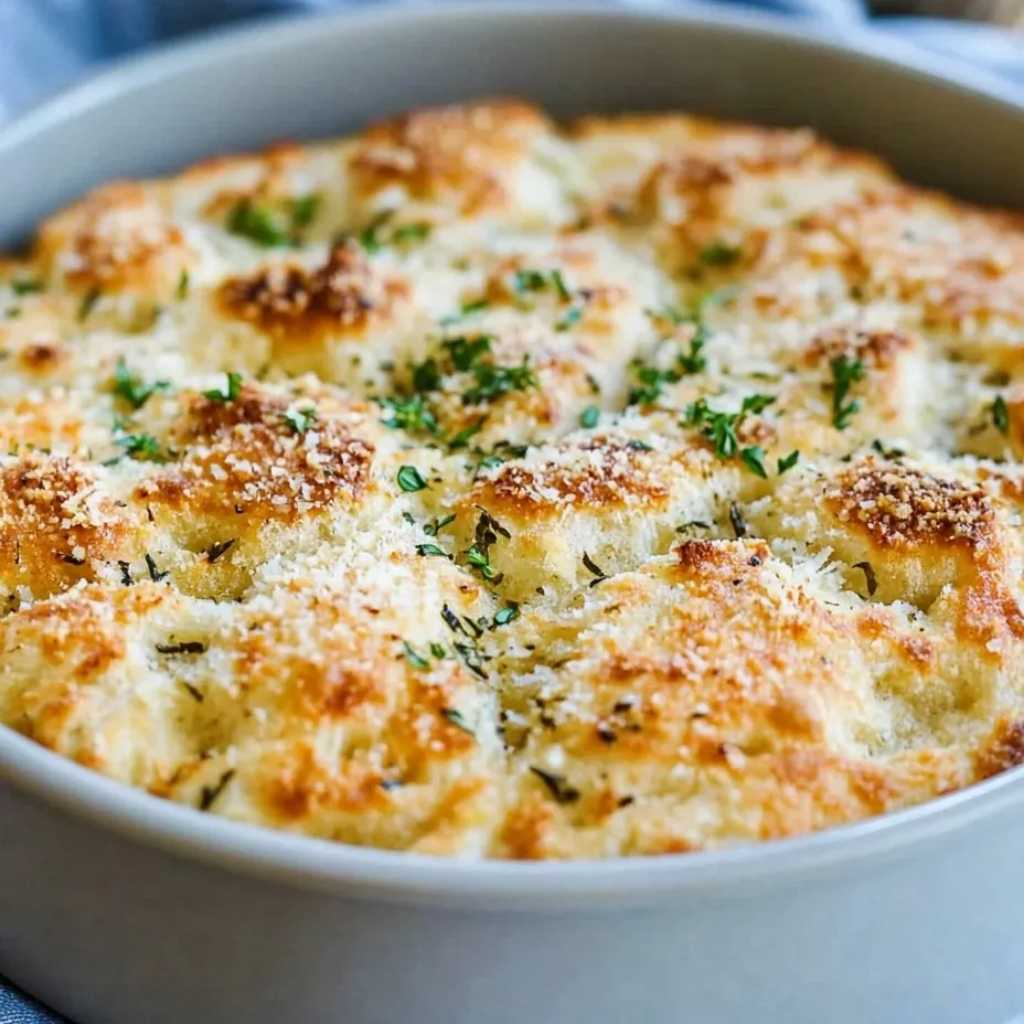
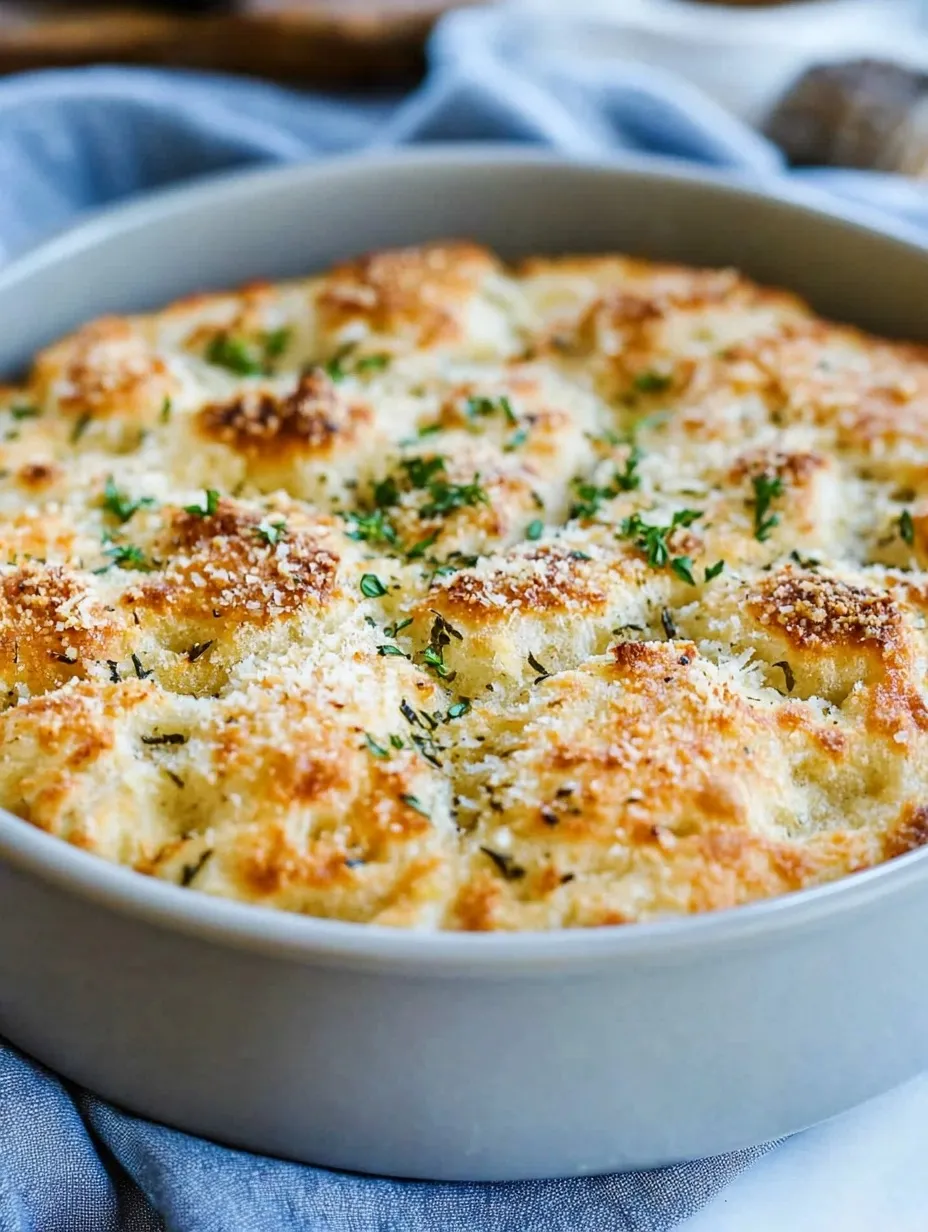
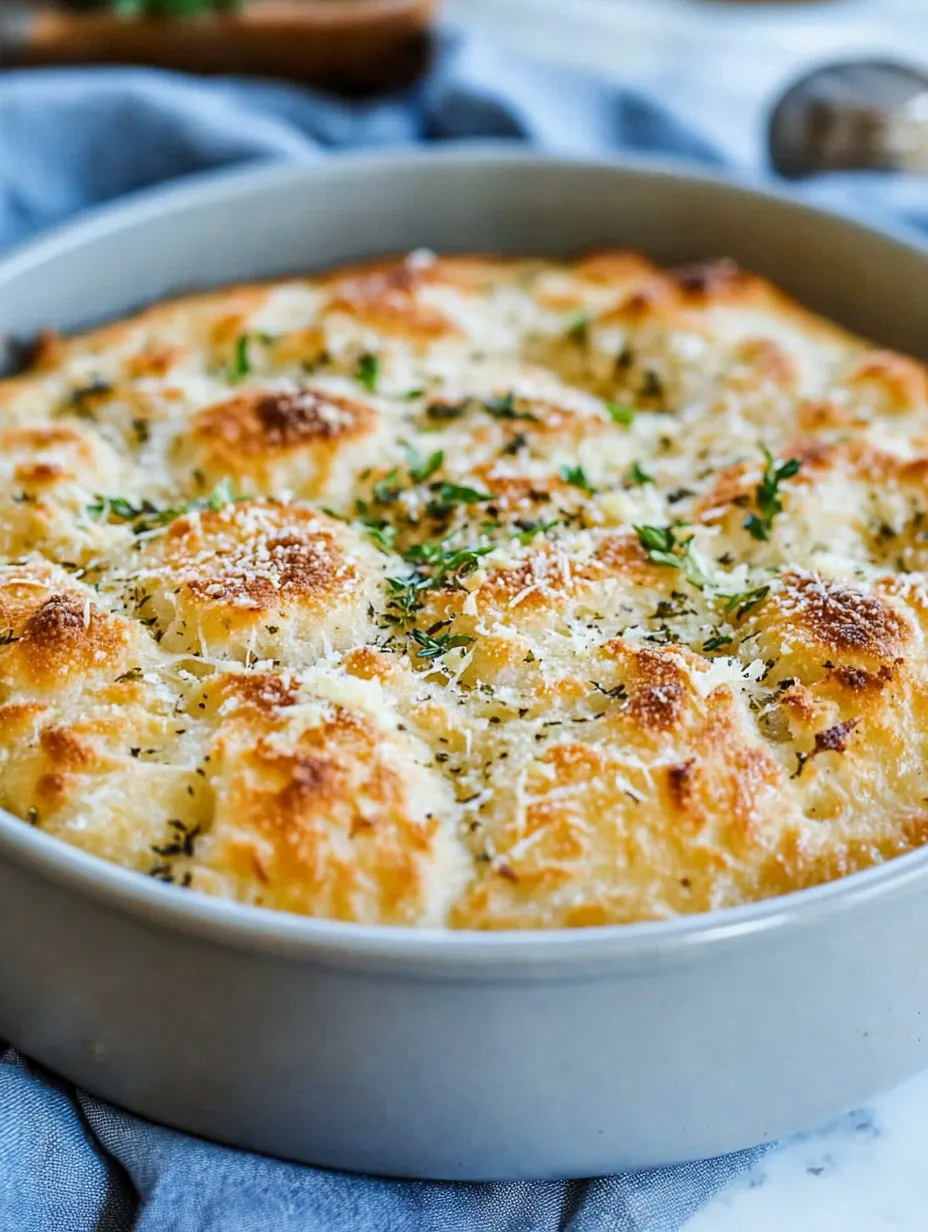
Sinking my teeth into a piece of freshly baked focaccia bread transports me straight to my grandmother's kitchen, where the aroma of olive oil and garlic would fill every corner. This garlic parmesan focaccia recipe captures that sensory experience with its perfect balance of pillowy interior and crisp, flavorful crust. The dimpled surface creates little pools of olive oil that infuse the bread with richness, while the combination of garlic, parmesan, and herbs creates a symphony of flavors that makes this simple bread utterly irresistible.
The first time I attempted homemade focaccia, I was intimidated by working with yeast. But this recipe proved to be surprisingly simple, with the long refrigeration period doing most of the hard work of developing flavor and texture. My kitchen-reluctant husband wandered in from the garage when the bread was baking, drawn by the irresistible scent of garlic and olive oil. He ended up eating three pieces before dinner even started! Now this recipe makes a regular appearance on our weekend table.
Ingredients (with Selection Tips)
- Bread Flour or All-Purpose Flour (3 cups): Bread flour gives a slightly chewier texture with more gluten development, but all-purpose works beautifully too. Look for unbleached flour for the best flavor. The protein structure in flour forms the backbone of your bread's texture.
- Kosher Salt (1½ teaspoons): The coarser texture of kosher salt distributes more evenly throughout the dough. Diamond Crystal brand is less salty by volume than Morton's, so adjust accordingly. Salt not only flavors the bread but also strengthens the gluten structure.
- Warm Water (1¼ cups): The water should feel like warm bath water, around 105-115°F. Too hot will kill the yeast; too cool will slow activation. This hydration level creates a wetter dough that yields those beautiful air pockets in the finished bread.
- Instant Yeast (2¼ teaspoons or 1 packet): Instant yeast doesn't require proofing, but I still like to dissolve it in warm water to ensure even distribution. Check the expiration date—fresh yeast is crucial for proper rising.
- Sugar (1 teaspoon): This small amount feeds the yeast but doesn't make the bread sweet. Think of it as yeast food rather than a flavoring ingredient. Any granulated sugar works here.
- Olive Oil (¼ cup for dough + 3 tablespoons for drizzling): Use a good quality extra virgin olive oil that you enjoy the taste of—it's a prominent flavor in the finished bread. The grassy, fruity notes become more pronounced when baked.
- Garlic (4 cloves, minced): Fresh garlic provides incomparable flavor. Look for firm bulbs with tight skin. Pre-minced garlic lacks the aromatic punch that makes this bread special.
- Parmesan Cheese (½ cup, freshly grated): Skip the pre-grated stuff and grate it yourself for superior melting and flavor. Parmigiano Reggiano offers the most complex flavor, but any aged hard cheese works well.
- Italian Seasoning (1 tablespoon): A blend containing oregano, basil, thyme, and rosemary works beautifully. Make your own by combining equal parts of these herbs for fresher flavor than pre-packaged blends.
- Maldon Flaked Sea Salt (for topping): These delicate salt flakes provide bursts of saltiness and a beautiful finishing texture. Their pyramid-shaped crystals add both visual appeal and a pleasant crunch.
 Pin it
Step-by-Step Cooking Instructions
- Step 1:
- Create the Flour Base — In a large glass bowl, whisk together 3 cups of flour and 1½ teaspoons of kosher salt until evenly distributed. This dry mixture forms the foundation of your bread. The whisking step isn't just busywork—it ensures the salt is evenly distributed throughout the dough.
- Step 2:
- Activate the Yeast — In a separate medium bowl, combine 1¼ cups warm water (105-115°F), 2¼ teaspoons instant yeast, and 1 teaspoon sugar. Stir gently and let the mixture rest for 5-10 minutes until foamy. This visual cue confirms your yeast is alive and active. If the mixture doesn't foam, your yeast may be old or the water temperature incorrect—it's better to start over than proceed with inactive yeast.
- Step 3:
- Form the Dough — Pour the foamy yeast mixture and 3 tablespoons of olive oil into the flour mixture. Using a wooden spoon, stir until just combined—about 30-40 strokes. The dough will look shaggy and feel sticky. Resist the urge to overmix or add more flour; this wet consistency is exactly what we want for airy focaccia.
- Step 4:
- Cold Fermentation — Cover the bowl tightly with plastic wrap and refrigerate for 8 hours or overnight. This slow, cold fermentation develops complex flavors and gluten structure without additional kneading. This hands-off time is where the magic happens—the yeast works slowly, creating a more nuanced flavor than quick-rise methods.
- Step 5:
- Prepare for Second Rise — Two hours before baking, prepare an 8-inch round cake pan by drizzling 2 tablespoons of olive oil to coat the bottom and sides. The oil prevents sticking and creates that signature crispy bottom crust that makes focaccia special.
- Step 6:
- Shape the Dough — Remove the dough from the refrigerator and transfer it to the oiled pan. Using lightly oiled fingers, gently press the dough toward the edges of the pan, tucking ends underneath to create a neat shape. If the dough resists, let it rest for 10 minutes and try again. The cold dough may be stiff at first, but will relax as it warms.
- Step 7:
- Second Rise — Cover the pan tightly with plastic wrap and let the dough rise at room temperature for 2 hours, or until puffy and nearly doubled in volume. This second rise brings the dough to life, creating the light, airy texture we're after. Find a draft-free spot around 75°F for optimal rising conditions.
- Step 8:
- Preheat and Prepare — Position a rack in the middle of your oven and preheat to 450°F. This high initial temperature creates steam that helps the bread rise quickly. While the oven heats, combine the minced garlic, grated parmesan, and Italian seasoning in a small bowl.
- Step 9:
- Dimple and Season — Remove the plastic wrap and drizzle the dough with the remaining tablespoon of olive oil. Using your fingertips, press deeply into the dough to create dimples all over the surface, pressing down to the bottom of the pan but not through the dough. These characteristic indentations aren't just decorative—they catch pools of olive oil and toppings for flavor pockets throughout the bread.
- Step 10:
- Add Toppings — Sprinkle the garlic, parmesan, and herb mixture evenly over the dimpled dough. Finish with a light scattering of Maldon sea salt flakes. The toppings will partially sink into the dimples, creating flavor-concentrated pockets throughout the bread.
- Step 11:
- Bake to Golden Perfection — Place the pan in the preheated oven, immediately reduce the temperature to 425°F, and bake for 22-24 minutes, until the top is golden brown and the cheese is bubbly. The initial blast of heat helps with oven spring, while the slightly lower temperature ensures even baking without burning the toppings.
- Step 12:
- Cooling and Serving — Allow the focaccia to cool in the pan for 5 minutes, then transfer to a wire rack. For the best texture and flavor, let it cool for at least 10 minutes before slicing. Serve warm or at room temperature.
I've always been particularly fond of the parmesan in this recipe. While many traditional focaccia recipes use only herbs and salt, the addition of cheese creates these amazing crispy bits around the edges that I find irresistible. The first time I made this bread for my Italian neighbor, I was nervous about my adaptation, but she loved it so much she asked for the recipe to share with her mother back in Tuscany! The garlic becomes mellow and sweet during baking, losing that harsh raw bite and infusing the entire loaf with its aromatic essence.
Storage and Serving Ideas
This focaccia bread keeps well at room temperature, covered with plastic wrap, for 2-4 days. For the best experience after day one, I recommend reheating slices in a 350°F oven for 5 minutes to revive the crust. The bread also freezes beautifully for up to 3 months. Simply wrap it tightly in plastic wrap, then aluminum foil, and freeze. Thaw at room temperature and warm in the oven before serving.
Focaccia makes incredible sandwiches—try it with fresh mozzarella, tomatoes, and basil for an elevated take on a caprese sandwich. It's also perfect alongside soups and stews, where its sturdy texture stands up well to dipping. For a simple appetizer, cut it into small squares and serve with good olive oil spiked with balsamic vinegar and red pepper flakes. I've even used leftover focaccia to make next-level croutons for salads and panzanella.
Creative Variations
While this garlic parmesan version is my go-to, the basic recipe provides a perfect canvas for endless variations. Try topping with thinly sliced cherry tomatoes and rosemary for a summer version, or caramelized onions and olives for a more savory approach. You can even go sweet by omitting the garlic and cheese, then topping with sliced figs, honey, and thyme. During the holidays, I make a version with roasted grapes, rosemary, and a drizzle of honey that disappears faster than any other dish on the table.
 Pin it
This Garlic Parmesan Focaccia has become more than just a recipe in my kitchen—it's a tradition. There's something deeply satisfying about the rhythmic process of dimpling the dough with your fingertips, watching it transform in the oven, and sharing it still warm from baking. In an age of instant everything, there's profound pleasure in creating something that requires patience but rewards you with an experience that connects you to thousands of years of baking tradition. Whether served alongside a complex Italian feast or simply torn and enjoyed with a glass of wine, this focaccia brings a touch of rustic elegance to any table.
Frequently Asked Questions
- → Can I make this focaccia without the overnight refrigeration?
- Yes, though the flavor won't be as developed. Let it rise at room temperature for 2-3 hours instead, until doubled in size, then proceed with shaping and second rise.
- → What can I serve with garlic parmesan focaccia?
- It's perfect alongside pasta dishes, soups, or salads. It makes great sandwich bread, can be served as an appetizer with olive oil and balsamic for dipping, or enjoyed on its own.
- → Can I add other toppings to this focaccia?
- Absolutely! Try adding cherry tomatoes, olives, caramelized onions, roasted red peppers, or fresh herbs like rosemary. Just press them gently into the dough before baking.
- → How should I store leftover focaccia?
- Store in an airtight container at room temperature for 4-5 days. Reheat in a 350°F oven for 5-10 minutes to crisp it up. You can also freeze focaccia for up to 3 months.
- → Why is my focaccia not rising properly?
- This could be due to old yeast (check the expiration date), water that's too hot (killing the yeast), or a too-cold environment. Make sure your yeast bubbles before adding to flour and allow proper rising time.
