 Pin it
Making banana pudding completely from scratch transforms this classic Southern dessert from good to absolutely extraordinary. The silky-smooth vanilla custard, layered with sweet vanilla wafers and fresh banana slices, creates a perfect harmony of flavors and textures that simply can't be matched by versions using boxed pudding mix. This recipe captures the essence of traditional banana pudding while elevating it with the incomparable richness that only comes from a homemade custard base. One spoonful of this creamy, dreamy dessert will convince you that the minimal extra effort is absolutely worth it.
Making this pudding from scratch reminds me of watching my grandmother in her kitchen. She never measured anything precisely, just worked by feel and taste. The first time I made this recipe for a family reunion, my uncle (who claims to be the family's banana pudding expert) took one bite, closed his eyes, and declared it even better than his mother's version. I've never received a higher compliment! Since then, this has become my signature dessert that relatives specifically request for holiday gatherings.
Ingredients
- 4 cups half-and-half: The combination of milk and cream creates the perfect richness that makes this pudding special. The higher fat content creates a silky mouthfeel that milk alone can't achieve.
- 6 large egg yolks: These provide the custard base with its velvety texture and rich color. Save the whites for making meringue or an egg white omelet!
- 1 cup granulated sugar: Sweet but not overwhelmingly so, balancing perfectly with the tanginess of the bananas. Use pure cane sugar for the best results.
- 1/3 cup cornstarch: This thickens the pudding to that perfect spoonable consistency without making it gummy. Be sure to sift it if you notice any lumps.
- 1/4 teaspoon salt: Diamond Crystal kosher salt balances and enhances the sweetness without making the pudding taste salty. This small amount makes a huge difference in the overall flavor profile.
- 3 tablespoons unsalted butter: Adding butter at the end gives the pudding a lustrous sheen and rounds out the flavors beautifully. European-style butter with its higher fat content works particularly well.
- 2 teaspoons pure vanilla extract: Use the real thing, not imitation, for that authentic, warm vanilla flavor that defines classic banana pudding. Mexican or Madagascar vanilla beans create an even more exceptional flavor if you have them.
- 1 box (11 oz) Nilla Wafer cookies: These iconic cookies soften perfectly as they absorb the custard, creating that distinctive banana pudding texture we all love.
- 5-6 ripe bananas: Look for bananas that are yellow with small brown speckles for the perfect balance of sweetness and firmness. They should be ripe but still firm enough to slice cleanly.
 Pin it
I'm particularly particular about the bananas in this recipe. They need to be perfectly ripe – those with just-appeared brown speckles offer the ideal sweetness without being mushy. Underripe bananas lack flavor, while overripe ones turn too soft in the pudding. I've been known to buy bananas a week ahead and monitor them daily to catch them at their prime moment for this dessert!
Step-by-Step Instructions
- Step 1:
- Begin by preparing all your ingredients before you start cooking. Separate your eggs, measure out the half-and-half, and have the cornstarch, sugar, and salt ready to go. Proper preparation makes the cooking process much smoother, especially since custard requires your undivided attention once you begin.
- Step 2:
- In a large mixing bowl, whisk together the egg yolks until they're slightly lightened in color, about 1-2 minutes. The yolks should fall from the whisk in a thick ribbon. This initial whipping incorporates air, creating a lighter finished texture in your custard.
- Step 3:
- Gradually add the sugar to the egg yolks, whisking constantly until the mixture becomes pale yellow and slightly thickened. When rubbed between your fingers, the mixture should feel less grainy as the sugar begins to dissolve into the yolks. This should take about 2-3 minutes of steady whisking.
- Step 4:
- Sift the cornstarch and salt into the egg-sugar mixture, whisking vigorously to combine completely and eliminate any lumps. Even tiny lumps of cornstarch can create unappealing gelatinous spots in your finished pudding, so be thorough in this step. The mixture will become quite thick and paste-like.
- Step 5:
- In a heavy-bottomed saucepan, heat the half-and-half over medium heat until steam begins to rise from the surface and small bubbles form around the edges. Do not allow it to come to a full boil. The ideal temperature is about 180°F if you have a thermometer, but visual cues work well too.
- Step 6:
- Now comes the crucial tempering step: Very slowly pour about 1 cup of the hot half-and-half into the egg mixture, whisking constantly and vigorously. This gradually raises the temperature of the eggs without scrambling them. The mixture should become smooth and more liquid as you whisk.
- Step 7:
- Once the eggs are tempered, slowly pour the egg mixture back into the saucepan with the remaining half-and-half, continuing to whisk constantly. This is where patience becomes essential – rush this step, and you risk curdling the custard.
- Step 8:
- Return the saucepan to medium-low heat and cook, whisking continuously, until the mixture thickens noticeably and coats the back of a wooden spoon. This typically takes 8-10 minutes of constant attention and stirring. You'll know it's ready when you can draw your finger across the coated spoon and the line remains clear.
- Step 9:
- Remove from heat immediately once thickened and stir in the butter and vanilla extract until the butter is completely melted and incorporated. The butter enriches the mouthfeel while the vanilla provides that classic flavor foundation. The hot pudding should be smooth, glossy, and coat a spoon thickly.
- Step 10:
- Pour the hot pudding through a fine-mesh sieve into a clean bowl to catch any inadvertent lumps or pieces of cooked egg. This extra step ensures perfect smoothness in your finished dessert. Press gently with a rubber spatula to help the pudding through if needed.
- Step 11:
- Cover the surface of the pudding with plastic wrap, pressing it directly onto the pudding's surface to prevent a skin from forming. Allow it to cool at room temperature for about 30 minutes. This initial cooling period helps preserve the integrity of the bananas when you assemble the dessert.
- Step 12:
- While the pudding cools slightly, prepare your bananas by peeling and slicing them into 1/4-inch rounds. A slight angle makes for more attractive slices and increases the surface area to absorb the wonderful vanilla flavors. Toss them gently with a small squeeze of lemon juice if you're concerned about browning.
- Step 13:
- To assemble, select a 2-quart clear glass dish that showcases the beautiful layers. Begin with a layer of Nilla Wafers arranged in a single layer on the bottom of the dish. Some people prefer to line the sides as well for a decorative touch.
- Step 14:
- Arrange banana slices in a single layer over the cookies, overlapping slightly if needed to create an even layer. The bananas and cookies begin to meld together as the pudding sets, creating that iconic banana pudding texture.
- Step 15:
- Pour one-third of the pudding over the bananas and cookies, using a rubber spatula to gently spread it to the edges. The warm pudding will begin to soften the cookies and mingle with the fresh banana flavor.
- Step 16:
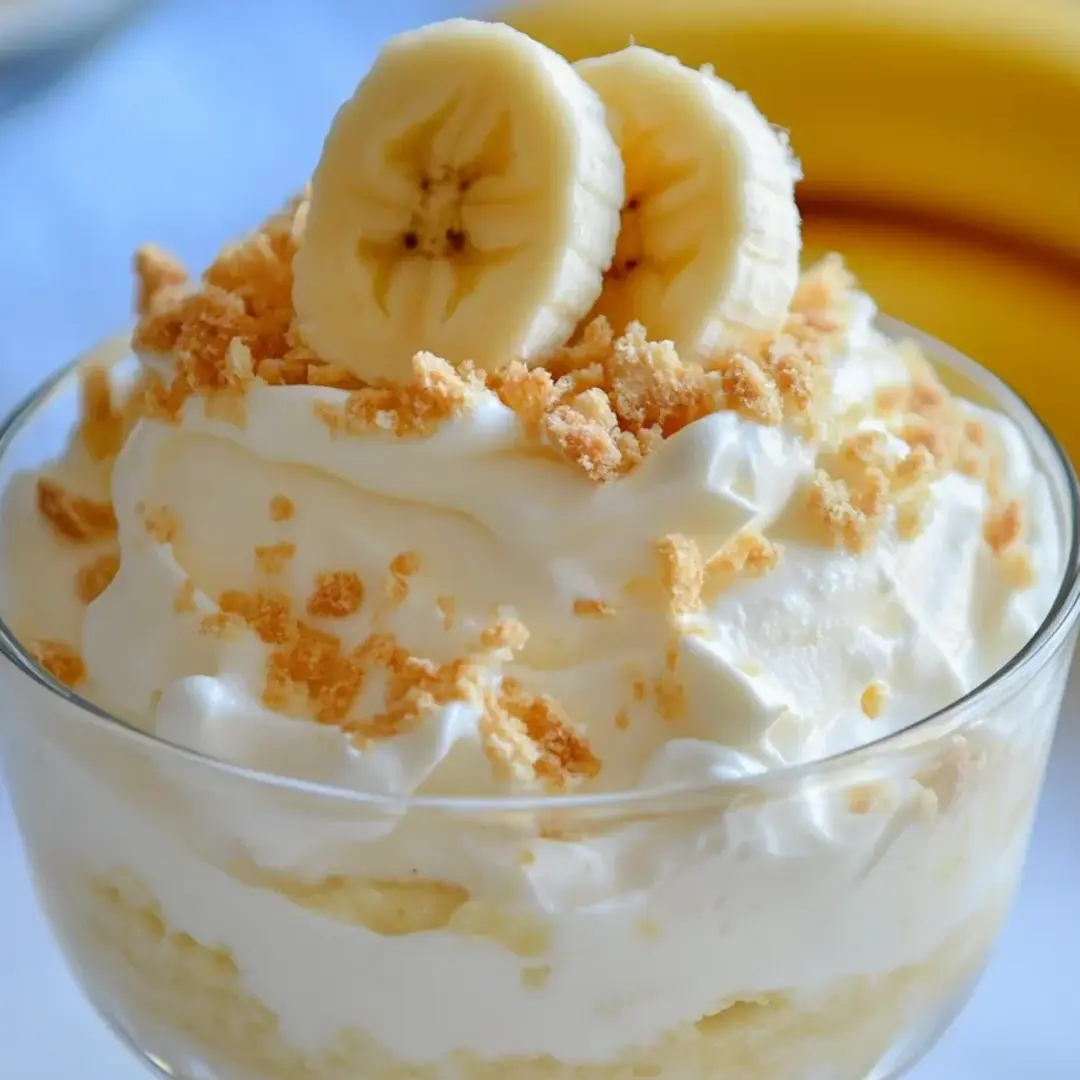
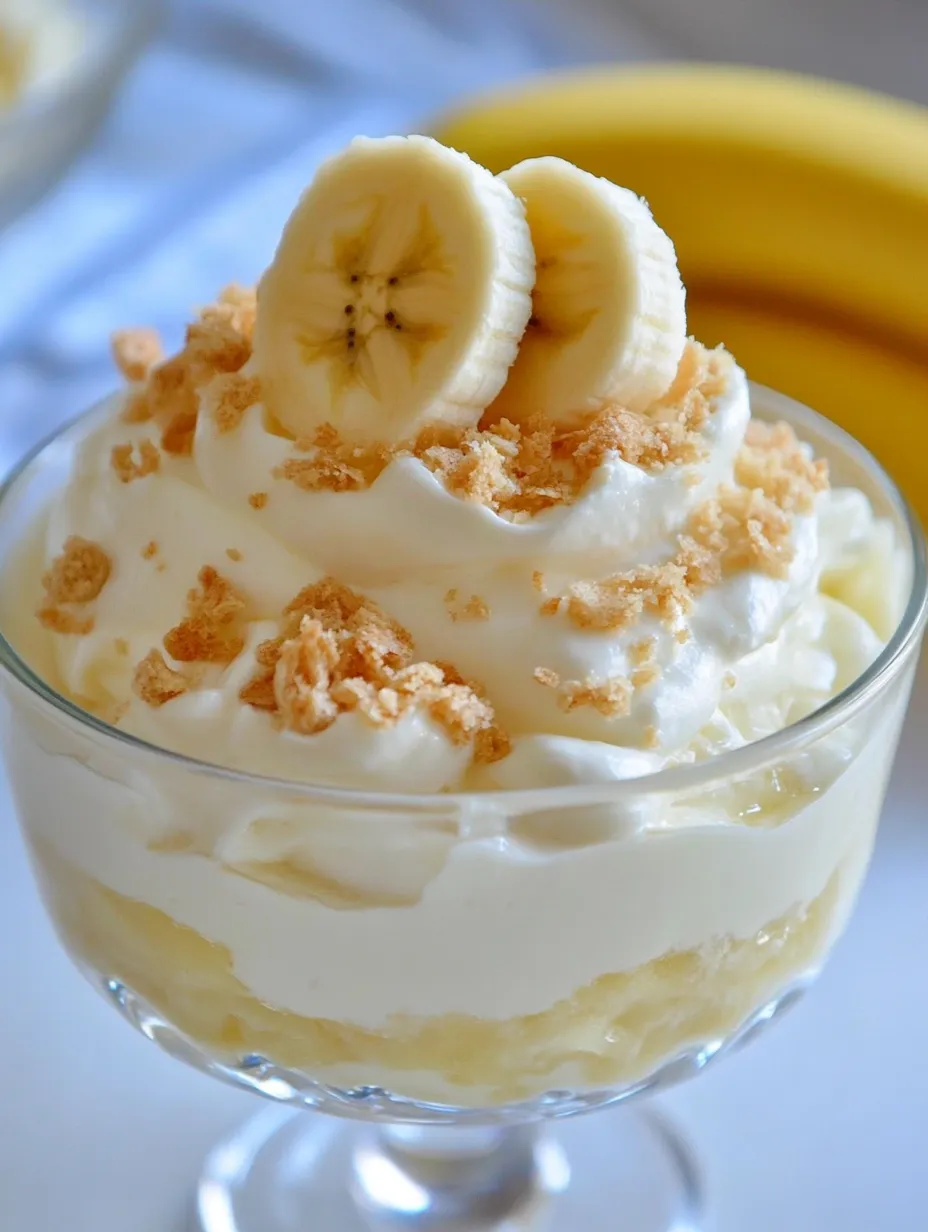
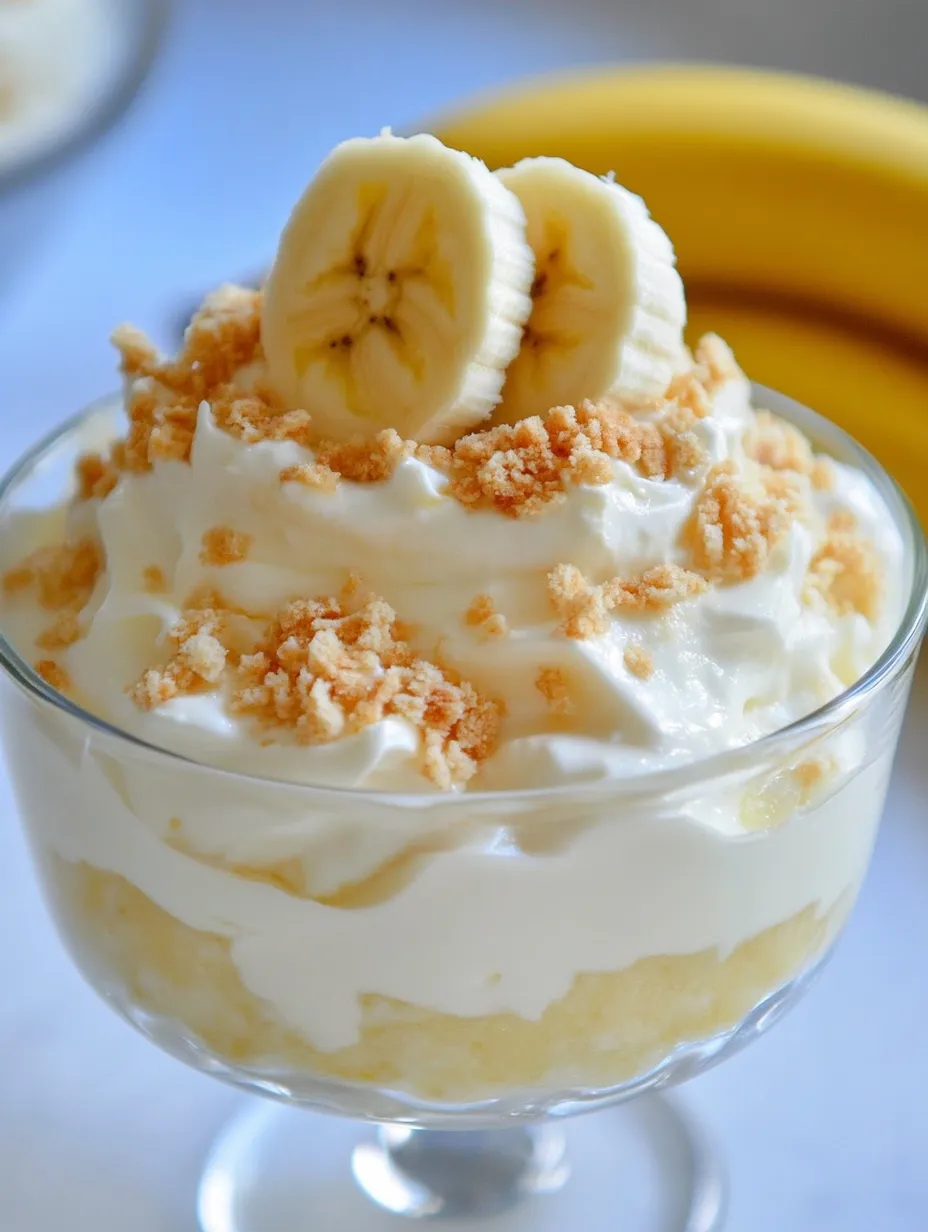
- Repeat the layering process twice more: cookies, bananas, and pudding, finishing with a final layer of pudding on top. For visual appeal, crush a few cookies to sprinkle over the very top, or save a few banana slices for decoration.
- Step 17:
- Cover the dish with plastic wrap and refrigerate for at least 4 hours, but preferably overnight. This resting time is crucial – it allows the cookies to soften to that perfect cake-like consistency and lets the flavors meld together harmoniously.
- Step 18:
- Serve chilled, scooping deeply through all the layers to ensure each serving contains the perfect combination of creamy pudding, soft cookies, and flavorful bananas. A dollop of lightly sweetened whipped cream on top takes it to another level entirely.
 Pin it
The Art of Pudding Making
Creating the perfect custard base requires attention and patience, but the techniques are straightforward once you understand them. The key moment in pudding-making comes when the mixture begins to thicken on the stove. It happens gradually at first, then quite suddenly – which is why constant stirring is essential.
Watch for visual cues: the mixture will change from thin and milk-like to noticeably thicker, leaving a clear path when you draw your spoon through it. The bubbles on the surface will change too, becoming less frequent but larger. Pull it from the heat when it reaches nappe consistency – thick enough to coat the back of a spoon and hold a line drawn through it with your finger.
If you're nervous about the process, use a candy thermometer – custard thickens perfectly around 175-180°F. Just be sure not to exceed 185°F, or you risk the eggs curdling. Should you notice any small lumps forming, remove from heat immediately and whisk vigorously to smooth them out.
Variations Worth Exploring
While traditional banana pudding has stood the test of time for good reason, there are several variations that honor the classic while offering exciting twists:
- Bourbon Banana Pudding: Add 2 tablespoons of good quality bourbon along with the vanilla extract for a sophisticated adult version. The caramel notes in bourbon complement the bananas beautifully.
- Chocolate Banana Pudding: Add 4 ounces of finely chopped bittersweet chocolate to the hot custard along with the butter. The chocolate-banana combination is heavenly, especially when layered with chocolate wafer cookies instead of vanilla.
- Coconut Banana Pudding: Replace 2 cups of the half-and-half with full-fat coconut milk and add 1/2 cup toasted coconut flakes between the layers. The tropical flavor pairing is absolutely divine and reminiscent of banana cream pie.
- Caramel Banana Pudding: Drizzle homemade or store-bought caramel sauce between each layer and on top. The buttery caramel elevates the bananas and adds another dimension of flavor that's impossible to resist.
Each variation maintains the soul of traditional banana pudding while offering a new experience for those who think they've tasted it all.
I learned the importance of banana selection through a disappointing experience. Once, running short on time, I used barely-ripe bananas thinking they'd hold up better in the pudding. The result was a dessert that looked beautiful but lacked that distinctive sweet banana flavor that makes this dessert special. Now I plan ahead, buying bananas up to a week before I intend to make the pudding, allowing them to ripen to that perfect speckled stage.
There's something deeply satisfying about creating this dessert entirely from scratch. When you dip your spoon through those perfect layers – the silky vanilla custard, the soft cookies that have absorbed just the right amount of moisture, and the slices of banana that provide that fresh, sweet flavor – you understand why this humble dessert has been cherished for generations. It's not just the flavor that makes it special; it's the care that goes into creating something from basic ingredients, transformed through time and attention into something truly extraordinary.
Frequently Asked Questions
- → Can I make this banana pudding ahead of time?
- Yes! This dessert actually needs at least 8 hours to set properly. You can make it up to 24 hours before serving, but add the whipped cream right before serving.
- → Why is my pudding lumpy?
- Lumpy pudding usually happens when the eggs cook too quickly. Make sure to whisk constantly and cook over medium-low heat. You can also strain the pudding through a fine mesh sieve after cooking.
- → Can I use instant pudding instead?
- While homemade pudding tastes best, you can substitute with instant vanilla pudding mix for a quicker version. The flavor won't be quite as rich, but it's still delicious.
- → How do I keep my bananas from turning brown?
- The pudding helps preserve the bananas, but for best results use just-ripe bananas (yellow with minimal brown spots) and make sure they're completely covered by the pudding.
- → Can I freeze leftover banana pudding?
- Freezing isn't recommended as the texture of the bananas and pudding will change when thawed. This dessert is best enjoyed fresh within 2-3 days.
