
 Pin it
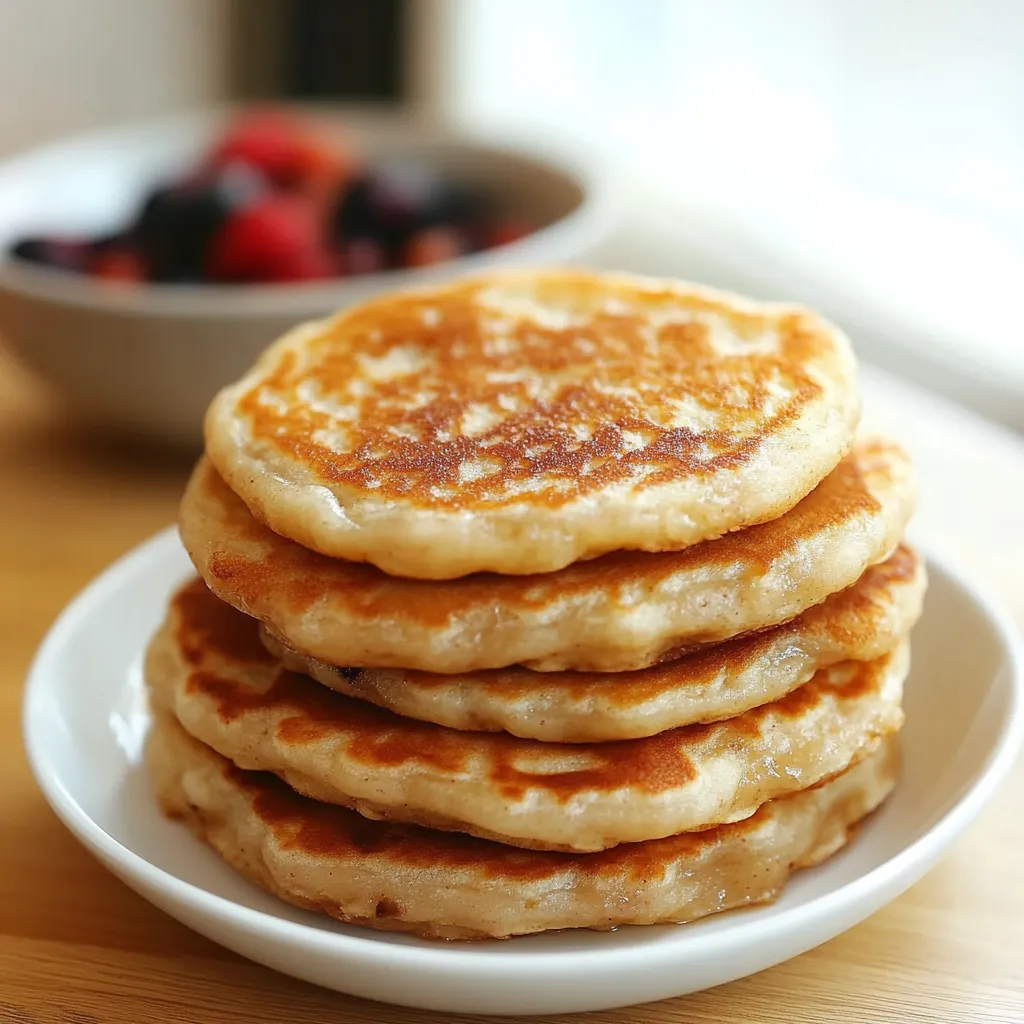
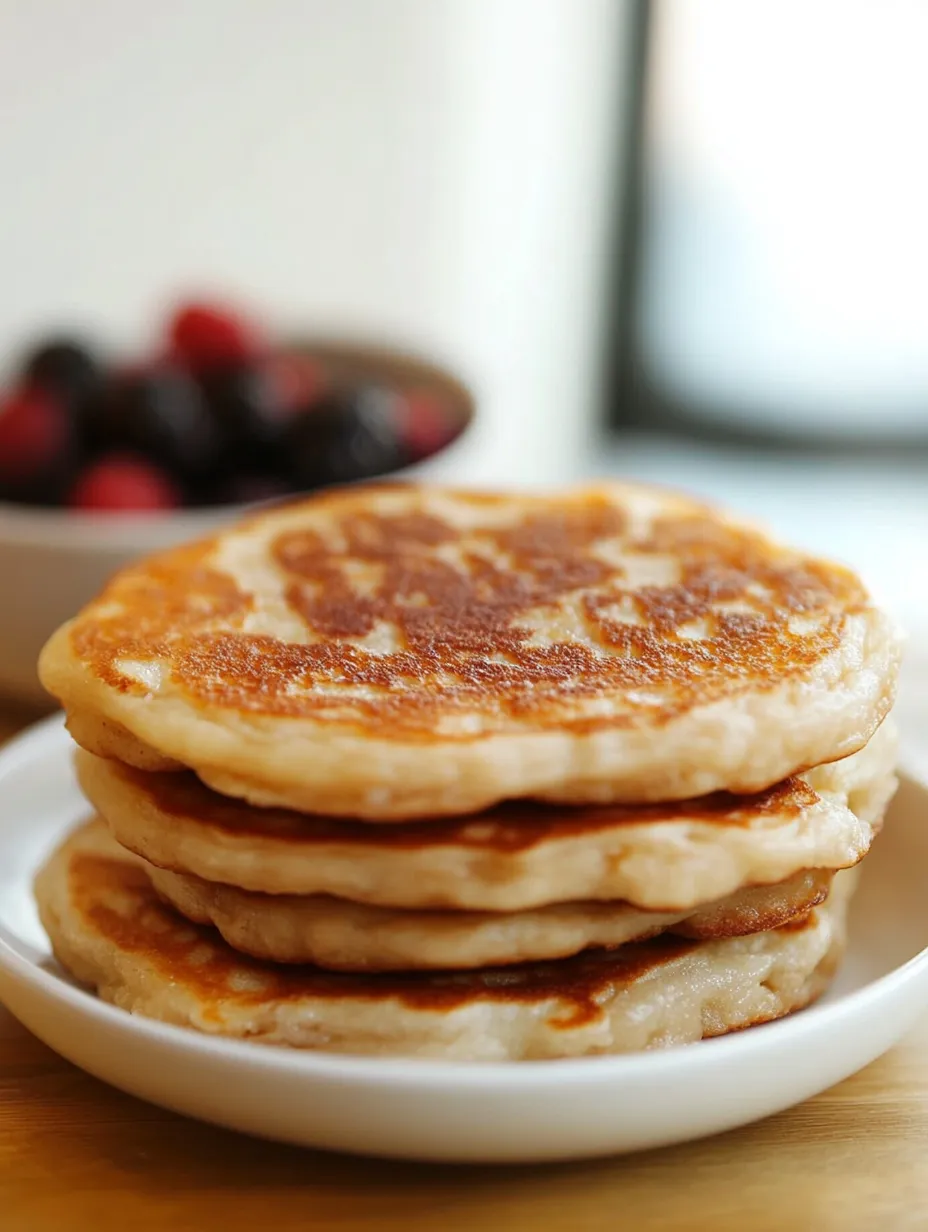
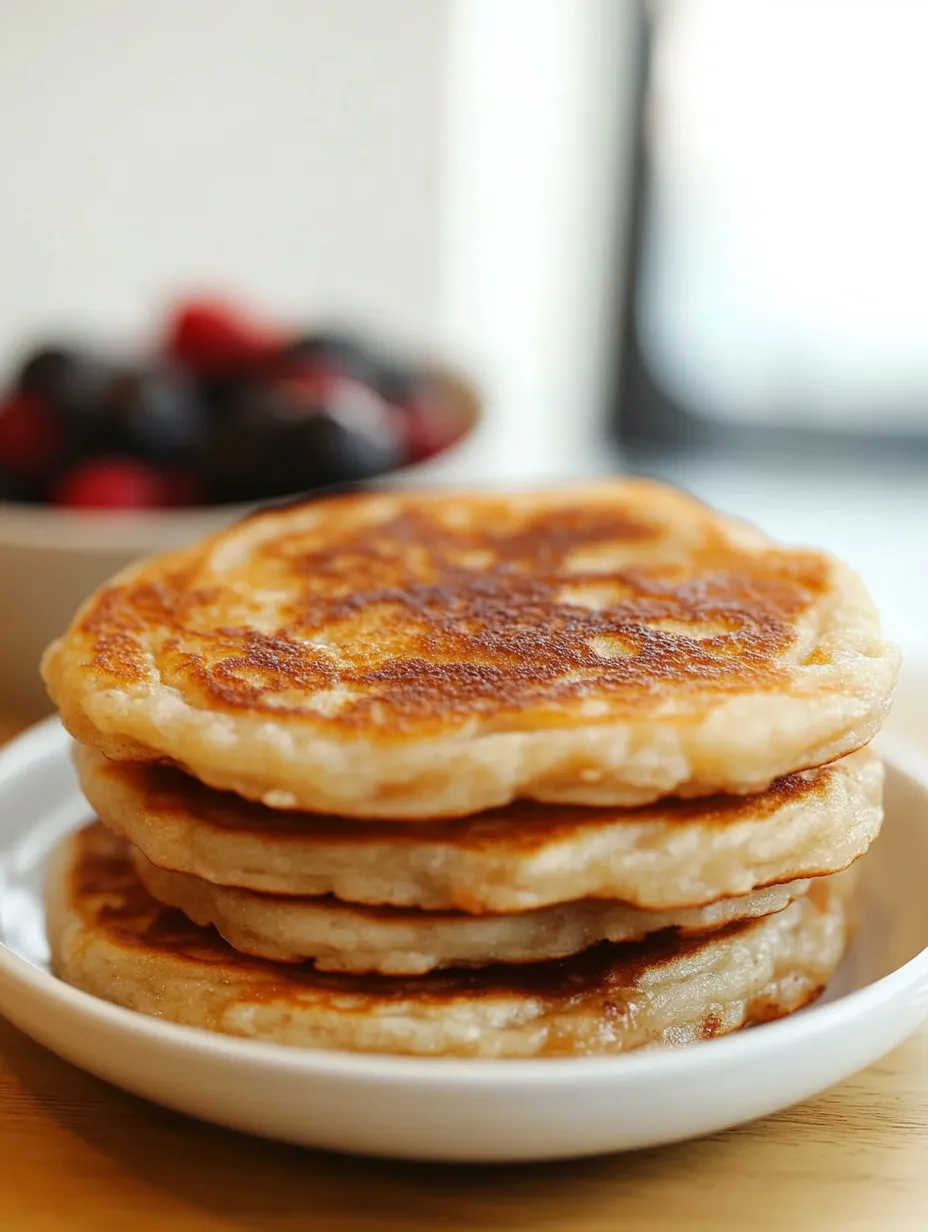
The rich aroma of cinnamon and caramelizing sugar fills the kitchen when making hotteok, Korea's beloved street food pancakes. These golden pockets of joy feature a chewy, slightly elastic dough wrapped around a molten center of brown sugar, cinnamon, and nuts that transforms into a warm syrup when cooked. Unlike Western pancakes, hotteok offers textural contrast between the crisp exterior and gooey interior that makes each bite an experience worth savoring.
Last winter, I made these for my children on a snow day, and watching their surprised faces when they discovered the hidden filling inside was priceless. We ended up making a second batch because everyone wanted "just one more." Even my husband, who typically avoids sweets, couldn't resist their charm.
Ingredients
- All-purpose flour: Creates the foundation for the chewy, elastic texture that makes hotteok distinctive; don't substitute other flours or you'll lose the authentic texture
- Milk: Adds richness to the dough; use whole milk for the best flavor and texture
- Active dry yeast: Gives the pancakes their signature pillowy texture; make sure yours is fresh for proper rising
- Brown sugar: The key to creating that delicious syrupy filling; dark brown sugar provides the deepest flavor
- Cinnamon: Warming spice that perfectly complements the brown sugar; use Ceylon cinnamon for a more complex flavor
- Pecans: My personal preference instead of the traditional walnuts or peanuts; they add buttery richness to the filling
- Vegetable oil: For frying; you want enough to create a shallow pool in the pan, about 1/4 inch deep
Step-by-Step Instructions
- Step 1:
- Make the dough - In a large bowl, combine warm milk (not hot, or you'll kill the yeast), sugar, and yeast. Let this mixture sit for about 10 minutes until foamy and fragrant. This proofing step ensures your yeast is active. Add the flour and salt, mixing until a very sticky, wet dough forms. Don't panic about the stickiness - this is exactly what you want for authentic hotteok. The dough should cling to your fingers like a clingy child who doesn't want you to leave.
- Step 2:
- First rise - Cover the bowl with plastic wrap or a damp kitchen towel and place it in a warm, draft-free spot. Let the dough rise for about 1 hour or until doubled in size. During cold weather, I place mine near (not on) a heating vent or inside an oven that's been warmed for just a minute then turned off.
- Step 3:
- Knead and second rise - With oiled hands (this prevents sticking), gently punch down the dough to release air bubbles. Knead it a few times right in the bowl, then cover again and let rise for another 30 minutes. This second rise develops more flavor and improves the texture.
- Step 4:
- Prepare the filling - While the dough undergoes its second rise, mix brown sugar, cinnamon, and finely chopped pecans in a small bowl. The filling should be evenly mixed so each bite contains the perfect balance of sweetness and spice. I like to rub the mixture between my fingers to break up any brown sugar lumps.
- Step 5:
- Shape and fill - Dust your work surface generously with flour. With floured hands, take a piece of dough about the size of a golf ball. Flatten it into a disc approximately 3-4 inches wide. Place 1-2 tablespoons of filling in the center, then carefully bring the edges up and pinch them together to completely seal the filling inside. Roll the filled dough between your palms to form a smooth ball. Place on a floured surface and gently flatten slightly with your palm.
- Step 6:
- Fry to golden perfection - Heat oil in a heavy-bottomed skillet over medium heat. When the oil is hot (test by dropping a tiny bit of dough in – it should bubble immediately), carefully place 1-2 filled dough balls in the pan. As they begin to cook, press down firmly with a hotteok press or the back of a spatula to flatten into pancakes about 1/2 inch thick. Cook until golden brown on one side, then gently flip and cook the other side until equally golden and crisp.
- Step 7:
- Serve immediately - Transfer to a paper towel-lined plate to absorb excess oil, then serve while still hot enough to create that magical moment when the filling oozes out with the first bite.
The Cultural Significance
In Korea, hotteok vendors with their sizzling pans are fixtures on busy winter streets. The warmth of these sweet pancakes provides comfort during cold months, with people gathering around vendors, blowing on their hotteok to cool them just enough to take that first delicious bite. Making these at home connects you to this beautiful culture of street food that brings people together.
Perfect Timing Matters
The key to perfect hotteok lies in the temperature control. Too hot, and the outside burns before the dough cooks through; too cool, and the pancakes become oil-soaked and heavy. I've found that medium heat works best, allowing the dough to cook through while achieving that perfect golden crust. When you see the color creeping up the sides of the pancake, it's time to flip.
Beyond Traditional Fillings
While the classic brown sugar, cinnamon, and nut filling is divine, hotteok invites creativity. My daughter loves a version with dark chocolate chips mixed with the traditional filling, while my son prefers a savory variation with mozzarella cheese and a sprinkle of green onions. The dough works beautifully as a canvas for both sweet and savory interpretations.
I discovered the hard way that patience matters with hotteok. My first attempt, I rushed the rising process and ended up with dense, lifeless pancakes. Now I plan ahead, starting the dough early so it has proper time to develop. The difference in texture and flavor is remarkable - worth every minute of waiting.
The joy of hotteok comes not just from their delicious taste but from the experience of making them. There's something deeply satisfying about transforming simple ingredients into these pocket-sized treasures. Whenever I make them now, I think of those street vendors in Korea, deftly flipping dozens of pancakes with their specialized tools, and feel connected to a culinary tradition that spans generations. Even if your first batch isn't perfect, keep trying - the technique becomes second nature, and soon you'll be creating hotteok that would make any Korean street vendor proud.
Frequently Asked Questions
- → Can I make the dough ahead of time?
- Yes, you can refrigerate the dough after the first rise for up to 24 hours. Let it come to room temperature before shaping.
- → Why is my dough so sticky?
- Hotteok dough is naturally sticky. Use well-oiled or floured hands when handling. The stickiness creates the chewy texture everyone loves.
- → Can I freeze hotteok?
- Yes, you can freeze cooked hotteok. Cool completely, wrap individually, and freeze. Reheat in a pan or microwave when ready to eat.
- → What can I use instead of a hotteok press?
- A spatula works perfectly! Just use the back to gently press down on the pancake until it's flattened.
- → Can I use different fillings?
- Absolutely! Try black sesame seeds, sunflower seeds, or even a savory filling with cheese and vegetables for a different twist.