
 Pin it
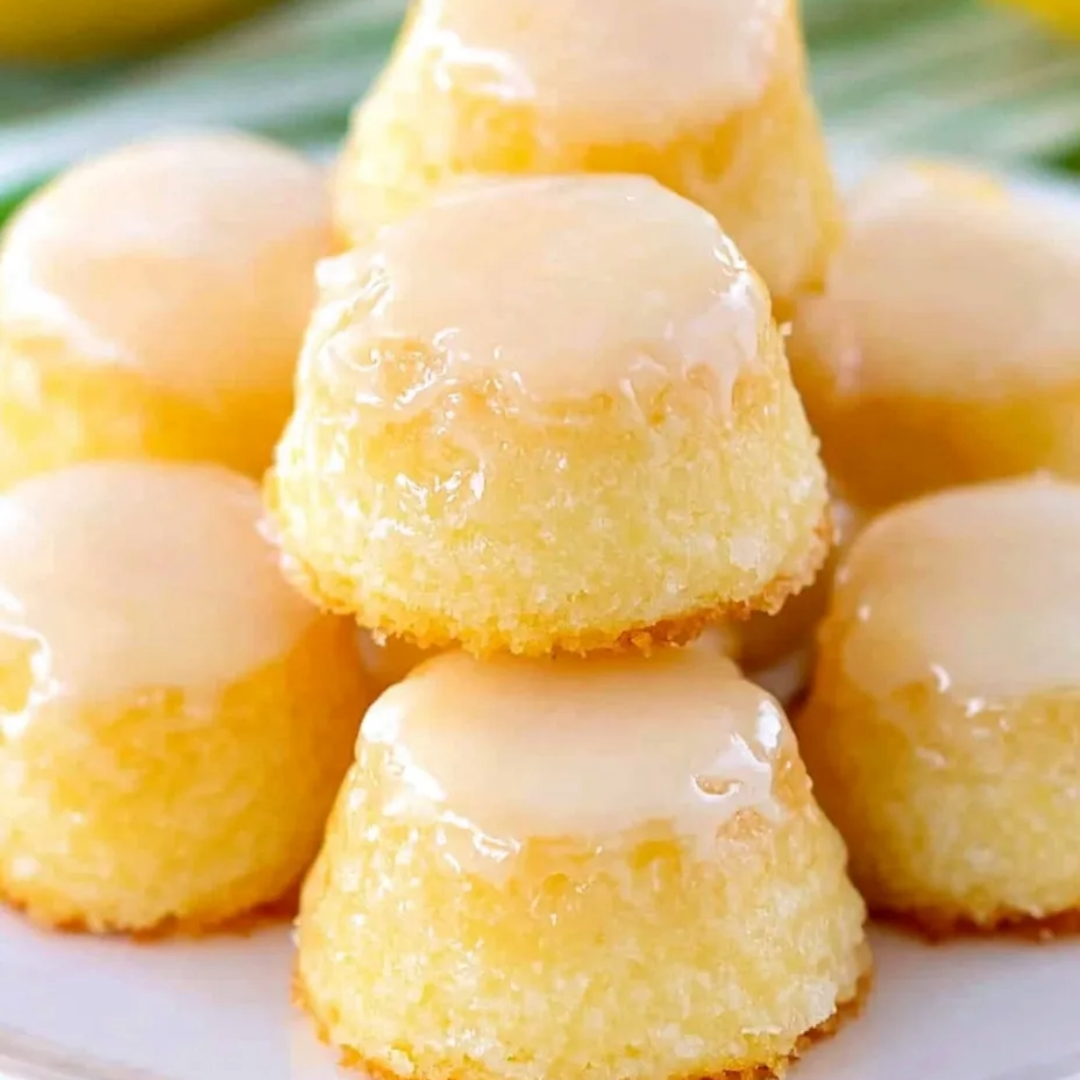
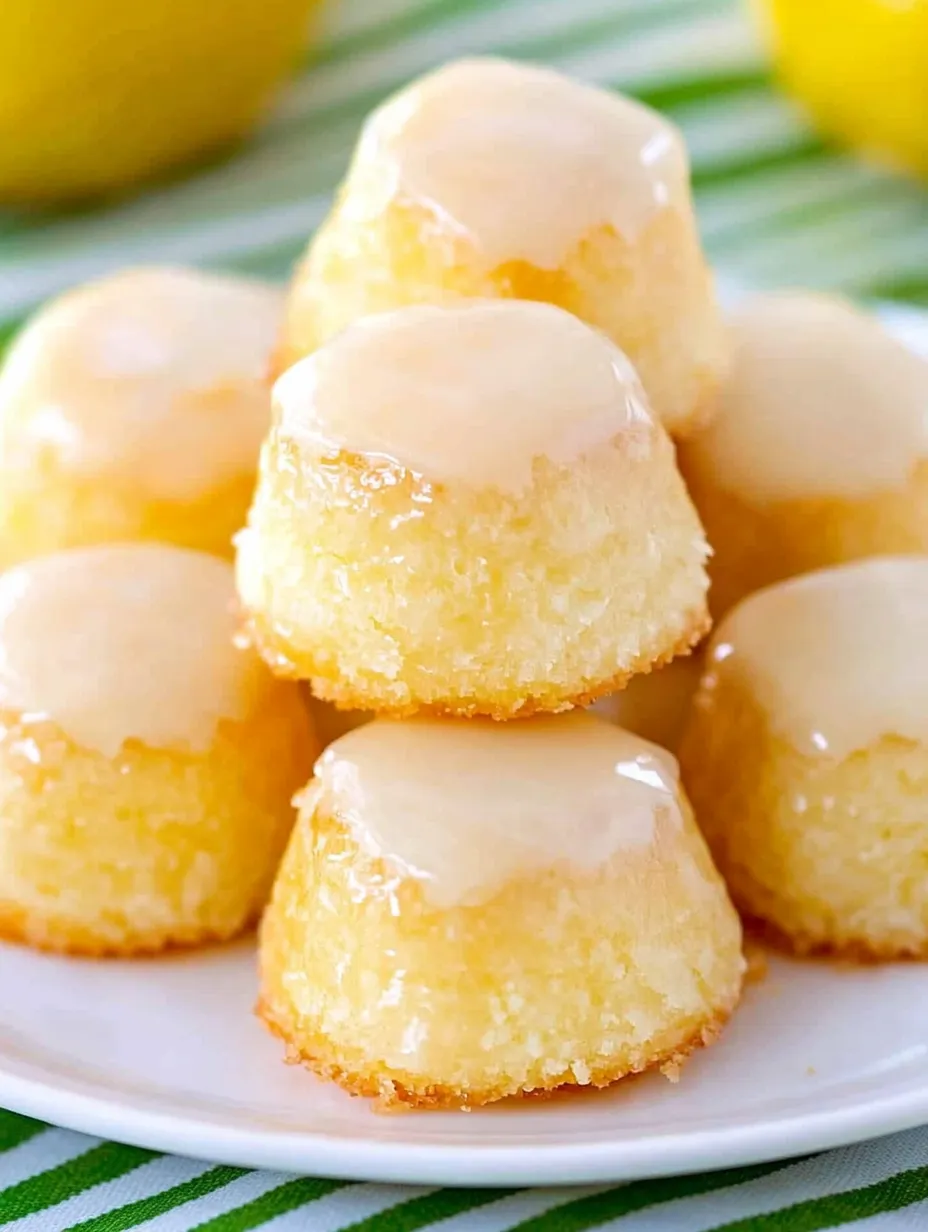
These irresistible bite-sized lemon cakes deliver the perfect balance of sweet and tangy in every morsel. A rich, buttery cake base infused with fresh lemon zest creates the perfect canvas for the star of the show – a luscious lemon glaze that seeps into every crevice, ensuring each bite is bursting with bright citrus flavor. The miniature size makes them perfect for gatherings, gift-giving, or simply treating yourself to 'just one more' without the guilt of a full-sized dessert.
I created this recipe when I needed something special for a friend's bridal shower but didn't want to make the original recipe that yielded 75 cakes. After some experimenting, this scaled-down version was born, and they disappeared from the dessert table faster than any other treat! The bride-to-be actually tucked a few into her purse 'for later' – the ultimate compliment to any baker. Now they've become my signature contribution to any gathering where I want to bring something a little different from the usual cookies or brownies.
Perfect Ingredients for Mini Lemon Drop Cakes
- All-purpose flour: Creates the perfect tender structure for these mini cakes; make sure to measure correctly by spooning into measuring cups and leveling off
- Granulated sugar: Provides sweetness that balances the tart lemon; its fine texture incorporates perfectly into the batter
- Fresh lemons: Both the zest and juice are essential for authentic flavor; bottled juice simply can't compare to the brightness of fresh
- Butter: Use unsalted to control the salt level; real butter creates that rich, melt-in-your-mouth texture
- Sour cream: The secret ingredient that makes these cakes incredibly moist and tender with a subtle tang
- Eggs: Bind everything together while adding richness; room temperature eggs incorporate better into the batter
- Powdered sugar: Creates a smooth, lump-free glaze that sets beautifully on the cakes
I've found that taking the extra minute to really zest the lemons properly makes all the difference in these little cakes. Use only the yellow part of the peel (avoiding the bitter white pith), and you'll be rewarded with an intense lemon flavor that perfectly balances the sweetness of the cake and glaze.
Step-by-Step Cooking Instructions
- Step 1:
- Prepare your pans properly – Start by generously spraying mini muffin tins with non-stick cooking spray. This crucial step ensures your mini cakes release easily after baking. If your pans are older or tend to stick, consider lightly flouring them after spraying for extra insurance against sticking.
- Step 2:
- Mix the dry ingredients with precision – In a medium mixing bowl, whisk together 1½ cups all-purpose flour, 1 cup granulated sugar, ½ teaspoon salt, and ¼ teaspoon baking soda until they're thoroughly combined. This even distribution of leavening and salt ensures perfectly textured cakes.
- Step 3:
- Create the hot butter mixture – In a small saucepan, melt ½ cup unsalted butter over medium heat. Once melted, add ½ cup water and bring to a boil. The hot liquid will help to partially cook the flour when added to the dry ingredients, contributing to the unique, tender texture of these cakes.
- Step 4:
- Combine with care – Pour the hot butter mixture over the dry ingredients and beat with a hand mixer on low speed just until barely combined. Don't overbeat at this stage – a light touch yields tenderer cakes. The mixture will be quite thick at this point.
- Step 5:
- Add the remaining wet ingredients – Add ½ cup sour cream, 1 large egg, 2 tablespoons freshly squeezed lemon juice, and 1 tablespoon freshly grated lemon zest. Beat until the batter is smooth and well combined, but be careful not to overmix. The batter should be smooth and pourable but still relatively thick.
- Step 6:
- Fill the muffin cups perfectly – Using a small cookie scoop or tablespoon, fill each mini muffin cup about 2/3 full. This gives the cakes room to rise without overflowing. Tap the pan gently on the counter to release any air bubbles for an even texture.
- Step 7:
- Bake with attention – Place the pans in a preheated 325°F oven and bake for approximately 12 minutes until the tops are lightly golden and a toothpick inserted in the center comes out clean. Don't overbake, as these small cakes can dry out quickly.
- Step 8:
- Release with care – Allow the cakes to cool in the pans for exactly 5 minutes – not more, not less. This cooling period allows them to set up just enough to hold their shape without becoming so cool that they stick to the pan. Turn them out onto cooling racks to cool completely before glazing.
- Step 9:
- Create the perfect glaze – In a small bowl, whisk together 2 cups powdered sugar, 3 tablespoons freshly squeezed lemon juice, 1 tablespoon lemon zest, and 1 tablespoon melted butter. For the perfect consistency, heat the glaze in the microwave for about 10 seconds until it's thin enough to coat the cakes but not so thin that it runs off completely.
- Step 10:
- Glaze for maximum flavor – Once the cakes are completely cool, dip each cake top-side down into the warm glaze, allowing excess to drip back into the bowl. Flip them over and place them on a cooling rack set over waxed paper (for easier cleanup). The still-warm glaze will seep slightly into the cakes, creating that signature moistness and intense flavor.
The Secret to Perfect Lemon Flavor
What makes these mini cakes truly special is the double dose of lemon – in both the cake and the glaze. Using fresh lemon zest is non-negotiable here; it contains the essential oils of the lemon, which carry the most concentrated flavor. When you rub the zest with your fingers, you can actually feel the oils releasing – that's pure lemon magic that no bottled juice can replicate.
The first time I made these, I was tempted to skip the zest because I was in a hurry. I'm so glad I didn't! The difference between lemon-flavored and truly lemony is all in that bright, aromatic zest. Now I keep a microplane grater dedicated just to zesting citrus – it's worth having a specialized tool for this purpose.
Perfect for Sharing, If You Can Bear To
These little cakes have become my go-to for any occasion where I need a portable, impressive dessert. They're perfect for baby showers, brunches, afternoon teas, or dessert platters. Their small size means guests can sample them alongside other desserts without commitment, though I've noticed people tend to come back for seconds and thirds!
I've packaged them in small gift boxes tied with ribbon for teacher appreciation gifts, and I once arranged them on a tiered stand with fresh flowers as a birthday 'cake' for a friend who prefers lemon to traditional birthday cake. Their versatility is part of what makes them so special.
My husband, who typically gravitates toward chocolate desserts, surprised me by requesting these for his birthday instead of his usual chocolate cake. When I asked why, he said, 'They're small, but they pack a punch – kind of like you.' I'm still deciding if that was a compliment, but I know for sure these little lemon drops pack a flavor punch that belies their tiny size!
I'll never forget serving these at my sister's baby shower. Her pregnancy craving was anything lemony, and when she took her first bite, her eyes widened and she quietly asked if she could take the leftovers home. Later she confessed to eating six of them while standing in her kitchen at midnight! There's something about that perfect balance of sweet and tangy that makes these little cakes absolutely impossible to resist – consider yourself warned!
Frequently Asked Questions
- → Can I make these lemon mini cakes in advance?
- Yes! These mini cakes actually taste even better the day after baking as the flavors have time to develop. You can make them up to 2 days ahead and store in an airtight container at room temperature. The glaze will firm up nicely but the cakes will remain moist and tender.
- → Can I use bottled lemon juice instead of fresh?
- While fresh lemon juice gives the best flavor, bottled lemon juice will work in a pinch. However, don't skip the fresh lemon zest - it contains the essential oils that provide the authentic lemon flavor these cakes are known for.
- → I don't have mini muffin pans. Can I make these as regular-sized muffins or a cake?
- Yes, you can bake this batter in standard muffin tins for about 15-18 minutes. For a single cake, use an 8x8 inch pan and bake for approximately 25-30 minutes or until a toothpick inserted in the center comes out clean. The glaze can be poured over the top of the cake.
- → How do I know when the mini cakes are done baking?
- These mini cakes are done when they spring back lightly when touched and a toothpick inserted in the center comes out clean or with a few moist crumbs. Be careful not to overbake, as they can dry out quickly due to their small size.
- → Can I freeze these lemon drop mini cakes?
- Yes, you can freeze these mini cakes before glazing. Cool completely, then place in an airtight container with wax paper between layers. Freeze for up to 3 months. Thaw at room temperature, then dip in fresh glaze before serving for the best taste and texture.