
 Pin it
These coffee truffles deliver a perfect balance of creamy, rich decadence with a bold coffee flavor that coffee enthusiasts will absolutely adore. The combination of smooth cream cheese, instant coffee, and chocolate coating creates bite-sized treats that capture the essence of tiramisu and cheesecake in one irresistible package. I've brought these to countless gatherings, and they're always the first dessert to disappear from the table!
I made these for my sister's engagement party last month, deciding to cut them in half to showcase the beautiful coffee filling. By the evening's end, guests were asking me for the recipe while lamenting there weren't more to enjoy. Even my coffee-skeptic cousin couldn't resist coming back for seconds!
Ingredients You'll Need
- Cream Cheese: Creates the perfect creamy, tangy base for the filling; choose full-fat for the richest results
- Powdered Sugar: Dissolves completely for a smooth texture without any graininess; adjust to your sweetness preference
- Instant Coffee: Provides that distinctive coffee flavor without adding too much liquid; regular or decaf works equally well
- Butter: Adds richness and helps the filling set properly when chilled; can be substituted with coconut butter for a dairy-free version
- Dark Chocolate: Creates a satisfying shell that perfectly complements the coffee filling; choose high-quality chocolate for the best flavor
Step-by-Step Instructions
- Prepare your ingredients properly:
- Take the cream cheese and butter out of the refrigerator at least 30 minutes before starting. Room temperature ingredients are absolutely essential for achieving that perfectly smooth, lump-free filling. If you're in a hurry, cut them into small pieces to speed up the warming process.
- Create the smooth coffee filling:
- Add your softened cream cheese, butter, powdered sugar, and instant coffee to a medium mixing bowl. Using electric hand beaters, whip the mixture on medium speed for 2-3 minutes. Stop occasionally to scrape down the sides of the bowl with a spatula. Continue beating until the mixture is completely smooth and has lightened slightly in color. The filling should be thick but creamy, with no coffee granules visible.
- Choose your shaping method:
- For perfectly uniform truffles, spread the mixture into a shallow container lined with parchment paper, about 1/2 inch thick. Cover and freeze for 20-30 minutes until firm enough to cut into squares. Alternatively, place the bowl with the filling in the freezer for about 10 minutes until firm enough to scoop with a mini cookie scoop or spoon into rough balls.
- Form your truffles:
- If using the container method, cut the chilled filling into 1-inch squares or desired shapes. If using the scooping method, quickly roll each portion between your palms to form smooth balls. Work quickly as the mixture will soften at room temperature. Place the formed truffles on a parchment-lined plate or baking sheet.
- Chill thoroughly before dipping:
- Return the shaped truffles to the refrigerator for at least 1 hour, or the freezer for 20-30 minutes. They must be very firm before dipping in chocolate, or they'll melt and fall apart.
- Prepare your chocolate coating:
- When the truffles are thoroughly chilled, melt your chocolate. Break chocolate bars into small pieces or measure chocolate chips into a microwave-safe bowl. Add 1/2 teaspoon of vegetable oil or coconut oil per 1/2 cup of chocolate to achieve the perfect consistency for dipping. Microwave in 20-second intervals, stirring between each, until just melted and smooth. Be careful not to overheat.
- Dip with precision:
- Working with a few truffles at a time (keeping the rest chilled), use a fork to dip each one into the melted chocolate. Tap the fork gently against the bowl's edge to remove excess chocolate, then carefully slide the truffle onto parchment paper. If the filling starts to soften too much, return the undipped truffles to the freezer before continuing.
- Add the finishing touch:
- Before the chocolate sets completely, you can sprinkle the tops with a tiny bit of instant coffee powder, cocoa powder, or even a few flakes of sea salt for visual appeal and flavor enhancement. Allow the chocolate to set completely at room temperature or speed up the process by refrigerating for 10-15 minutes.
- Create display-worthy cross-sections:
- For the beautiful half-cut truffles shown in the photos, wait until the chocolate has just barely set (still slightly soft but not liquid), then use a sharp knife to cut some or all of the truffles in half. This timing is crucial – if you wait until the chocolate is completely hardened, it will crack rather than cut cleanly.
I've found that using a double boiler method for melting the chocolate gives me more control and prevents overheating, though the microwave works fine if you're careful. Just place a heat-safe bowl over a pot with about an inch of simmering water, making sure the bottom of the bowl doesn't touch the water.
The first time I made these truffles, I used ground coffee instead of instant and ended up with a gritty texture that was still delicious but not ideal. My husband actually preferred them that way, saying it reminded him of Turkish coffee with its traditional grounds at the bottom. Now I make a special batch just for him with finely ground espresso mixed in!
Flavor Variations
These coffee truffles serve as a wonderful base recipe that you can customize endlessly. For mocha lovers, adding a tablespoon of unsweetened cocoa powder to the filling creates a chocolate-coffee combination that's absolutely divine. During fall, I like to add a touch of pumpkin pie spice for a seasonal twist that pairs perfectly with autumn gatherings.
My personal favorite variation is adding just a hint of cardamom, which complements the coffee beautifully and adds an unexpected aromatic element that guests always try to identify. Start with just an eighth teaspoon – cardamom can be potent!
For holiday parties, I often make a variety plate with different coatings – some dipped in dark chocolate, others in white chocolate, and some rolled in cocoa powder or crushed espresso beans for an elegant presentation with different textures and flavors.
Storage and Make-Ahead Tips
These truffles are the perfect make-ahead dessert. Once formed and chocolate-dipped, they'll keep in an airtight container in the refrigerator for up to a week. The flavor actually improves after the first day as the coffee notes meld with the cream cheese base.
For longer storage, these freeze beautifully for up to two months. Just place them in a single layer on a baking sheet until frozen solid, then transfer to a freezer container with parchment paper between layers to prevent sticking.
When serving, take them out of the freezer about 15-20 minutes before you plan to eat them. This takes the chill off just enough to soften the filling slightly while keeping the chocolate coating intact.
My final thought about these coffee truffles is that they perfectly embody what makes a truly memorable dessert – simplicity transformed into elegance. With just a handful of ingredients and no complicated techniques, you create something that looks and tastes like it came from a high-end patisserie. The contrast between the creamy coffee filling and the snap of chocolate creates that moment of sensory delight that makes people close their eyes when they take the first bite. Whether you're a dedicated coffee lover or just appreciate a beautifully balanced dessert, these truffles deserve a place in your recipe collection.
Frequently Asked Questions
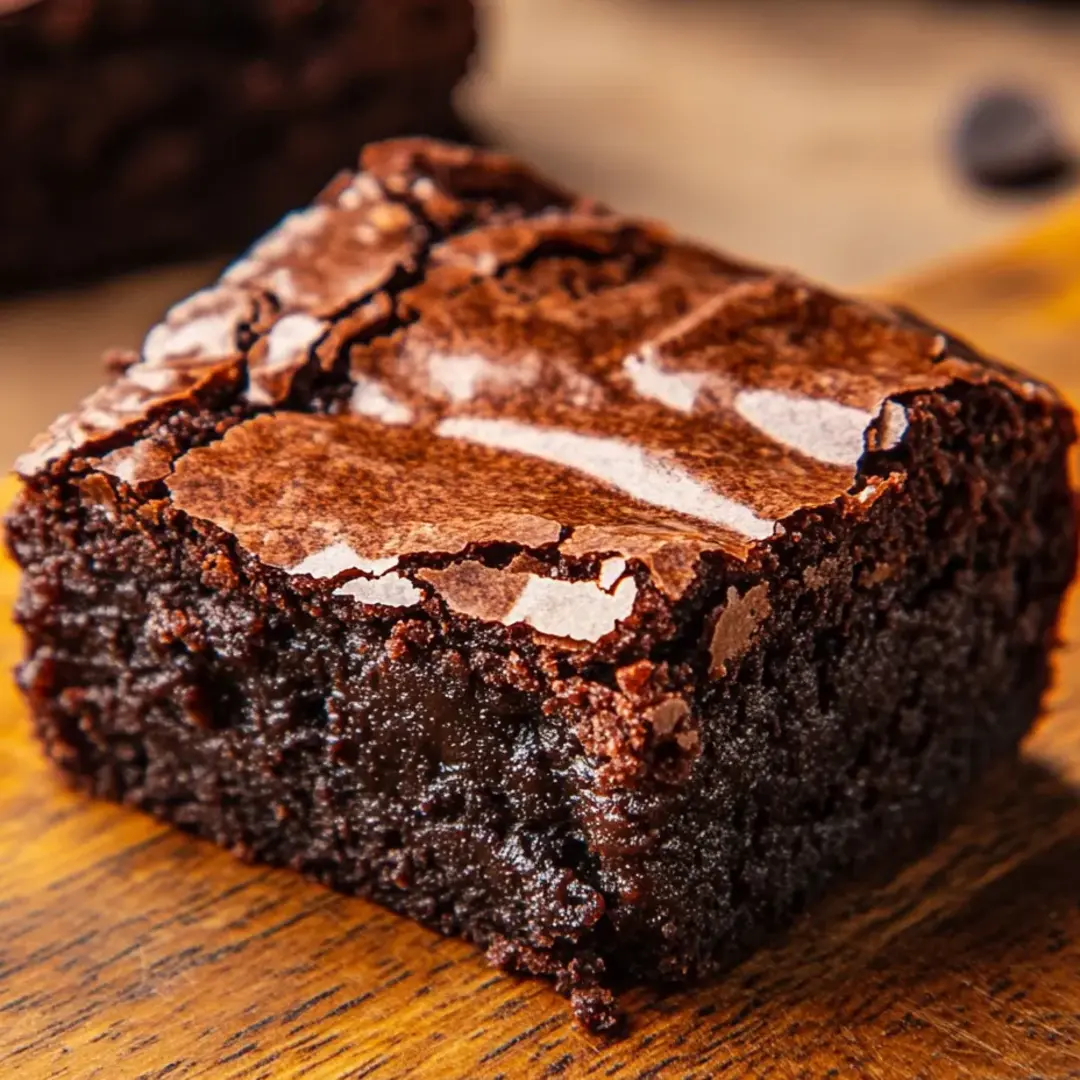
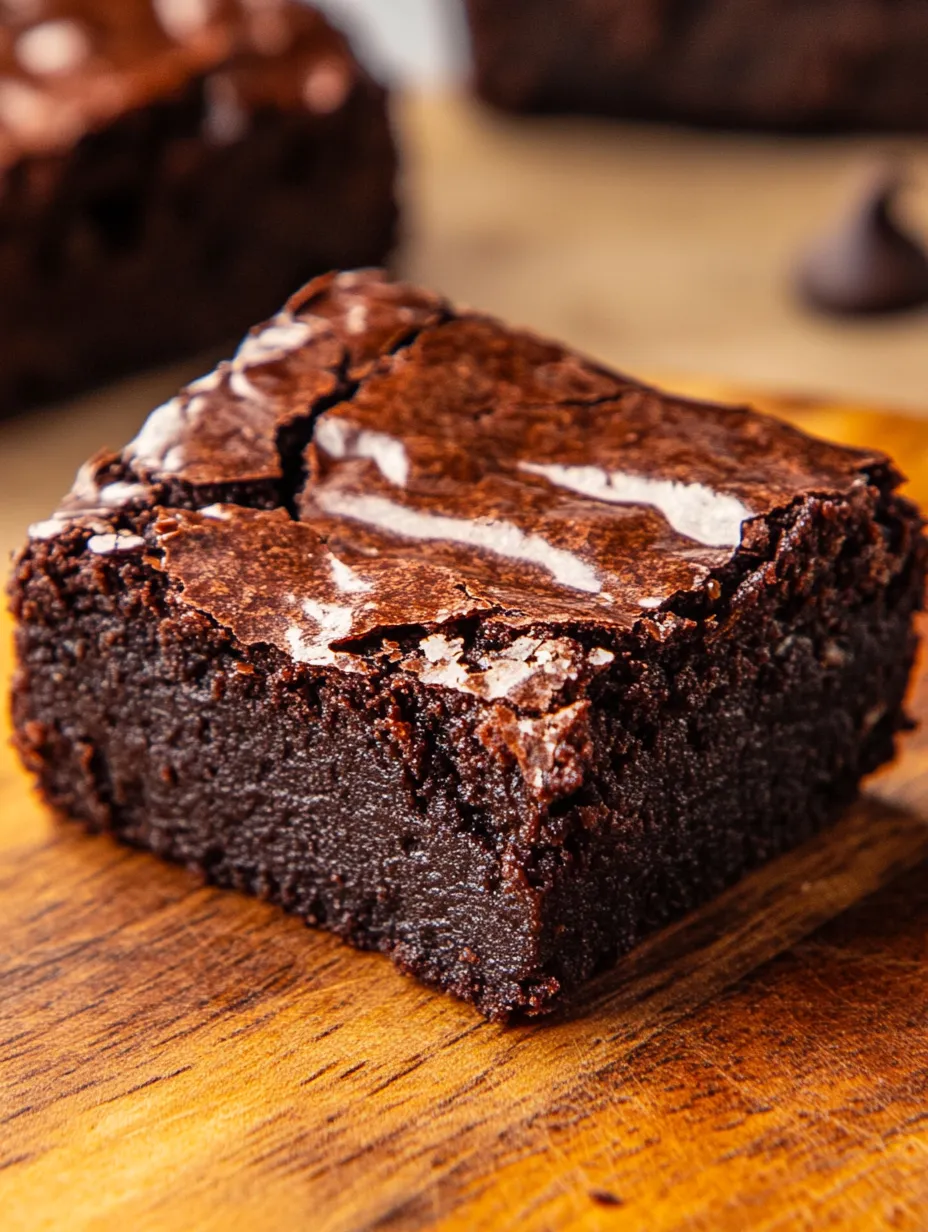
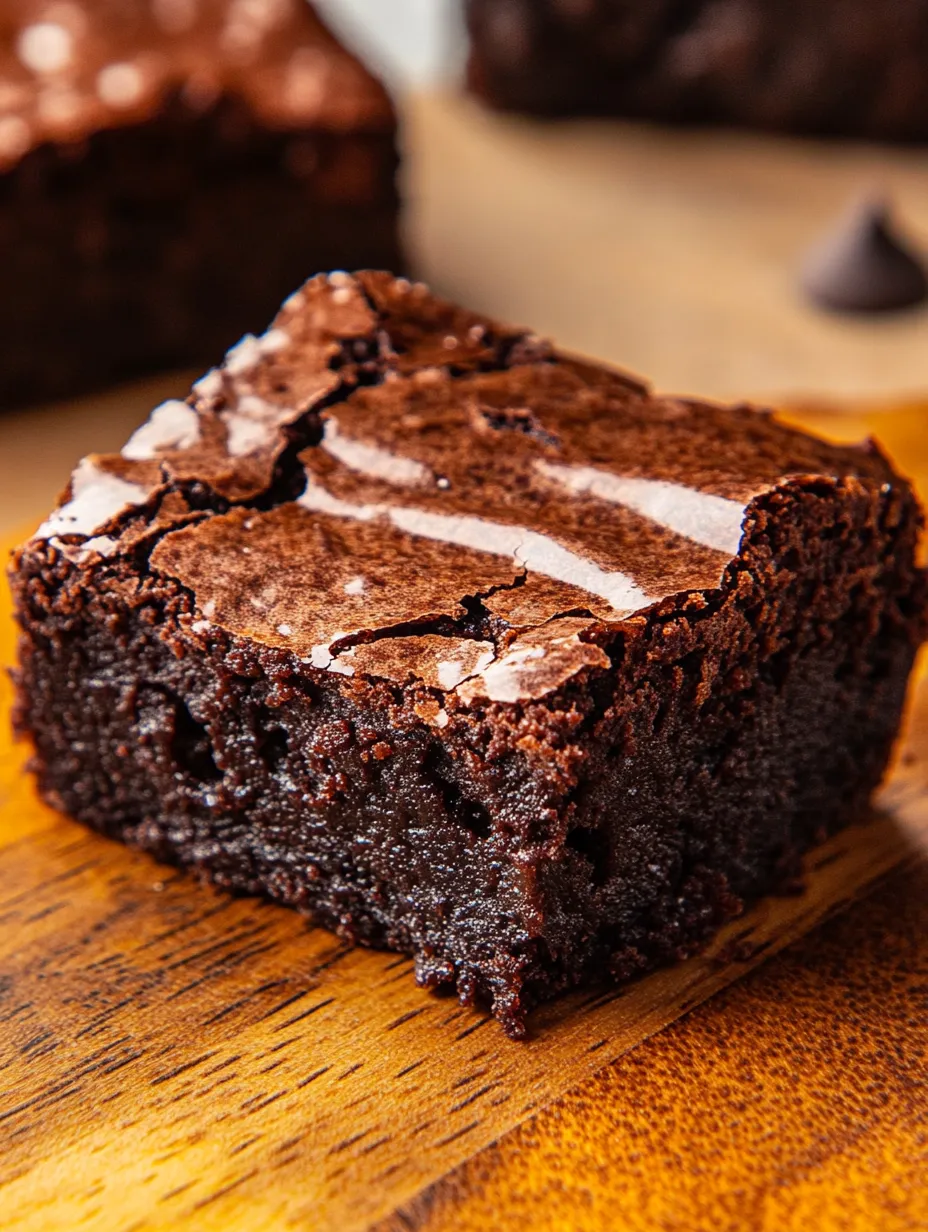
- → What exactly is mochi and how does it affect these brownies?
- Mochi is a Japanese rice cake made from glutinous rice flour (mochiko), which gives these brownies their distinctive chewy, slightly elastic texture that's different from traditional brownies. While regular brownies are fudgy or cakey, mochi brownies have a unique bounce and chew that makes them especially satisfying.
- → Are these brownies gluten-free?
- Yes, these brownies are naturally gluten-free as they use glutinous rice flour instead of wheat flour. Despite its name, glutinous rice flour doesn't contain gluten - the term refers to its sticky texture when cooked. Just be sure to check that your other ingredients like baking powder and chocolate are also gluten-free if you have celiac disease or severe gluten sensitivity.
- → Why do these brownies take so long to bake?
- Mochi brownies require longer baking times than traditional brownies because of the glutinous rice flour, which needs more time to cook properly. The lower baking temperature (320°F instead of the usual 350°F) also contributes to the longer baking time, but helps develop the perfect chewy texture without burning.
- → Can I substitute regular flour for the glutinous rice flour?
- No, regular wheat flour cannot be substituted for glutinous rice flour in this recipe, as it's the glutinous rice flour that creates the distinctive chewy mochi texture. Using regular flour would result in a completely different dessert. Glutinous rice flour can be found in Asian grocery stores or in the international section of many supermarkets.
- → How should I store these mochi brownies?
- Store mochi brownies in an airtight container at room temperature for up to 3 days. They can also be refrigerated for up to a week, though the texture may become firmer. To restore their softness after refrigeration, microwave individual pieces for 10-15 seconds. These brownies also freeze well for up to 3 months in a freezer-safe container.