
 Pin it
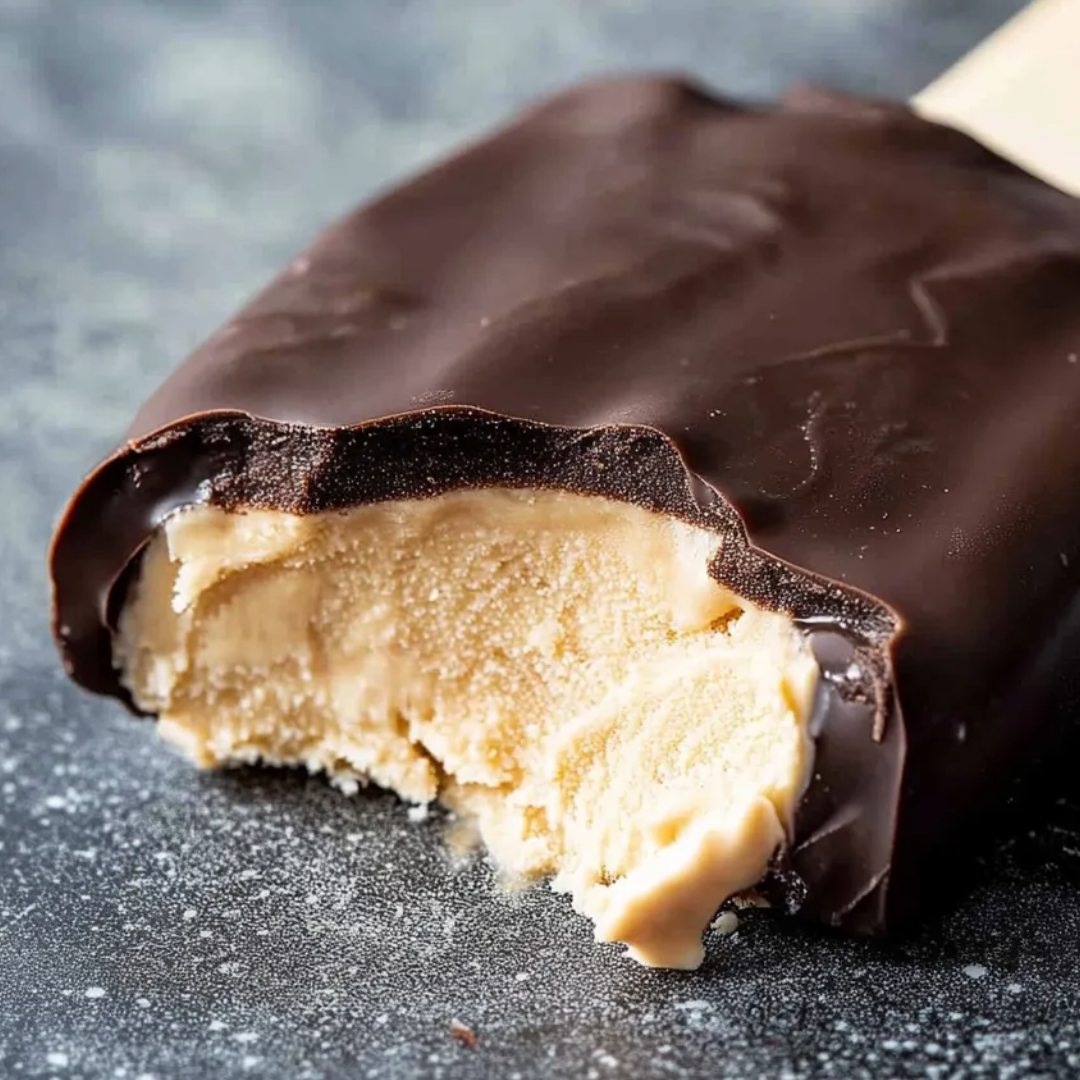
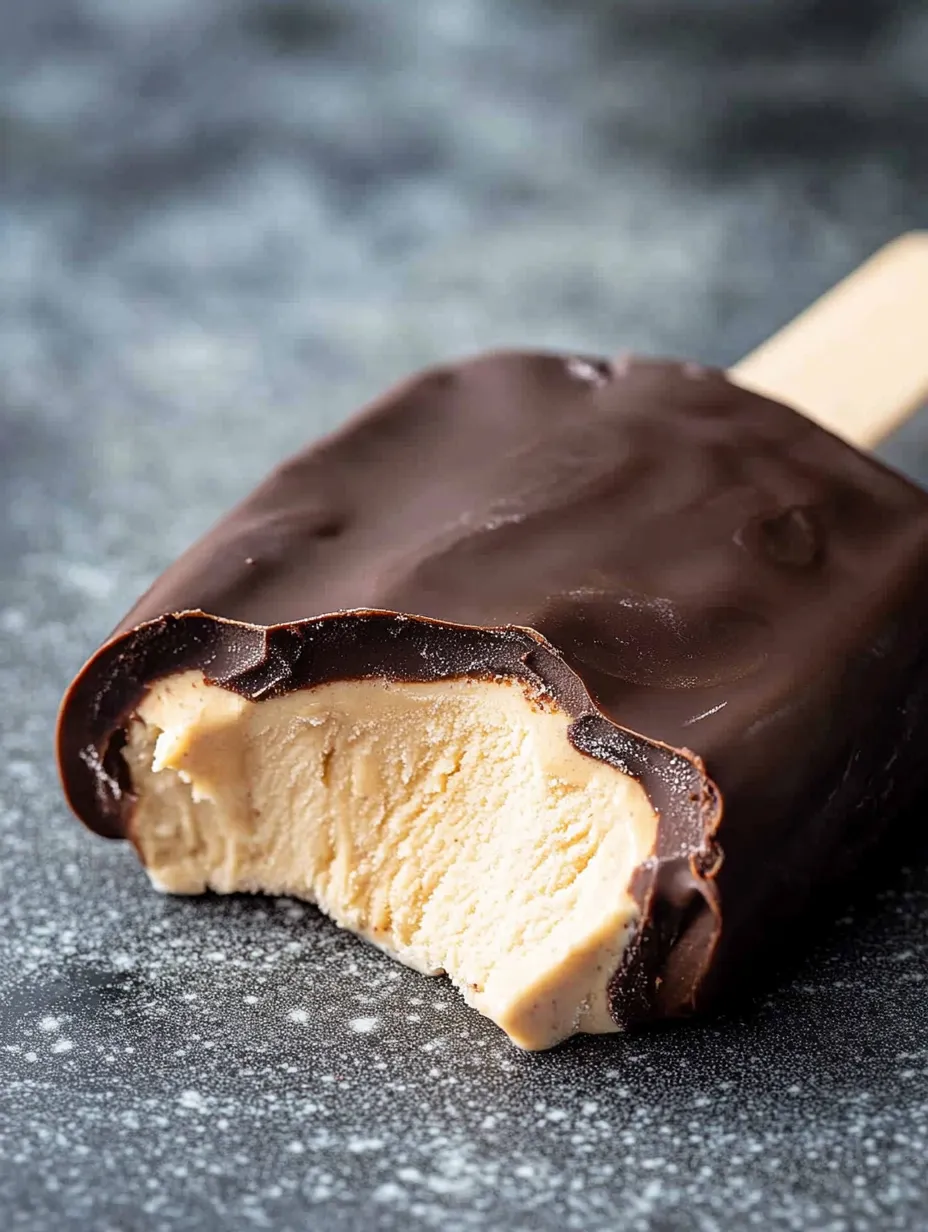
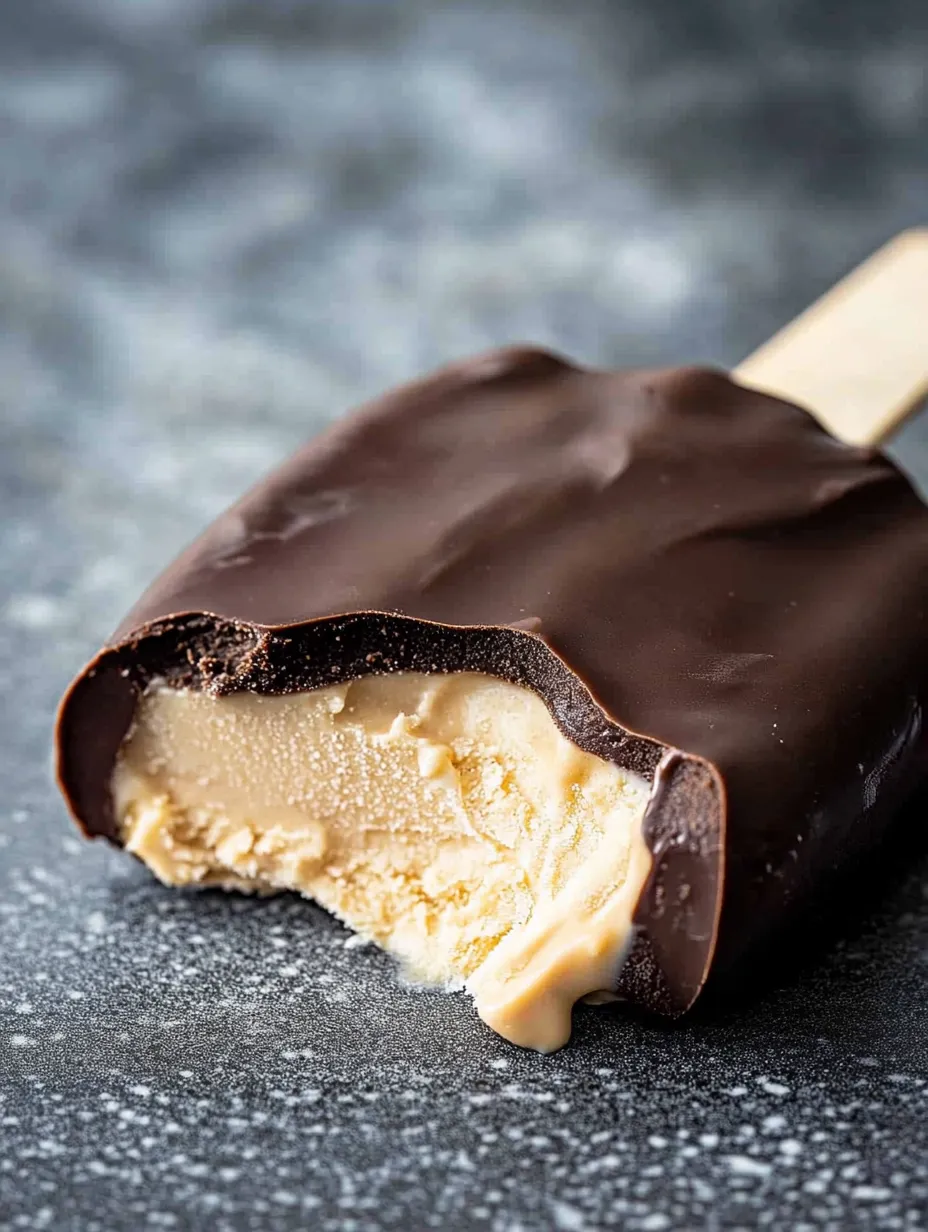
Peanut butter frozen yogurt bars deliver all the indulgence of premium ice cream treats with a healthier twist that satisfies sweet cravings guilt-free. These frozen delights combine creamy Greek yogurt with smooth peanut butter, wrapped in a crisp chocolate shell and finished with crunchy salted peanuts for the perfect balance of textures in every bite. Simple to make with wholesome ingredients, they offer a protein-rich alternative to store-bought ice cream novelties that's refreshingly cold, deliciously satisfying, and reminiscent of beloved Dairy Queen Dilly Bars – but with ingredients you can feel good about enjoying regularly.
I developed this recipe as a devoted ice cream lover seeking ways to indulge my daily craving for something cold and creamy without guilt. The first time I served these to my children on a sweltering summer afternoon, they didn't realize they were enjoying something healthier than typical ice cream bars – they just knew they wanted seconds! Now they're our go-to treat for hot days and dessert cravings alike.
Ingredients and Selection Tips
- Greek Yogurt: Use whole-fat or low-fat (not non-fat) for creamy texture that won't become icy when frozen
- Peanut Butter: Smooth, creamy varieties blend best; natural peanut butter works well but may need extra stirring
- Natural Sweetener: Maple syrup or honey both work beautifully; adjust quantity to your sweetness preference
- Peanuts: Roasted and salted adds flavor depth and crucial textural contrast to the creamy base
- Chocolate: Semisweet provides perfect balance, but milk or dark chocolate work based on preference
- Coconut Oil: Helps thin the chocolate for proper coating and creates a shell that snaps when bitten
Detailed Cooking Instructions
- Step 1:
- Begin by gathering all ingredients and tools needed for this recipe, including a baking sheet that will fit in your freezer, popsicle sticks, and either wax paper or a silicone baking mat to prevent sticking. This preparation makes the assembly process smooth and efficient.
- Step 2:
- In a medium mixing bowl, combine 1½ cups of Greek yogurt, ½ cup of creamy peanut butter, 3 tablespoons of maple syrup (or honey), and 1 teaspoon of vanilla extract. Starting with these proportions gives you a lightly sweetened base that you can adjust to taste before freezing.
- Step 3:
- Using a sturdy spoon or rubber spatula, stir the ingredients thoroughly until the mixture becomes completely smooth and uniform in color, with no streaks of peanut butter remaining. This thorough mixing ensures consistent flavor and texture throughout each frozen bar.
- Step 4:
- Before proceeding, taste the mixture and adjust sweetness if desired by adding additional maple syrup or honey one teaspoon at a time. The mixture should taste slightly sweeter than you want the final product to be, as freezing will slightly dull the sweetness.
- Step 5:
- Line a baking sheet with wax paper or a silicone baking mat to prevent sticking. Using a ¼-cup measure or ice cream scoop, portion 4-6 evenly sized mounds of the yogurt mixture onto the prepared sheet, spacing them far enough apart that they won't touch when slightly flattened.
- Step 6:
- Insert a popsicle stick about halfway into each mound, gently pressing it down so it's firmly embedded but doesn't poke through to the bottom. This creates a handle for easy dipping and eating once frozen, similar to a traditional ice cream bar.
- Step 7:
- Use the back of a spoon to slightly flatten each mound into a rounded disc shape approximately ½-inch thick. The flatter shape makes the bars easier to dip in chocolate and creates a more balanced ratio of creamy center to chocolate coating.
- Step 8:
- Sprinkle approximately 2 tablespoons of roasted, salted peanuts evenly across the tops of the yogurt discs, lightly pressing them into the surface so they adhere but remain visible. This adds essential crunch and visual appeal to the finished bars.
- Step 9:
- Transfer the baking sheet to the freezer and freeze the bars for at least 2 hours, or until completely solid. Proper freezing is essential for the bars to hold their shape during the chocolate dipping process and creates the perfect creamy-frozen texture.
- Step 10:
- About 10 minutes before removing the bars from the freezer, combine ¾ cup of semisweet chocolate chips and 1 tablespoon of coconut oil in a microwave-safe bowl that's deep enough for dipping. Microwave in 30-second intervals, stirring between each, until completely melted and smooth. Allow the chocolate mixture to cool slightly while remaining liquid.
I discovered these crucial points through trial and error while developing this recipe. The first time I made these, I tried dipping them before they were completely frozen and ended up with a melty mess! Now I make sure they're rock solid before the chocolate coating step.
The first time I served these at a summer gathering, I was surprised by how many guests asked for the recipe, assuming they were a complicated dessert. I love watching people's expressions when they discover these indulgent-tasting treats are made with simple, nutritious ingredients like Greek yogurt and natural peanut butter. What makes these bars truly special is how they satisfy that craving for something cold, creamy and indulgent while providing protein and less sugar than typical ice cream treats. While I've experimented with different nut butters and toppings, the classic peanut butter version remains my favorite – there's something about the nostalgic combination of peanut butter and chocolate that makes these bars feel like both a treat and a comfort food at the same time.
Frequently Asked Questions
- → Can I use flavored yogurt instead of plain Greek yogurt?
- Yes! Vanilla Greek yogurt works well and may allow you to reduce or eliminate the added sweetener. You could also try honey or peanut butter flavored yogurt for extra flavor. Just be aware that flavored yogurts typically contain more sugar than plain.
- → How long will these frozen yogurt bars keep in the freezer?
- When stored in an airtight container or individually wrapped in plastic wrap, these bars will keep well in the freezer for up to 1 month. After that, they may develop freezer burn or ice crystals that affect the texture and flavor.
- → Can I make these dairy-free?
- Absolutely! Substitute the Greek yogurt with dairy-free yogurt made from coconut, almond, or soy. Make sure to use dairy-free chocolate chips as well. The texture might be slightly different, but they'll still be delicious.
- → What can I use instead of popsicle sticks?
- If you don't have popsicle sticks, you can use wooden craft sticks, sturdy paper straws, or even plastic spoons. Alternatively, you can make these without sticks and serve them as frozen treats that can be picked up with your fingers once the chocolate shell hardens.
- → Can I add other mix-ins to the yogurt mixture?
- Definitely! Besides mini chocolate chips mentioned in the notes, try adding chopped dried fruit, a swirl of jam, crushed graham crackers, or a sprinkle of granola. For texture variety, consider adding crispy rice cereal or crushed pretzels for a sweet-salty combination.