
 Pin it
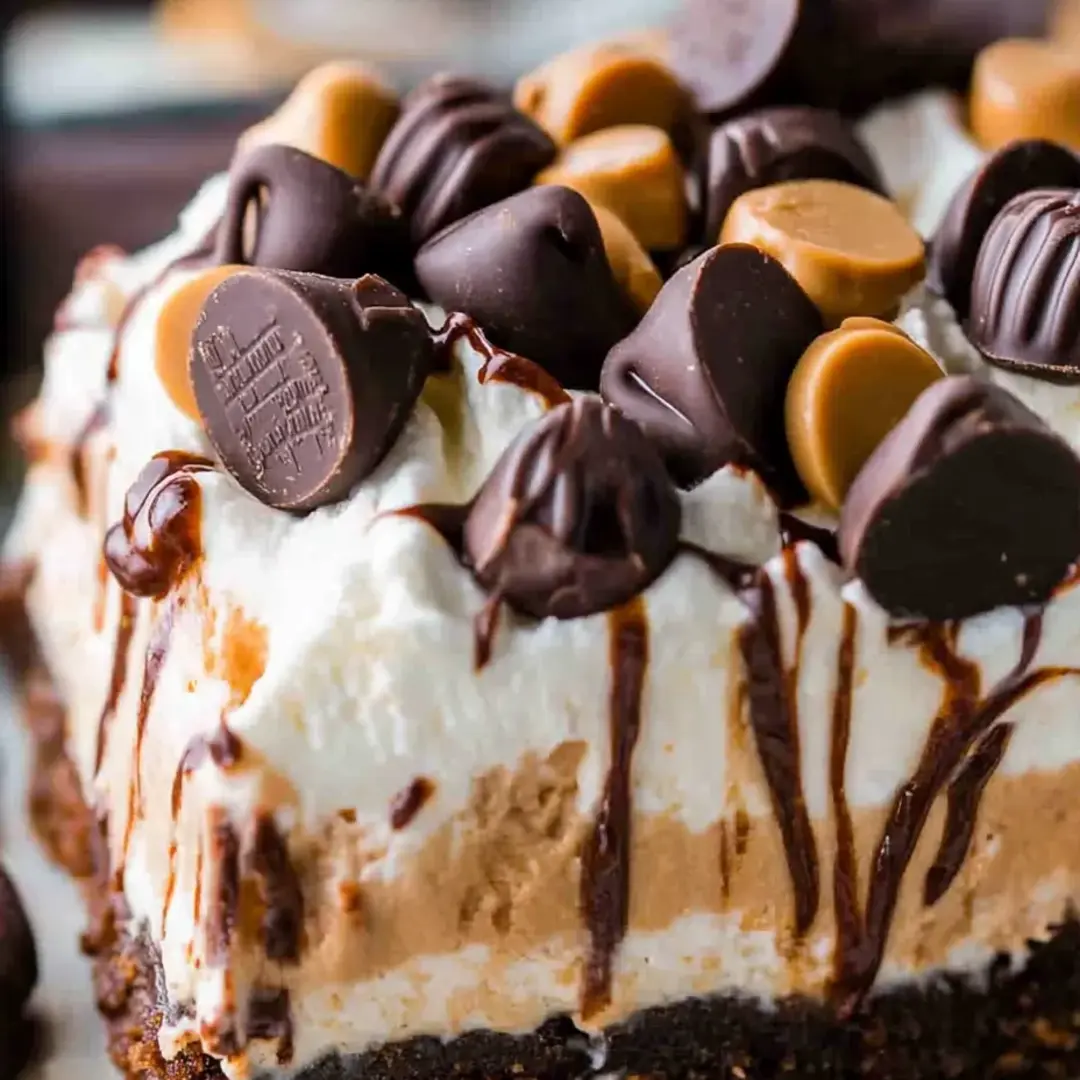
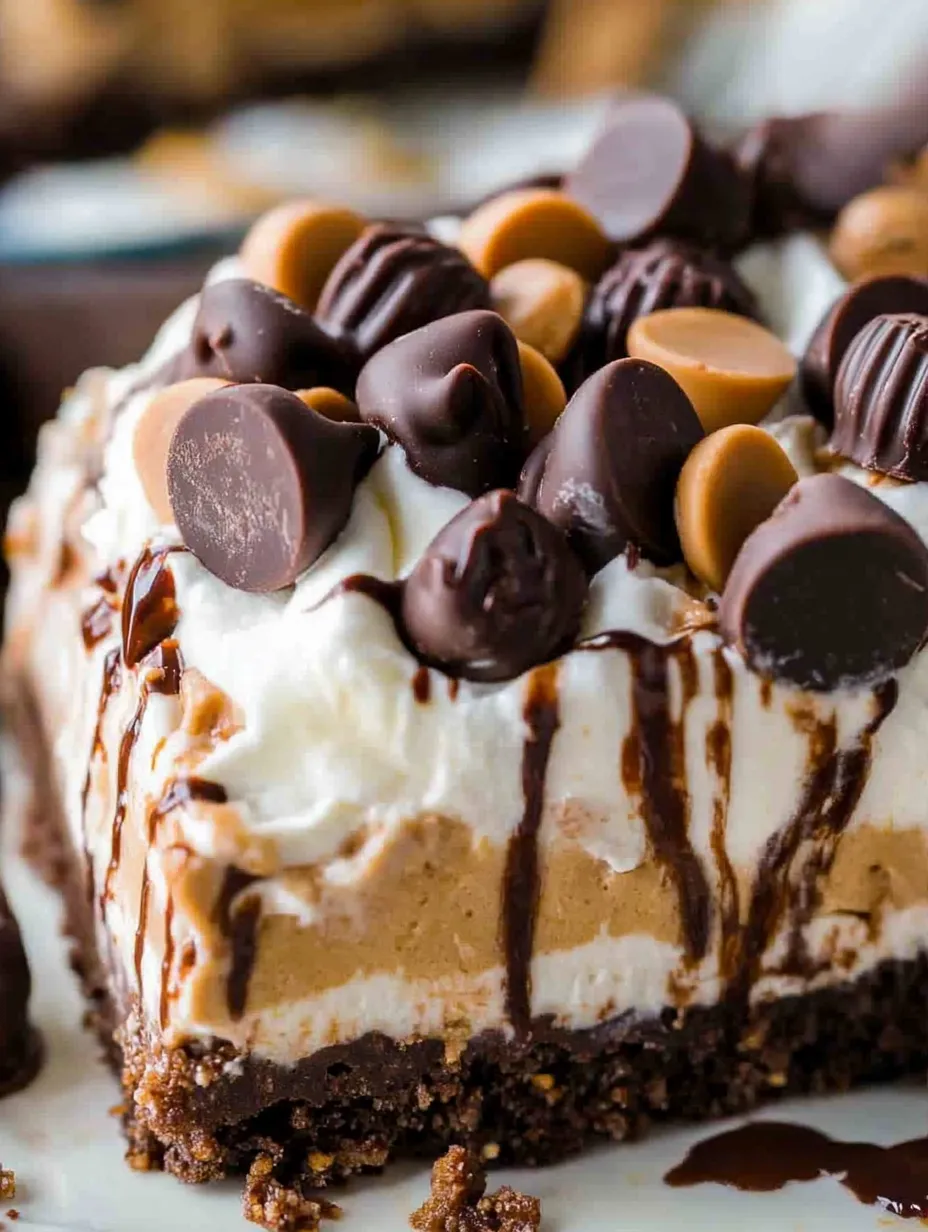
This peanut butter lasagna dessert brings together two perfect flavor companions, chocolate and peanut butter, in a no-bake layered treat that's become a staple for family gatherings and potlucks. The combination of an Oreo cookie crust, creamy peanut butter filling, rich chocolate pudding and whipped topping creates a dessert that disappears quickly whenever I serve it.
I first made this for my son's birthday when the temperature outside was pushing 95 degrees. The cool creamy texture was such a hit that it's now requested at almost every family celebration instead of traditional cake.
Ingredients
- Oreo cookies: Provide the perfect chocolatey base and complement the peanut butter flavor beautifully
- Cream cheese: Creates a rich tangy foundation for the peanut butter layer that balances the sweetness
- Creamy peanut butter: Use a commercial brand like Jif or Skippy for the best consistency in this recipe
- Powdered sugar: Blends smoothly into the peanut butter mixture without any graininess
- Instant chocolate pudding mix: Speeds up preparation time while providing deep chocolate flavor
- Whipped topping: Like Cool Whip keeps the dessert light and fluffy use real whipped cream if you prefer
- Mini Reese's Peanut Butter Cups: Add visual appeal and an extra peanut butter chocolate punch
Step-by-Step Instructions
- Create the Oreo Crust:
- Process the cookies until they become fine crumbs with no large pieces remaining. Mix thoroughly with melted butter until the mixture resembles wet sand. Press firmly into your pan using the bottom of a measuring cup to create an even layer. The freezer step is crucial here as it helps solidify the base before adding wet layers.
- Prepare the Peanut Butter Layer:
- Ensure your cream cheese is fully softened to room temperature to prevent lumps. Beat the cream cheese, peanut butter and milk until completely smooth and fluffy, which takes about 2 minutes on medium speed. Add the powdered sugar gradually about 1/4 cup at a time to incorporate it smoothly. Fold in the whipped topping with a gentle hand using a rubber spatula to maintain maximum fluffiness.
- Mix the Chocolate Layer:
- Whisk the pudding mix and milk vigorously for a full 2 minutes. This layer uses less milk than the box directions to create a thicker consistency that will hold up well between the layers. Make sure to scrape the sides of the bowl to incorporate all the pudding mix for a smooth texture.
- Assemble the Final Layers:
- Spread the whipped topping in an even layer using an offset spatula for a professional finish. Sprinkle the toppings evenly across the surface and drizzle chocolate syrup in a zigzag pattern if desired. The full chilling time is essential for the dessert to set properly and develop the best flavor and texture.
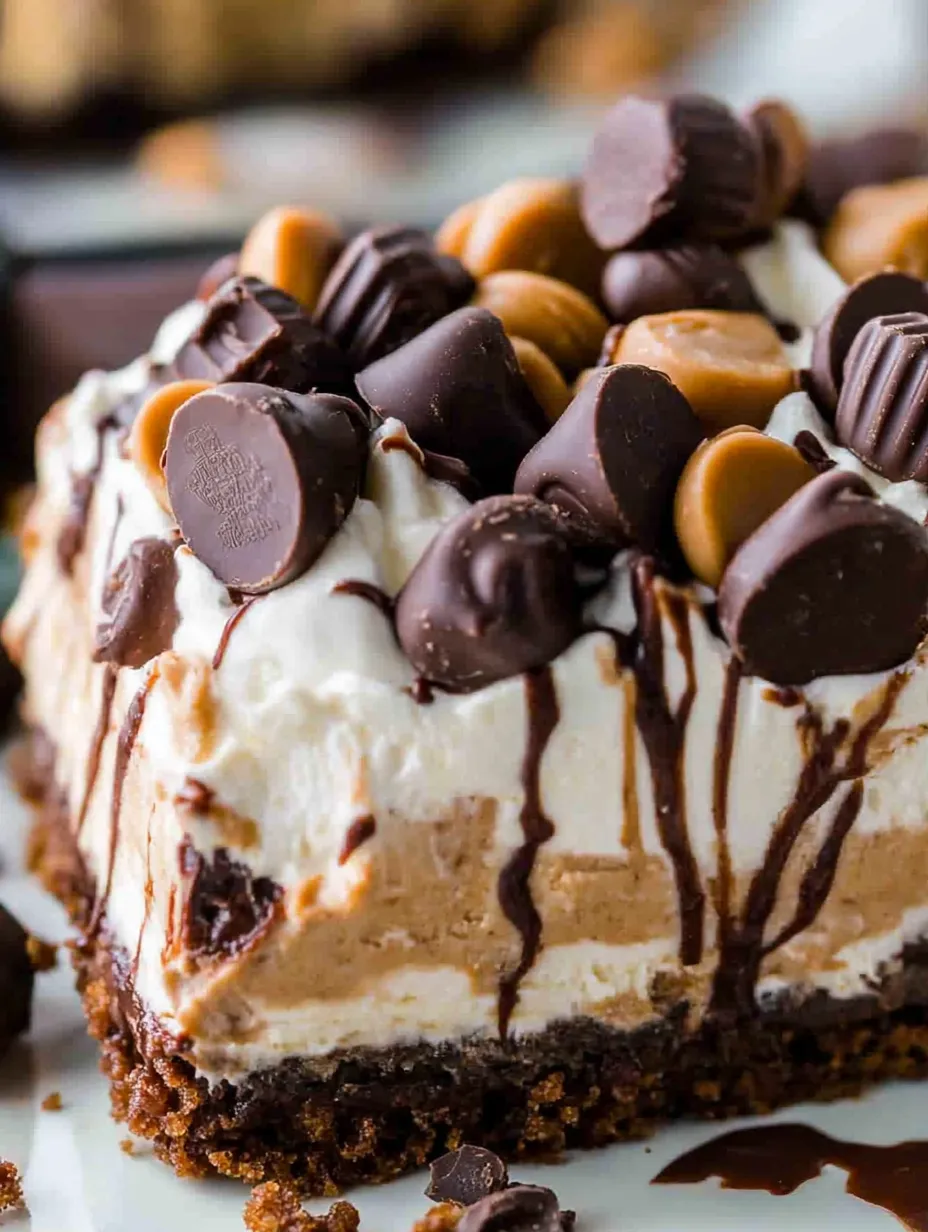
The secret to making this dessert truly special is in the contrasting textures. I discovered that freezing each layer briefly before adding the next creates cleaner, more distinct layers that look beautiful when sliced. My family particularly loves the crunchy bits of Reese's cups against the creamy layers.
Storing Leftovers
This peanut butter lasagna keeps beautifully in the refrigerator for up to 5 days, though it rarely lasts that long in my house. Cover tightly with plastic wrap directly against the surface to prevent the top from drying out or absorbing refrigerator odors. The dessert actually improves after the first day as the flavors meld together and the crust softens slightly. For the best texture, remove from the refrigerator about 15 minutes before serving to take the chill off.
Smart Substitutions
While traditional Oreos create the classic chocolate base, you can experiment with different cookie varieties. Nutter Butter cookies make an intensely peanut buttery crust, while chocolate graham crackers offer a lighter alternative. For a reduced sugar version, use sugar-free pudding mix and light cream cheese without compromising the luxurious texture. Those with peanut allergies can substitute almond or sunflower seed butter, though the flavor profile will change slightly.
Serving Suggestions
This dessert shines when cut into squares and served on small plates with a drizzle of additional chocolate sauce. For a more elegant presentation, try cutting with a hot knife for clean edges and garnish with a fresh mint leaf. During summer months, serve alongside fresh raspberries or sliced strawberries to cut through the richness. For an indulgent twist, warm some extra peanut butter and drizzle it over individual servings just before eating.
Frequently Asked Questions
- → Can I use a different cookie for the crust?
Yes, you can use graham crackers, chocolate wafers, or any other similar crumbly cookies instead of Oreos.
- → How long should I refrigerate the dessert?
The dessert should be refrigerated for at least 3 hours to ensure the layers set properly and are easy to slice.
- → Can I substitute Cool Whip with whipped cream?
Yes, you can use homemade whipped cream as a substitute for Cool Whip in the peanut butter layer and topping.
- → How can I make this dessert gluten-free?
To make it gluten-free, use gluten-free cookies for the crust and ensure all other ingredients are labeled gluten-free.
- → What other toppings can I use?
Feel free to get creative with toppings like caramel sauce, chopped nuts, or sprinkles for added texture and flavor.