
 Pin it
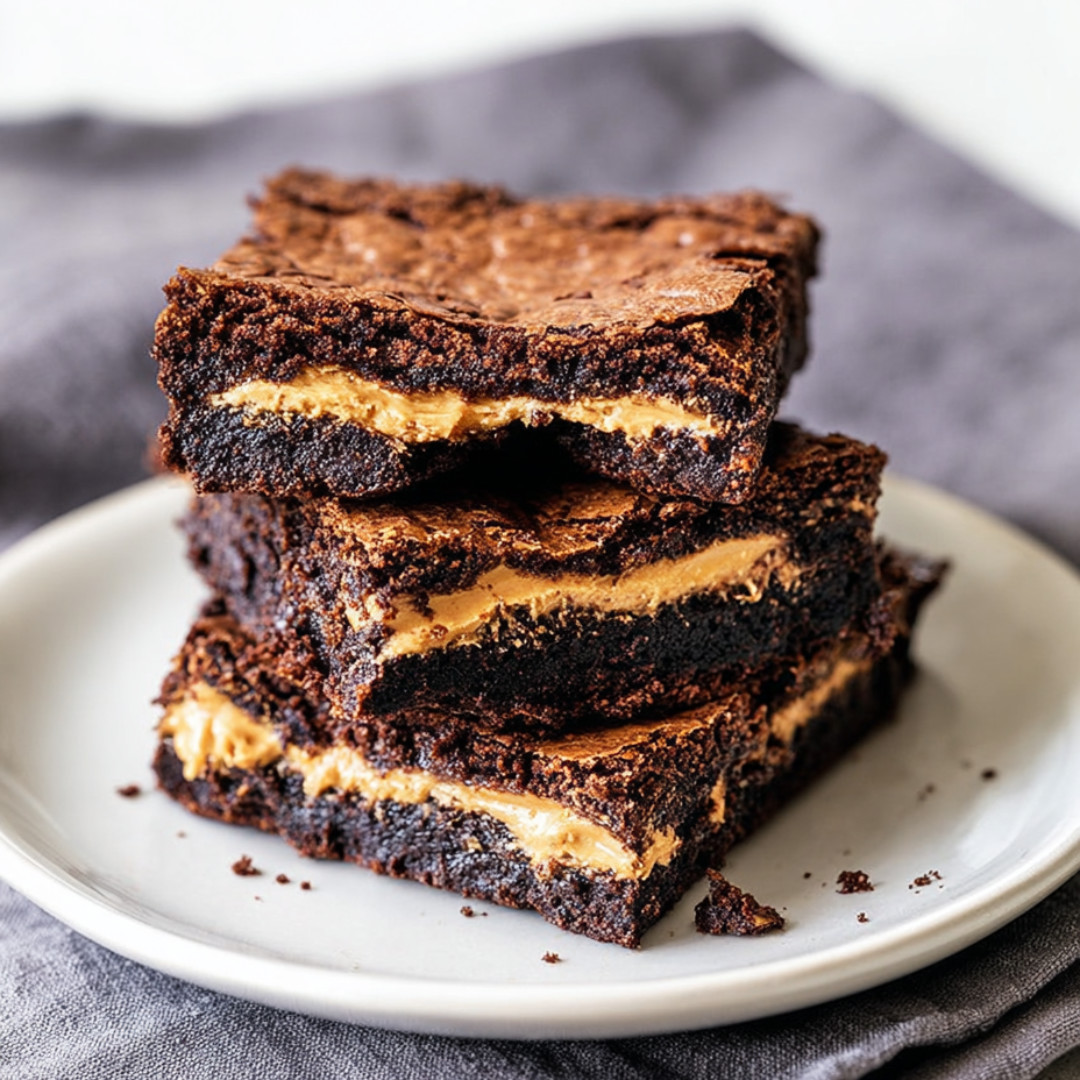
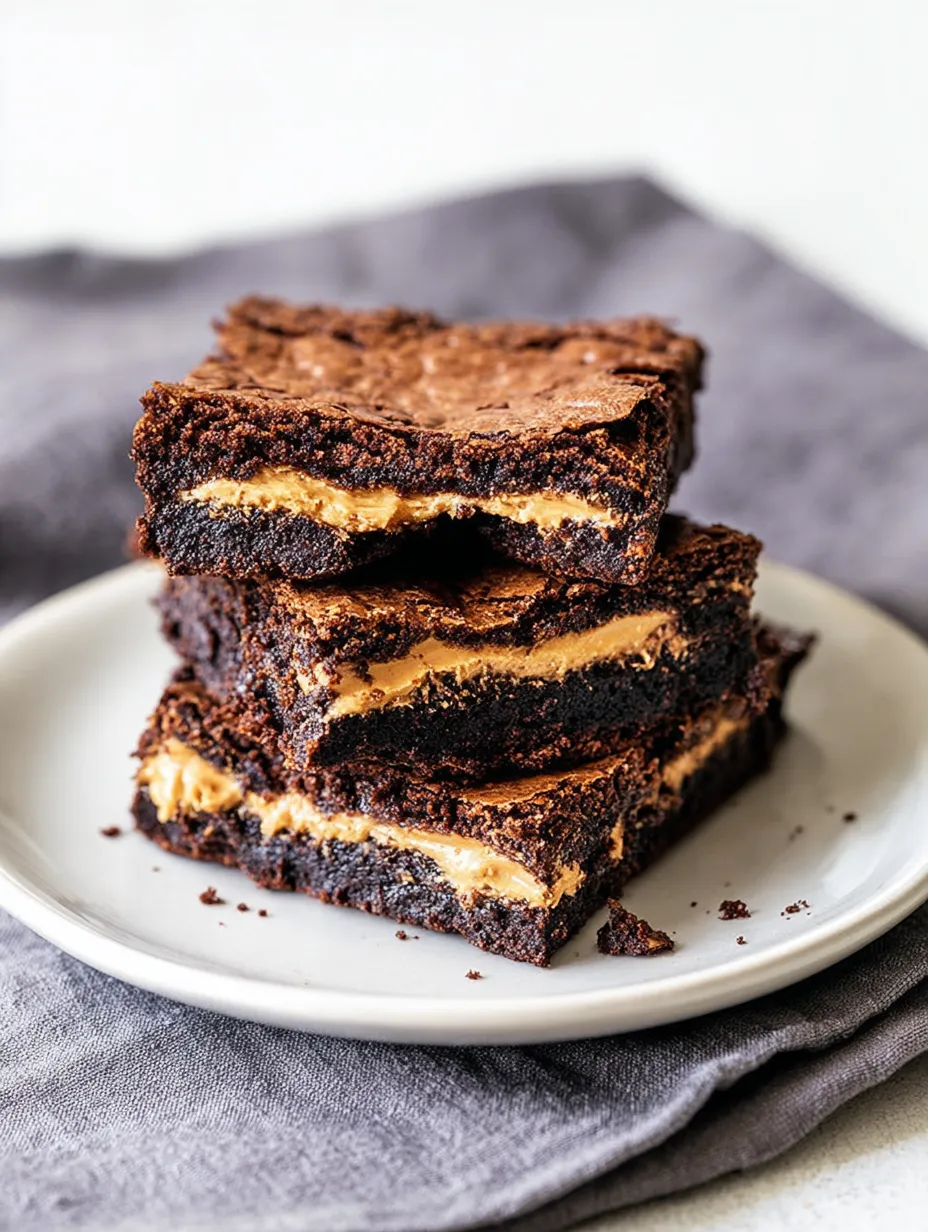
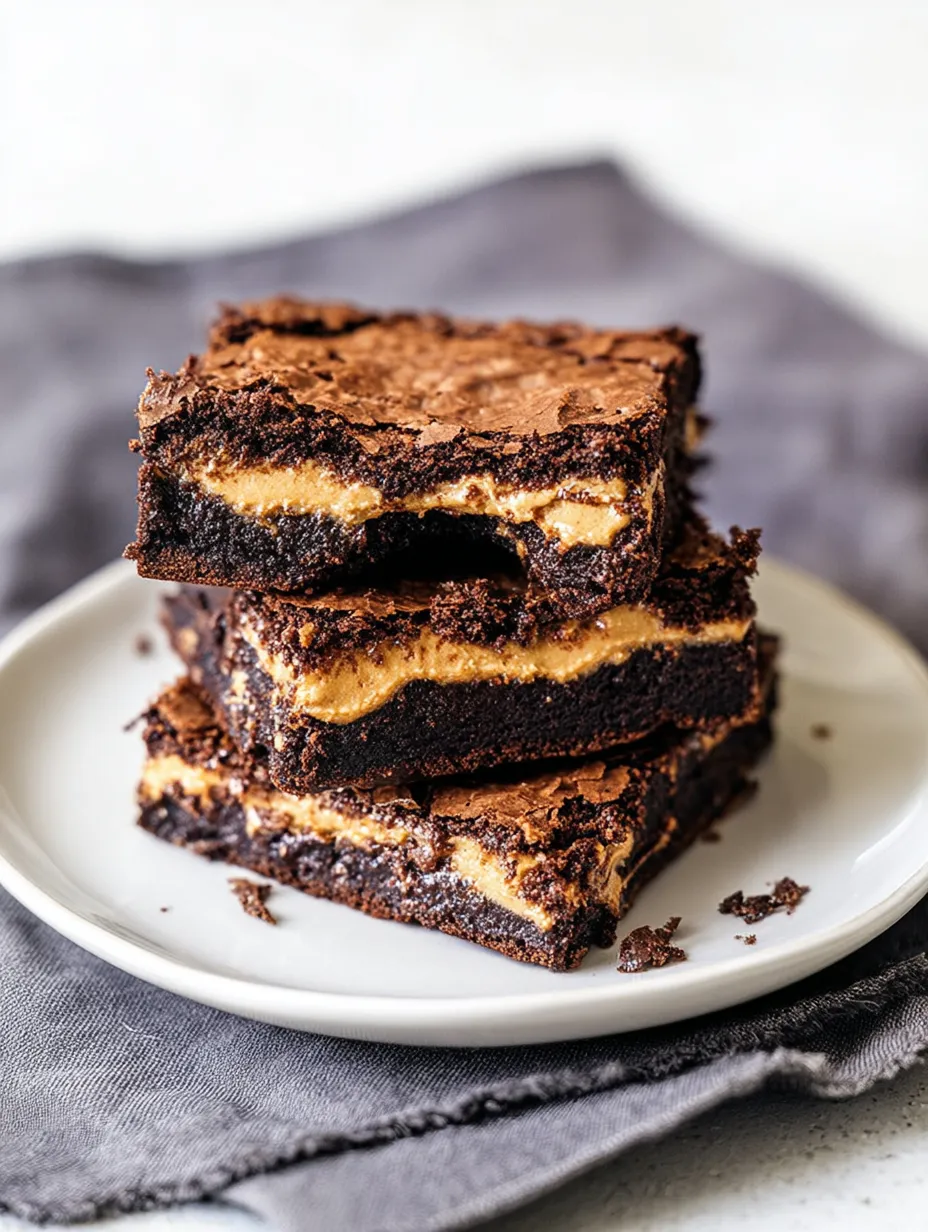
Peanut Butter Stuffed Brownies are the ultimate answer for anyone who loves the magical pairing of chocolate and peanut butter. Imagine thick, velvety brownies hiding a creamy peanut butter center that stays perfectly gooey. This recipe creates bakery-style treats that never last long on the counter.
I first made these when my brother came home from college. He devoured them so quickly I had to bake another batch the next day. The memory of those laughter-filled afternoons still makes me smile when I pull out this recipe.
Ingredients
- Creamy conventional peanut butter: brings that classic salty sweet punch look for brands like Jif or Skippy and avoid natural or oily types for best texture
- Unsalted butter: ensures a rich flavor be sure it is fresh and high quality for the best taste
- Semisweet baking chocolate: gives deep chocolate intensity use a good bar not chocolate chips for smoother melting
- Granulated sugar: sweetens and helps achieve the desirable fudgy crumb
- Large eggs plus an extra yolk: create that dense chewy texture and a bit of extra richness
- Vanilla extract: rounds out and enhances the chocolate choose pure over imitation whenever you can
- All-purpose flour: forms just enough structure sift it if it seems clumpy for the finest crumb
- Unsweetened cocoa powder: adds extra chocolate punch use Dutch process for deeper color and smoother flavor
- Fine salt: balances all the flavors and takes the sweetness down a notch
Step-by-Step Instructions
- Prepare the Peanut Butter Sheet:
- Measure out the creamy peanut butter and microwave it until just pourable but not hot around thirty seconds. Spread it evenly into a lined 8 inch square pan so you get a thick slab that matches the corners. Freeze until firm which takes just about an hour. This step ensures the filling stays thick and perfect while baking.
- Melt Butter and Chocolate:
- Combine unsalted butter and chopped semisweet baking chocolate in a large microwave safe bowl. Heat it in short bursts stirring between each round so that the chocolate does not scorch. Aim for a silky smooth mixture. This helps guarantee deep cocoa flavor.
- Mix in Sugar and Cool:
- While the chocolate is still warm whisk in the sugar with plenty of energy until it blends smoothly. Let the mixture cool until it is just barely warm to the touch so your eggs do not cook when added next.
- Add Eggs and Vanilla:
- Crack in the eggs and extra yolk then drizzle in the vanilla. Whisk this mixture for about a minute. The more you whisk here the shinier and chewier your brownies will be.
- Fold in Dry Ingredients:
- Gently fold in flour sifted cocoa powder and fine salt with a spatula. Stop mixing as soon as it comes together to keep the brownies soft and fudgy instead of cakey.
- Assemble and Layer:
- Spread half your batter into your now re lined square pan. Quickly retrieve your frozen peanut butter slab and place it right on top. Pour the rest of the batter evenly over the peanut butter smoothing gently so it is completely covered.
- Bake and Cool:
- Transfer to a preheated 350 degree oven and bake for about thirty minutes. Check early for doneness if you like them extra gooey. Let the brownies cool in the pan at least thirty minutes then use the parchment to lift and let them cool outside the pan before cutting for the best slices.
Peanut butter is my weakness and I always sneak a warm corner piece while the rest are still cooling. The flavor combination never stops feeling like a treat straight from a childhood bake sale.
Storage Tips
Store brownies in an airtight container at room temperature for up to three days. For maximum fudginess keep them in the fridge for up to five days. You can also freeze individual pieces tightly wrapped and thaw before serving to keep them fresh for weeks.
Ingredient Substitutions
If you only have natural peanut butter stir it really well to incorporate the oils but expect a slightly softer filling. For a dairy free version swap in vegan butter and chocolate. You can use gluten free flour blend for wheat free brownies but check that your bake time may need adjusting.
Serving Suggestions
Serve these brownies just as they are with a cold glass of milk. For a dessert plate add a scoop of vanilla ice cream and a drizzle of warm chocolate sauce. They also hold up beautifully for potlucks or to wrap up for homemade gifts.
A Delicious History
The combination of peanut butter and chocolate is a classic in American baking dating back to the early days of boxed brownie mixes. Stuffed brownies gained popularity for their dramatic layers and crowd pleasing taste proof that simple ingredients can create something unforgettable.
Frequently Asked Questions
- → Can crunchy peanut butter be used for the filling?
For the best texture and even layering, it's recommended to use creamy conventional peanut butter. Crunchy varieties may not spread as smoothly but can add extra crunch if preferred.
- → How do I know when the brownies are done baking?
The brownies should be set at the edges and just slightly gooey in the center. A toothpick should come out with moist crumbs, not wet batter.
- → Can I store these brownies in the fridge?
Yes, they keep well in an airtight container at room temperature for up to 3 days or in the fridge for up to 5 days. Chilling them makes the texture even fudgier.
- → How can I make the brownies less rich?
You can reduce the peanut butter filling to 1 cup or 3/4 cup, depending on your preference for a lighter treat.
- → Is it possible to double the batch?
Absolutely! Use a 9x13 inch pan and bake for approximately the same amount of time, checking doneness as you would for a smaller batch.
- → What is the best way to cut the brownies for clean slices?
Let them cool completely and use a sharp knife wiped clean between slices for even, tidy squares.