
 Pin it
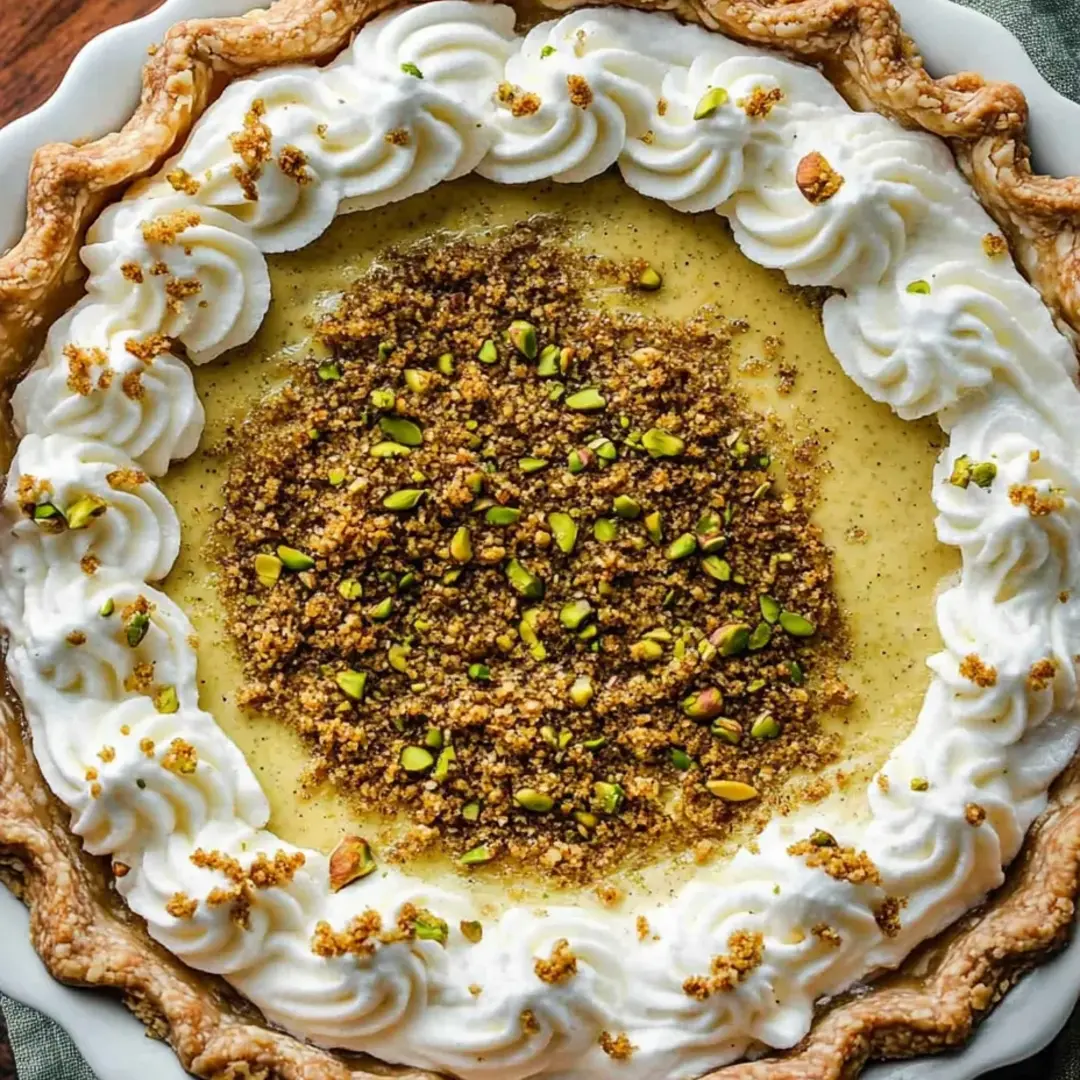
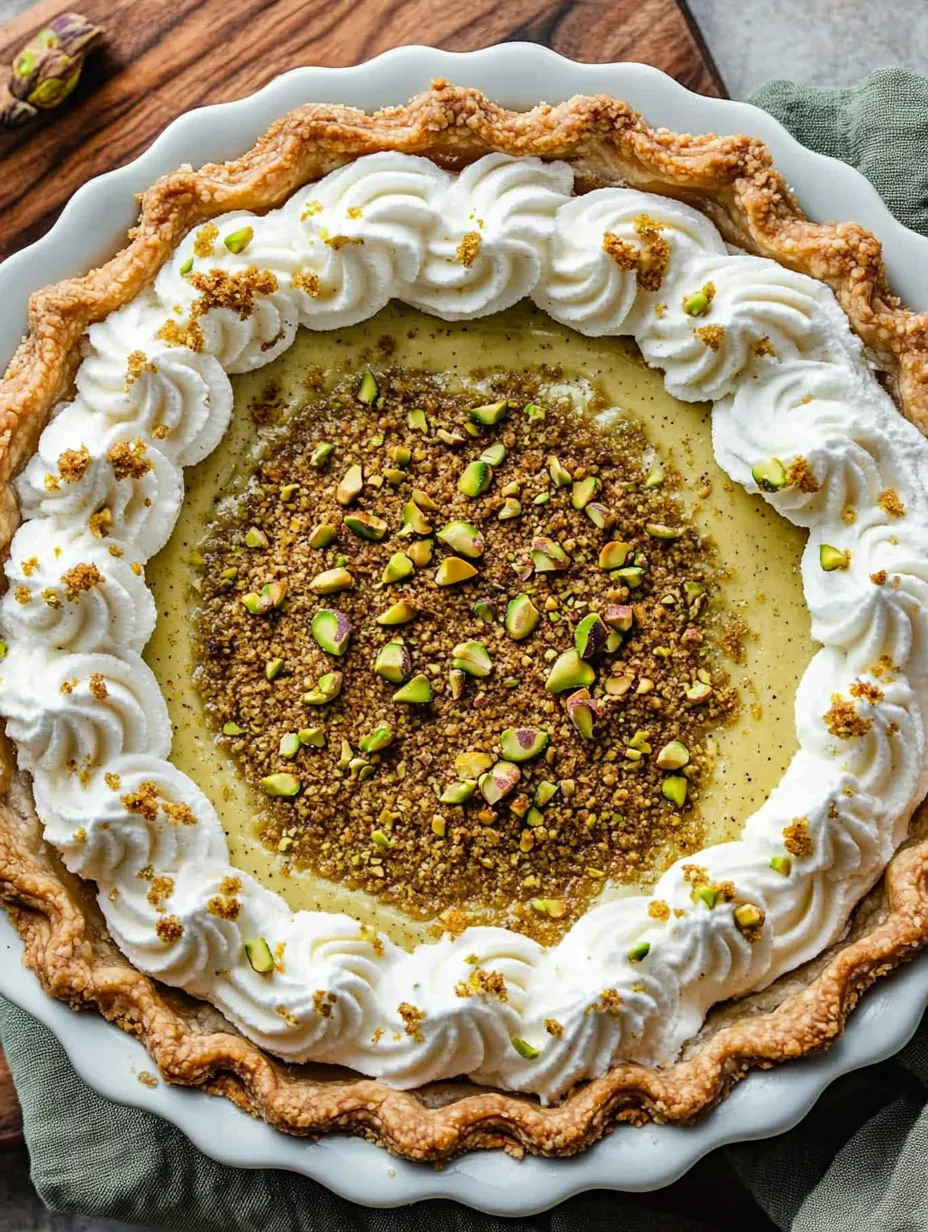
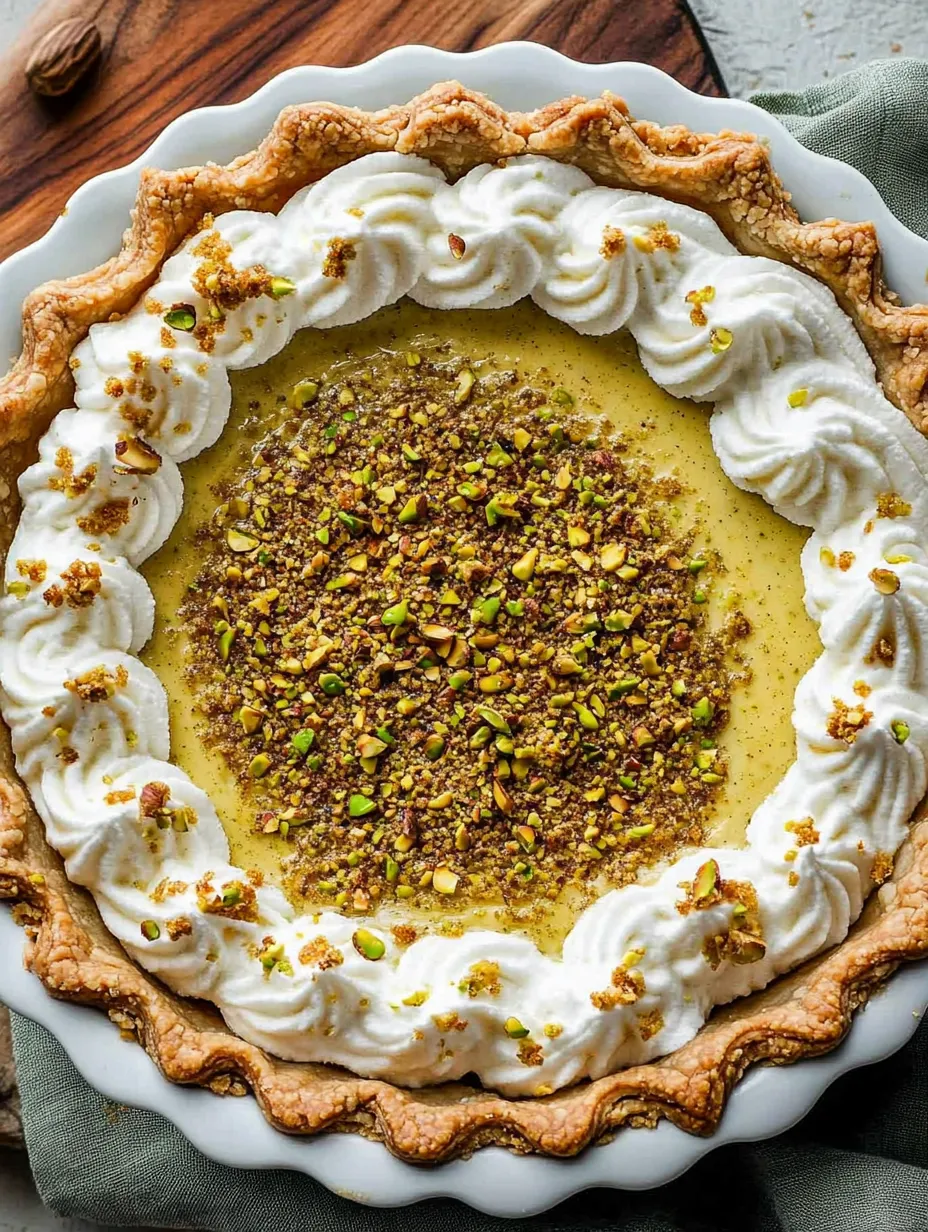
A creamy baked pistachio pie combines rich cream cheese, farm-fresh eggs, whole milk, sugar, and crunchy pistachios into a dessert that's both elegant and comforting. This isn't your typical pistachio cream pie or pudding pie—it's a true custard-based masterpiece with a texture that stands proudly on its own, similar to a traditional baked banana pie or a holiday cream cheese pumpkin pie.
I first made this pie for my family's Christmas gathering three years ago, and it's been requested every holiday since. My sister-in-law, who claims to dislike nuts in desserts, ended up asking for seconds and the recipe!
Ingredients
- Pistachios: Choose lightly salted, roasted nuts for the best flavor. Their natural oils and slight saltiness cut through the sweetness of the filling beautifully. I prefer the ones in shells that I crack myself for the freshest taste.
- Cream Cheese: Always opt for full-fat varieties for the creamiest texture. Allow it to soften properly at room temperature to avoid lumps in your filling.
- Eggs: These provide structure to the custard and help it set properly. I use large eggs from my neighbor's chickens when available.
- Whole Milk: The fat content is essential for the right consistency. Skim milk simply won't create the same luxurious texture.
- Vanilla & Almond Extracts: These complementary flavors enhance the natural nuttiness of the pistachios. Pure extracts make a noticeable difference over imitation versions.
- Cold Butter: The secret to a flaky crust is butter that's thoroughly chilled. I sometimes freeze mine and grate it in for perfect distribution.
- All-Purpose Flour: Creates the structure for the shortbread-style crust.
- Salt: Only needed in the crust since the pistachios provide enough saltiness to the filling.
- Sugar: Regular granulated works perfectly to sweeten both the crust and filling.
- Ice Water: The colder the water, the less the butter will melt during mixing, resulting in a flakier crust.
Step-by-Step Instructions
- Step 1:
- Prepare the crust dough - In a food processor or medium bowl, combine 1½ cups flour, ½ teaspoon salt, and 2 tablespoons sugar. Cut in ½ cup cold butter using quick pulses or a pastry blender until the mixture resembles small peas. Avoid overworking the dough, as this will develop gluten and make your crust tough rather than tender and flaky.
- Step 2:
- Add the pistachios to the crust - Fold in ⅓ cup finely chopped pistachios to the flour-butter mixture. This addition creates lovely green flecks throughout the crust and adds a wonderful textural element that makes each bite more interesting than a standard pie crust.
- Step 3:
- Incorporate the water - Drizzle in 4-6 tablespoons of ice-cold water, one tablespoon at a time, pulsing or mixing gently between additions. Stop immediately when the dough just begins to come together when pinched. The dough should look somewhat shaggy but hold together when pressed. Adding too much water will result in a tough crust that shrinks during baking.
- Step 4:
- Chill the dough - Form the dough into a disc, wrap tightly in plastic wrap, and refrigerate for at least 30 minutes. This resting period allows the gluten to relax and the butter to firm up again, which is crucial for a flaky texture. I often make my dough the night before to save time on baking day.
- Step 5:
- Make the ground pistachio sugar - While the dough chills, blend ¾ cup pistachios with half of the 1 cup sugar in a food processor until finely ground. The sugar prevents the nuts from turning into butter and helps distribute their flavor evenly throughout the filling.
- Step 6:
- Prepare the filling base - In a large bowl, beat 8 ounces of softened cream cheese with the remaining ½ cup sugar until completely smooth and free of lumps. This step is crucial for a silky filling, so don't rush it. I find that a stand mixer with a paddle attachment works wonderfully here.
- Step 7:
- Add the eggs - Incorporate 3 eggs one at a time, mixing thoroughly after each addition. This gradual process ensures proper emulsification and prevents the mixture from breaking or curdling.
- Step 8:
- Mix in remaining ingredients - Add 1 teaspoon vanilla extract, ½ teaspoon almond extract, and 1 cup whole milk, whisking until well combined. Finally, fold in the pistachio-sugar mixture, being careful to maintain the airiness of the batter.
- Step 9:
- Roll and form the crust - On a lightly floured surface, roll the chilled dough to about ⅛-inch thickness. Carefully transfer to a 9-inch pie dish, gently pressing it into the corners without stretching the dough. Trim excess dough and crimp the edges decoratively.
- Step 10:
- Fill and bake - Pour the pistachio filling into the unbaked crust and place in a preheated 350°F oven on a lower rack. Bake for 45-55 minutes, until at least 3 inches from the edge are set but the center still has a slight wobble. The custard will continue to cook and set as it cools.
- Step 11:
- Cool completely - Allow the pie to cool to room temperature on a wire rack before refrigerating for at least 3 hours or overnight. This cooling and setting time is non-negotiable for clean slices and proper texture development.
The Perfect Texture
The defining characteristic of this pistachio pie is its custard base, which sets it apart from pudding pies. Custard relies on eggs as its thickening agent, creating a more substantial texture that holds its shape when sliced. The structure comes from the protein networks that form as eggs cook, trapping moisture in a delicate matrix. This gives the pie a silky mouthfeel that slowly melts as you eat it, rather than immediately dissolving like pudding.
Seasonal Variations
I've found this pie to be wonderfully adaptable throughout the year. During winter holidays, adding a pinch of nutmeg and cinnamon creates a festive flavor. In spring, a light touch of lemon zest brightens the filling beautifully. By understanding the basic custard formula, you can play with flavors while maintaining the pie's luxurious texture.
The Art of Crimping
Creating a beautiful edge on your pie isn't just for aesthetics—it helps prevent shrinkage during baking. I learned my crimping technique from my grandmother, who would pinch the dough between her thumb and forefinger, creating a wave pattern around the edge. Take your time with this step, as a well-crimped edge bakes more evenly and helps showcase your handiwork.
My youngest daughter claims the pie tastes even better with breakfast coffee the next morning. I've caught her more than once sneaking a sliver with her morning cup, claiming the protein from the nuts and eggs makes it practically breakfast food. I can't really argue with her logic!
The Secret to Smooth Filling
The key to achieving that velvety texture lies in how you incorporate the cream cheese. Room temperature cream cheese blends seamlessly with other ingredients, while cold cream cheese will leave lumps that never quite disappear during baking. I place my cream cheese on the counter at least two hours before baking, or overnight if I remember. This simple step makes a tremendous difference in the final texture.
Serving Suggestions
Creating the perfect presentation elevates this already special dessert. I prefer a simple approach that highlights the natural flavors of the pistachios rather than competing with them. A dollop of lightly sweetened whipped cream and a sprinkle of crushed pistachios provide both visual appeal and textural contrast. For more formal occasions, I've topped the pie with Italian meringue and briefly torched it for a dramatic presentation that always impresses guests.
Storage Considerations
Like most custard-based desserts, this pie keeps well in the refrigerator for up to three days. I find that covering it loosely with plastic wrap works better than aluminum foil, which can stick to the surface. I don't recommend freezing this pie, as the thawing process can damage the custard's delicate structure and make the crust soggy.
Pistachio custard pie has become a signature dessert in my home, appearing at holiday gatherings and special celebrations throughout the year. There's something magical about watching people take their first bite—that moment of surprise as they taste the unique combination of buttery crust and nutty, creamy filling. Even those who approach green desserts with skepticism find themselves won over by its subtle, sophisticated flavor. I hope this recipe finds a special place in your baking repertoire as it has in mine.
Frequently Asked Questions
- → Can I use store-bought pie crust instead?
- Yes, you can substitute a ready-made 9-inch pie crust to save time, though the homemade pistachio crust adds extra flavor.
- → How do I know when the pie is done baking?
- The outer 3 inches should be set while the center remains slightly jiggly. It will continue setting as it cools.
- → Can I make this pie ahead of time?
- Definitely! This pie needs to chill for several hours, making it perfect for preparing a day before serving.
- → What if I can't find roasted pistachios?
- You can roast raw pistachios yourself on a baking sheet at 350°F for about 5-7 minutes until fragrant.
- → Can I use low-fat cream cheese?
- Full-fat cream cheese gives the best texture, but you can use low-fat if preferred. The pie might be slightly less creamy.