
 Pin it
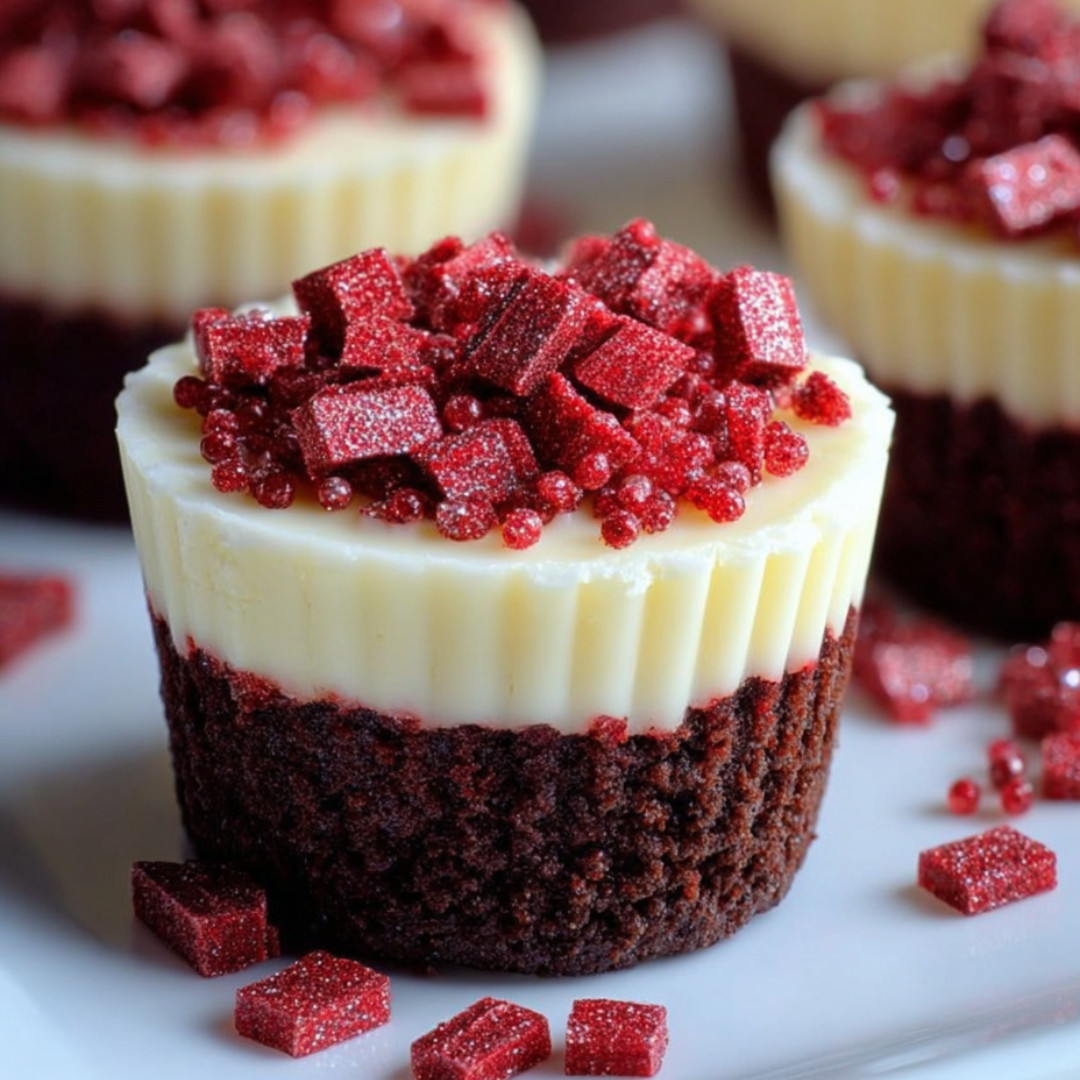
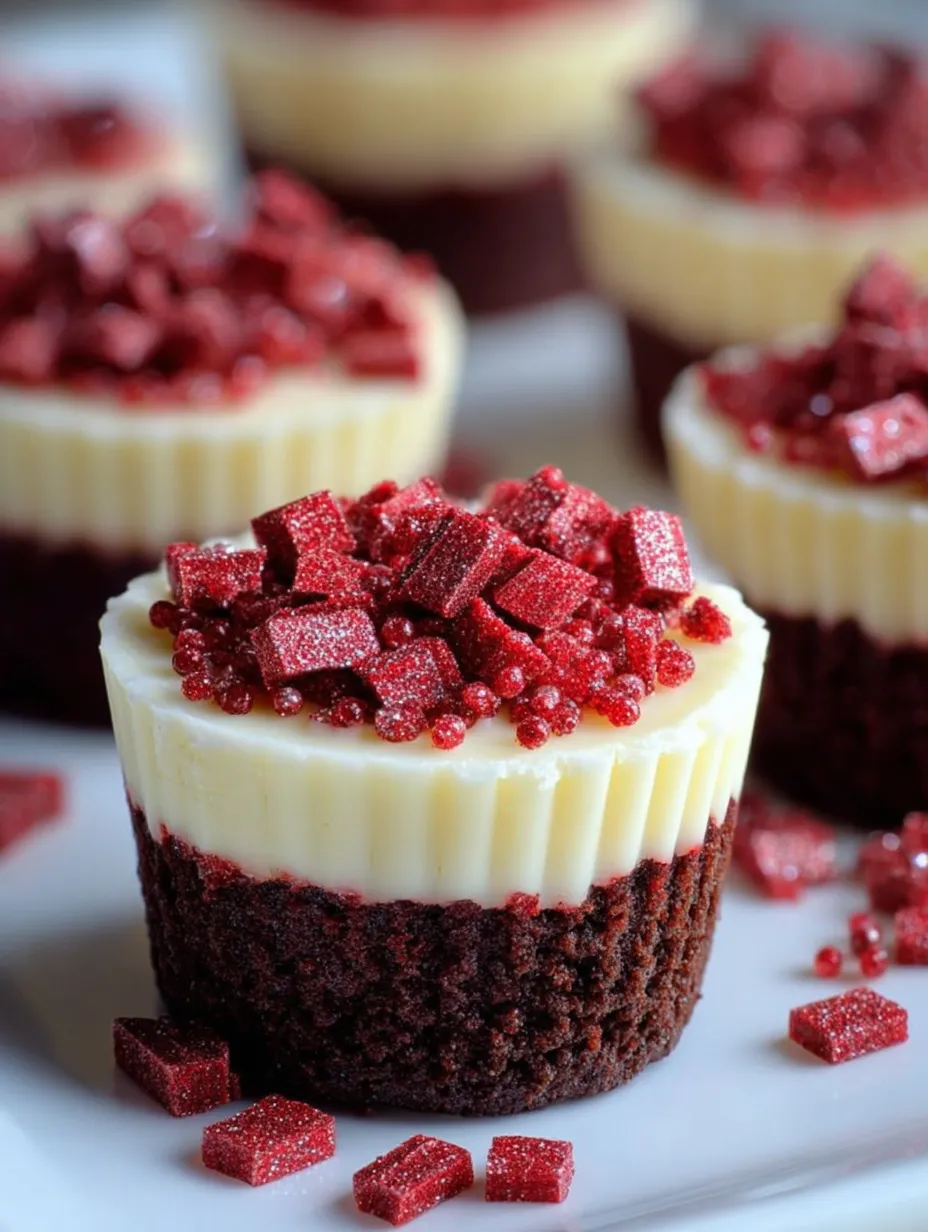
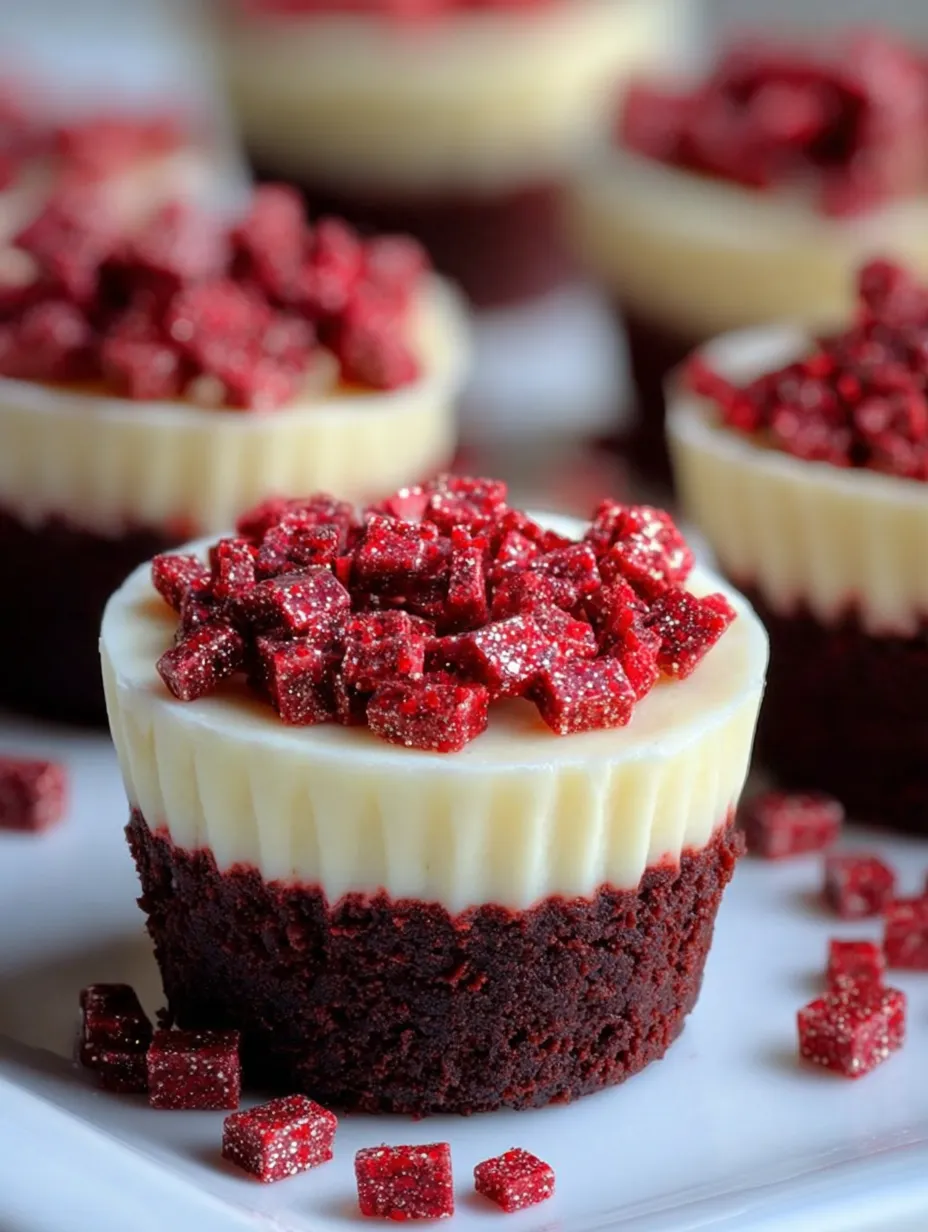
Red Velvet Brownies Cheesecakes merge the rich cocoa comfort of velvety brownies with the creamy tang of classic cheesecake in every bite. Each piece boasts swirls of dramatic red and snowy white that make these bars a showstopper for birthdays potlucks or any time a little wow is in order. Ever since I first served them as a festive dessert at a family gathering they have become the number one request at every party and celebration.
I remember the first batch disappearing before dinner was even served The balance of flavors and Instagram-worthy appearance keep everyone coming back for more
Ingredients
- Unsalted butter: makes brownies extra fudgy and rich Always choose high-quality butter for the best flavor
- Granulated sugar: keeps the base moist and balanced Look for pure cane sugar
- Large eggs: bind both layers and provide structure Use farm-fresh or free-range eggs if possible
- Vanilla extract: enhances the warmth of red velvet and rounds out tangy cheesecake Go for real vanilla for a fuller taste
- All-purpose flour: gives the right texture Sift for lighter results and check that it’s fresh
- Cocoa powder: brings classic red velvet flavor Choose a Dutch-process for richer color and taste
- Baking powder: adds gentle lift to the brownies Make sure it’s in date for the best rise
- Salt: amps up all other flavors Use fine sea salt for smooth blending
- Red food coloring: creates the signature bold hue Gel food coloring gives the brightest color
- Cream cheese: is the heart of the cheesecake Try to use full-fat high-quality cream cheese for the creamiest bite
- Whipped cream: enhances the final dessert’s decadence Use freshly whipped cream for the lightest topping
- Chocolate shavings or sprinkles: offer a festive finish Pick dark or milk chocolate according to your mood
Step-by-Step Instructions
- Prep the Pan:
- Prepare a 9 by 13 inch pan by greasing or lining it with parchment paper This makes for easy removal and tidy slicing
- Make the Brownie Batter:
- Melt butter gently until just liquid then blend in sugar until smooth Let this mixture cool briefly then add eggs one by one mixing after each Stir in vanilla for aroma
- Combine Dry Ingredients:
- Whisk together flour cocoa baking powder and salt Mix slowly into the wet ingredients until just blended Add the red food coloring and fold in until vibrantly red Avoid overmixing to keep brownies tender
- Spread the Base:
- Evenly spread brownie batter into the prepared pan Use an offset spatula for level layers Set aside
- Beat the Cheesecake Layer:
- Whip softened cream cheese until light then blend in sugar for silkiness Add eggs individually scraping the bowl each time and finish with vanilla and flour for stability Stop as soon as everything looks smooth
- Layer and Swirl:
- Gently pour cheesecake mixture over the brownie base Smooth out edges For a marbled look drag a knife or skewer through both layers creating swirls but keep layers distinct
- Bake:
- Bake at three hundred fifty degrees Fahrenheit for about thirty five minutes or until the cheesecake is set at the edges but softly set in the center A toothpick should come out with a few moist crumbs
- Cool and Chill:
- Cool completely at room temperature first Then refrigerate for at least two hours so the layers set cleanly and are easy to slice
- Cut and Serve:
- Lift brownies from pan if using parchment then slice into bars Wipe your knife between cuts for neat lines Top each piece with whipped cream and a sprinkle of chocolate if you like
You Must Know
- Layers create a dramatic dessert perfect for special occasions
- Keeps well in the fridge up to one week
- Easy to transport for parties and potlucks
My favorite touch is the marbled swirl on top It always brings back memories of baking these with my daughter for her birthday and letting her swirl the patterns with a butter knife Watching her creativity is my favorite part of making these together
Storage Tips
Keep these brownies cheesecakes chilled in an airtight container in your refrigerator for up to seven days They taste best after the flavors have melded overnight For longer storage freeze cut pieces individually wrapped then place them in a ziptop bag They thaw in about thirty minutes at room temperature which is perfect for last minute cravings
Ingredient Substitutions
If you are out of red food coloring a little beet powder can give you the right shade and a hint of earthiness For a gluten-free option substitute your favorite one-to-one gluten-free baking blend for the wheat flour If you want a less sweet topping fresh raspberries or a drizzle of bittersweet chocolate are always crowd-pleasers
Serving Suggestions
Serve these bars on their own for a striking dessert or pair with berries for added freshness They are also wonderful with a scoop of vanilla bean ice cream or a dusting of cocoa powder for a classic finish For special holidays decorate with colored sprinkles or little red hearts
Cultural and Historical Context
Red velvet cake started as a Southern tradition often appearing at big family gatherings and weddings Combining it with cheesecake and brownies is a modern twist that celebrates the past while embracing new flavor dreams People love these bars for their nostalgia as well as their unique spin on classic desserts
Frequently Asked Questions
- → How do I achieve a clean swirl between brownie and cheesecake layers?
Use a skewer or butter knife to gently swirl the cheesecake layer into the brownie batter. Create figure-eight motions, being careful not to overmix so the layers remain distinct and attractive when sliced.
- → What can I use instead of red food coloring?
For natural coloring, try beet juice or a small amount of raspberry purée, though this may slightly alter the flavor. Alternatively, leave it out for a classic brownie and cheesecake combination.
- → How do I prevent cracks in the cheesecake topping?
Do not overbeat the cheesecake batter and avoid overbaking. Allow the dessert to cool gradually, then chill in the refrigerator for several hours to help set the layers smoothly.
- → Can these brownies be made ahead of time?
Yes, they actually improve in flavor after chilling. Prepare, bake, cool, and refrigerate overnight. Slice just before serving for the best appearance and texture.
- → What toppings go well with these brownies?
Whipped cream, chocolate shavings, or colorful sprinkles add festive flair. Some also enjoy a dusting of powdered sugar or a drizzle of melted chocolate for extra richness.
- → How should leftovers be stored?
Keep brownies in an airtight container in the refrigerator for up to five days. For longer storage, freeze them layered with parchment and thaw before serving.