
 Pin it
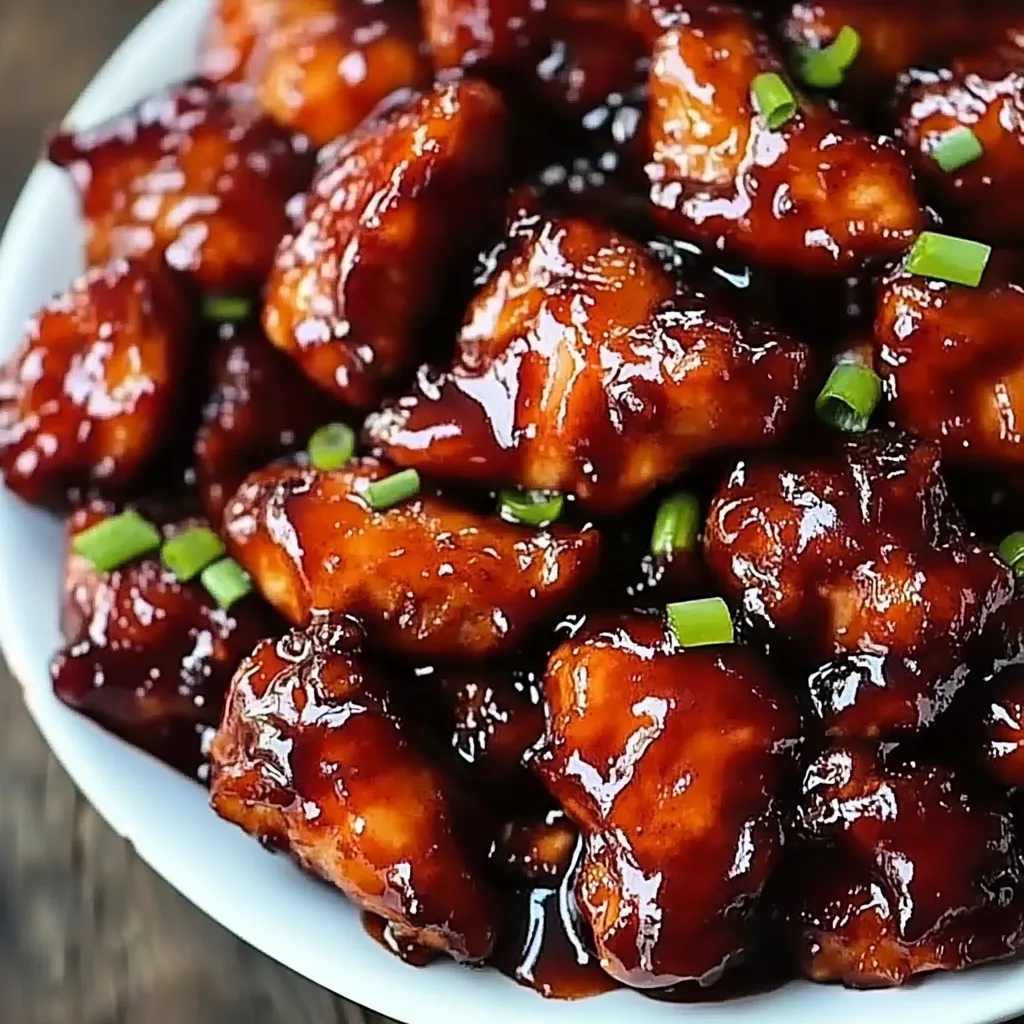
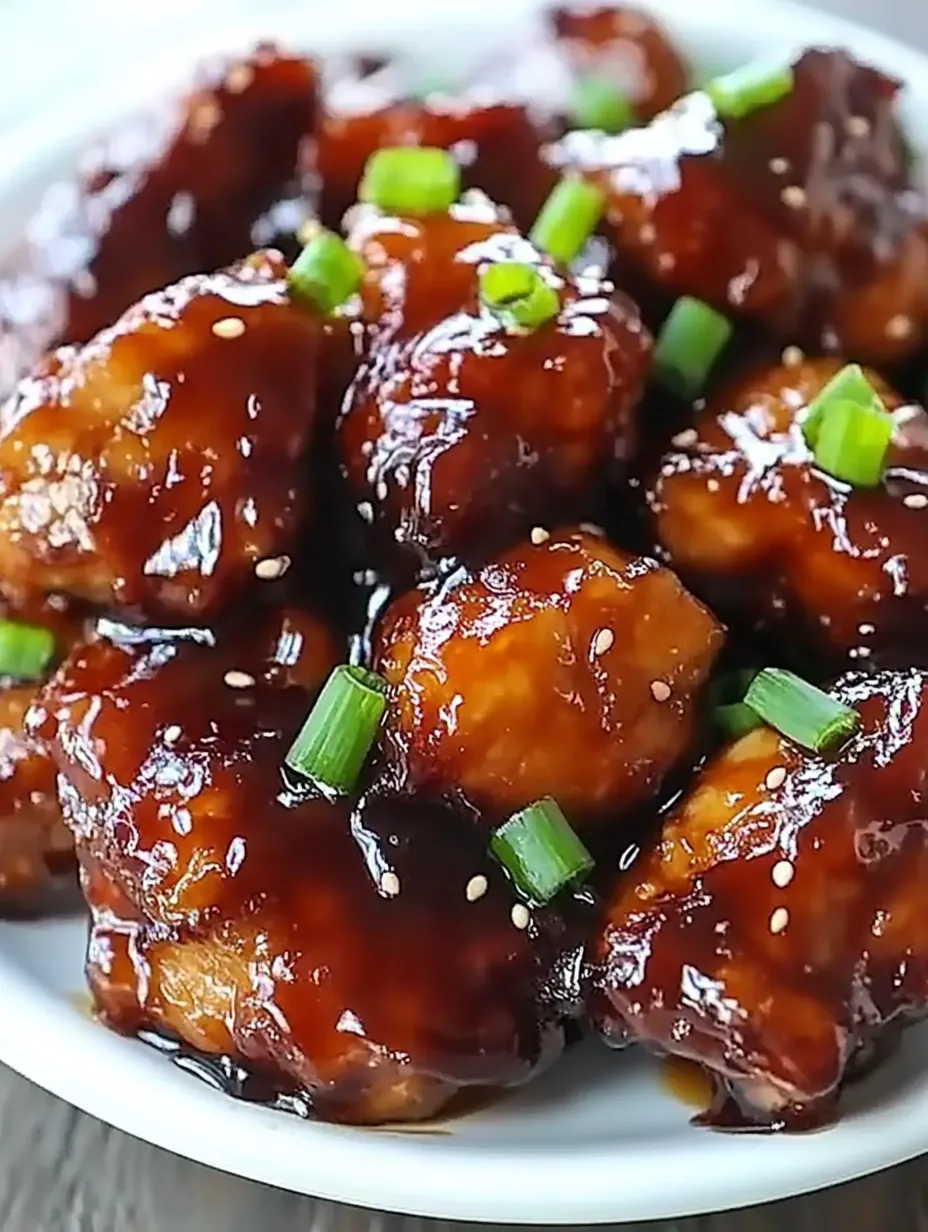
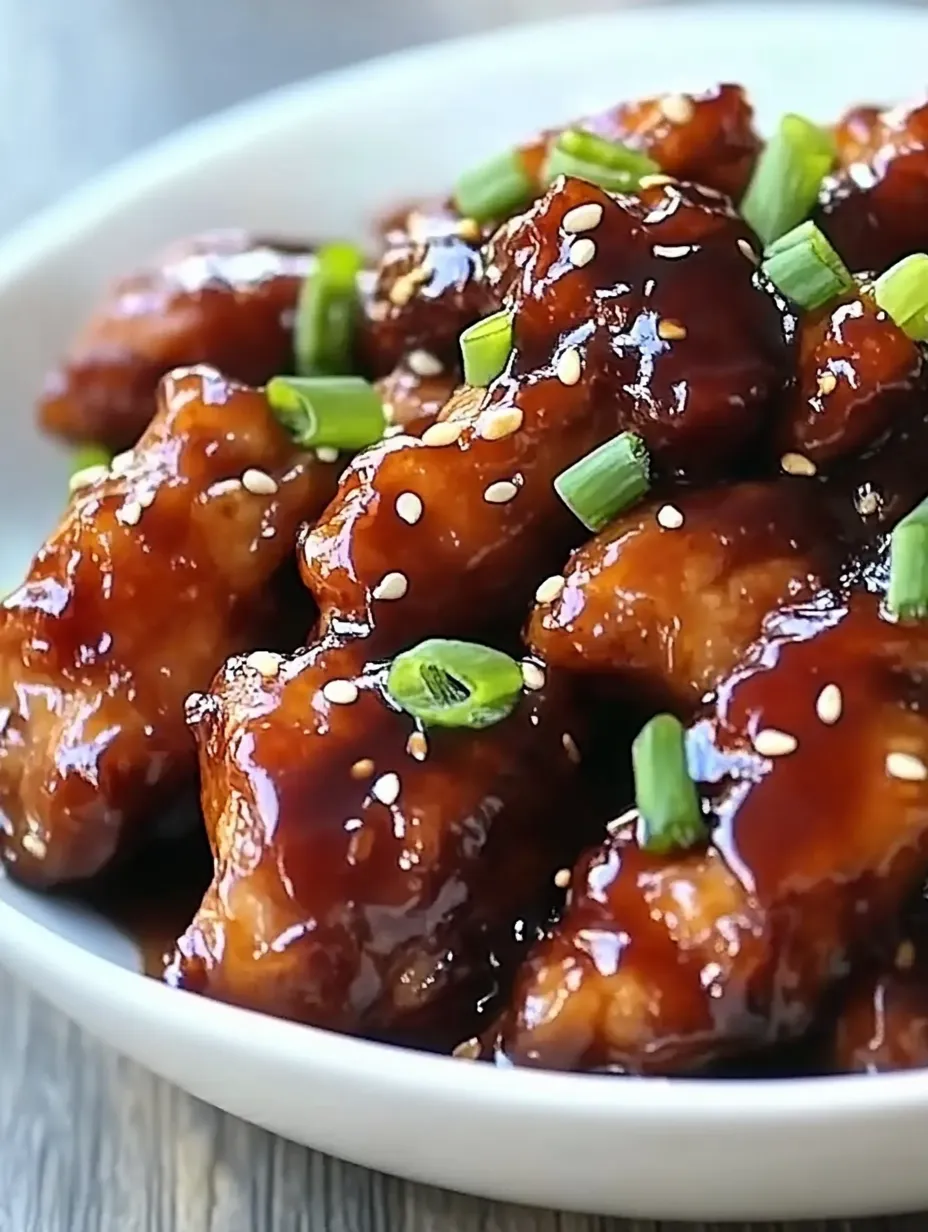
Sticky Honey Chicken transforms simple chicken pieces into an irresistible dish glazed with a glossy, honey-soy sauce that clings perfectly to each morsel. The secret lies in the balanced blend of sweet honey, savory soy sauce, and aromatic garlic and ginger, creating a dish that's both comforting and elegant.
When I first started making this dish, I was amazed at how a few simple ingredients could create such a delicious glaze. My family now requests it weekly, especially when they see fresh ginger in the kitchen.
Essential Ingredients
- Chicken: Choose thighs for more flavor and moisture, or breasts for a leaner option
- Honey: Use pure, natural honey - its subtle floral notes enhance the sauce
- Soy sauce: Select regular or light soy sauce, not dark, for the right balance
- Fresh ginger: Look for firm, unblemished pieces that feel heavy for their size
- Cornstarch: Essential for both coating the chicken and thickening the sauce
Detailed Cooking Instructions
- Chicken Preparation
- Pat chicken completely dry before coating
- Toss with cornstarch mixture until every piece is evenly dusted
- Let rest for 5 minutes to allow coating to adhere
- Shake off excess cornstarch before cooking
- Perfect Searing
- Heat pan until a drop of water sizzles instantly
- Place chicken pieces with space between them
- Don't move them for the first 3-4 minutes
- Turn only once to achieve golden crust
- Sauce Building
- Start with low heat to prevent honey from burning
- Add liquids in order: soy sauce first, then honey
- Stir constantly once honey is added
- Watch for the right consistency - it should coat the back of a spoon
- Final Assembly
- Return chicken to pan off the heat
- Toss quickly to coat evenly
- Keep stirring until sauce becomes glossy
- Let rest for 2 minutes before serving
Mastering the Glaze
The key to perfect sticky chicken lies in the sauce consistency. I've learned that letting the sauce reduce just until it coats the back of a spoon - but before it becomes too thick - gives you that ideal sticky texture that will still flow over your rice.
Temperature Control
Managing your heat is crucial for this dish. High heat helps create a beautiful crust on the chicken, but medium-low heat is essential for developing the sauce without burning the honey.
Rice Pairing Magic
While the chicken is the star, the sauce makes this dish perfect for serving over rice. I love how the glossy sauce seeps into hot jasmine rice, flavoring every grain.
My son always says the best part is running his finger through the sticky sauce left on the plate. That's when I know I've gotten the consistency just right.
This Sticky Honey Chicken has become our favorite weeknight comfort meal. The way the sweet-savory sauce creates a glossy coating on the tender chicken pieces makes it feel like takeout but tastes even better. Whether you're cooking for family or entertaining friends, this dish delivers restaurant-quality results with minimal effort.
Frequently Asked Questions
- → Can I use chicken breasts instead of thighs?
- Yes, chicken breasts work well, but thighs are juicier and more flavorful.
- → Can I make this dish gluten-free?
- Yes, use gluten-free soy sauce or tamari instead of regular soy sauce.
- → How do I store leftovers?
- Store in an airtight container in the fridge for up to 3 days. Reheat gently before serving.
- → Can I freeze this dish?
- Yes, freeze the cooked chicken and sauce separately for up to 2 months. Thaw and reheat before serving.
- → What can I serve with sticky honey chicken?
- Serve with steamed rice, noodles, or stir-fried vegetables for a complete meal.