
 Pin it
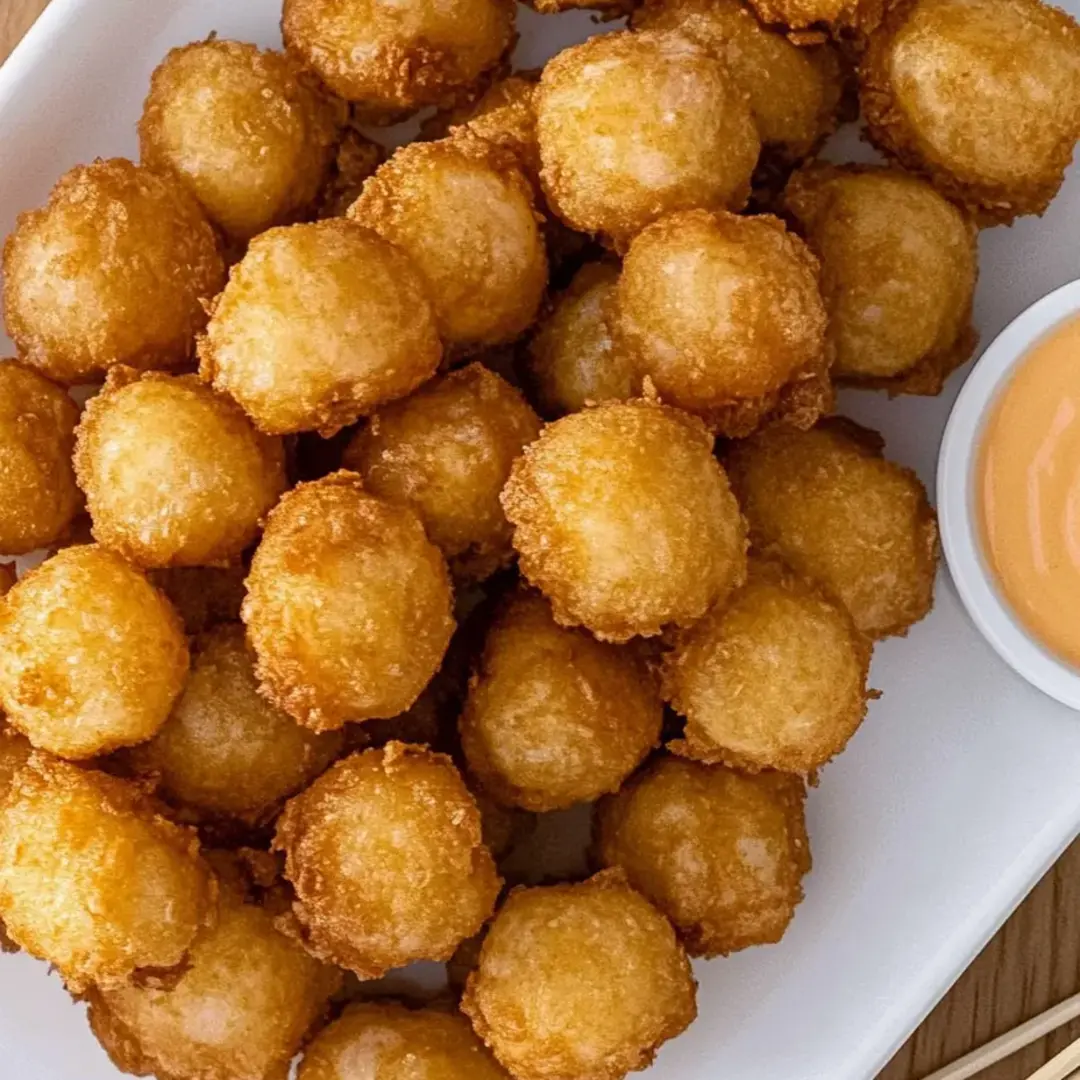
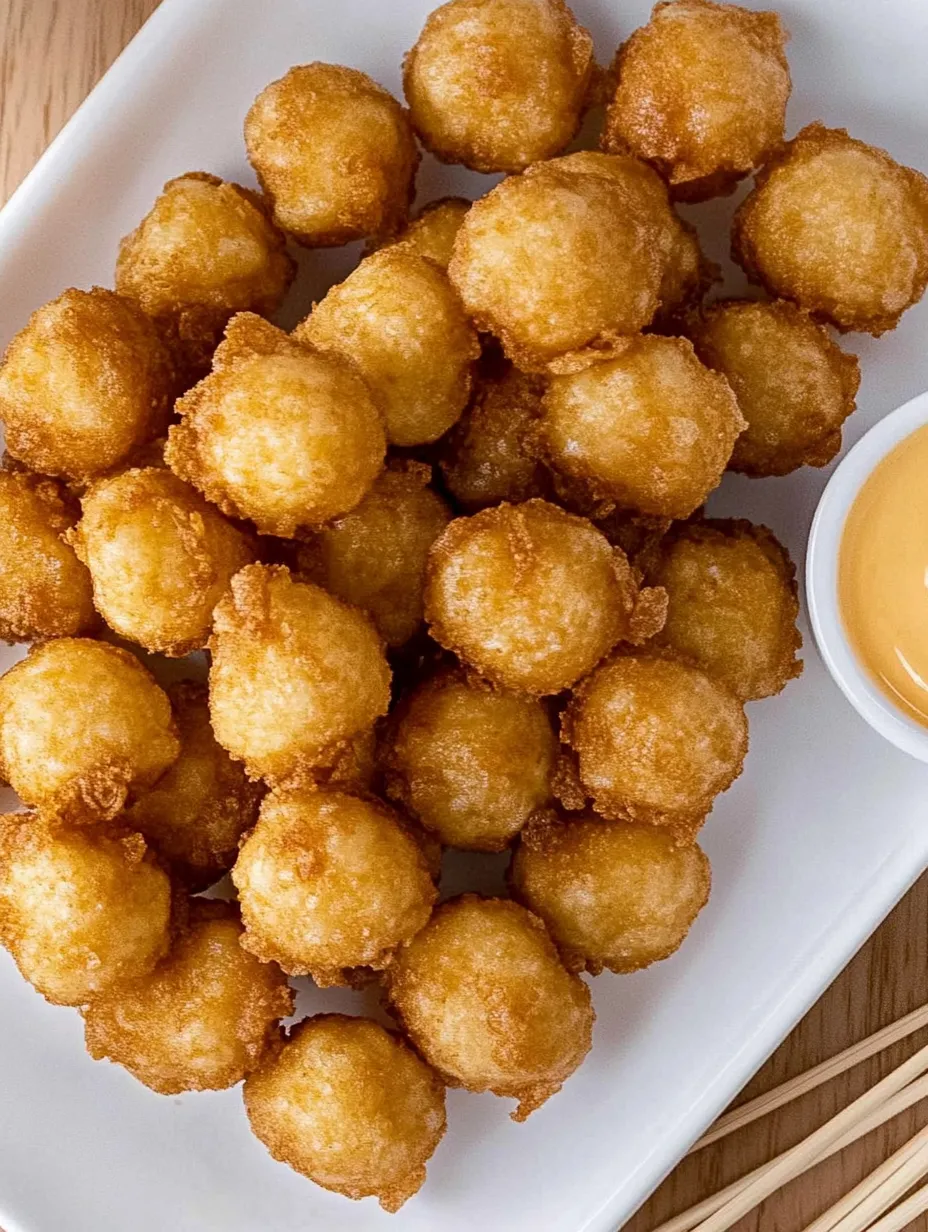
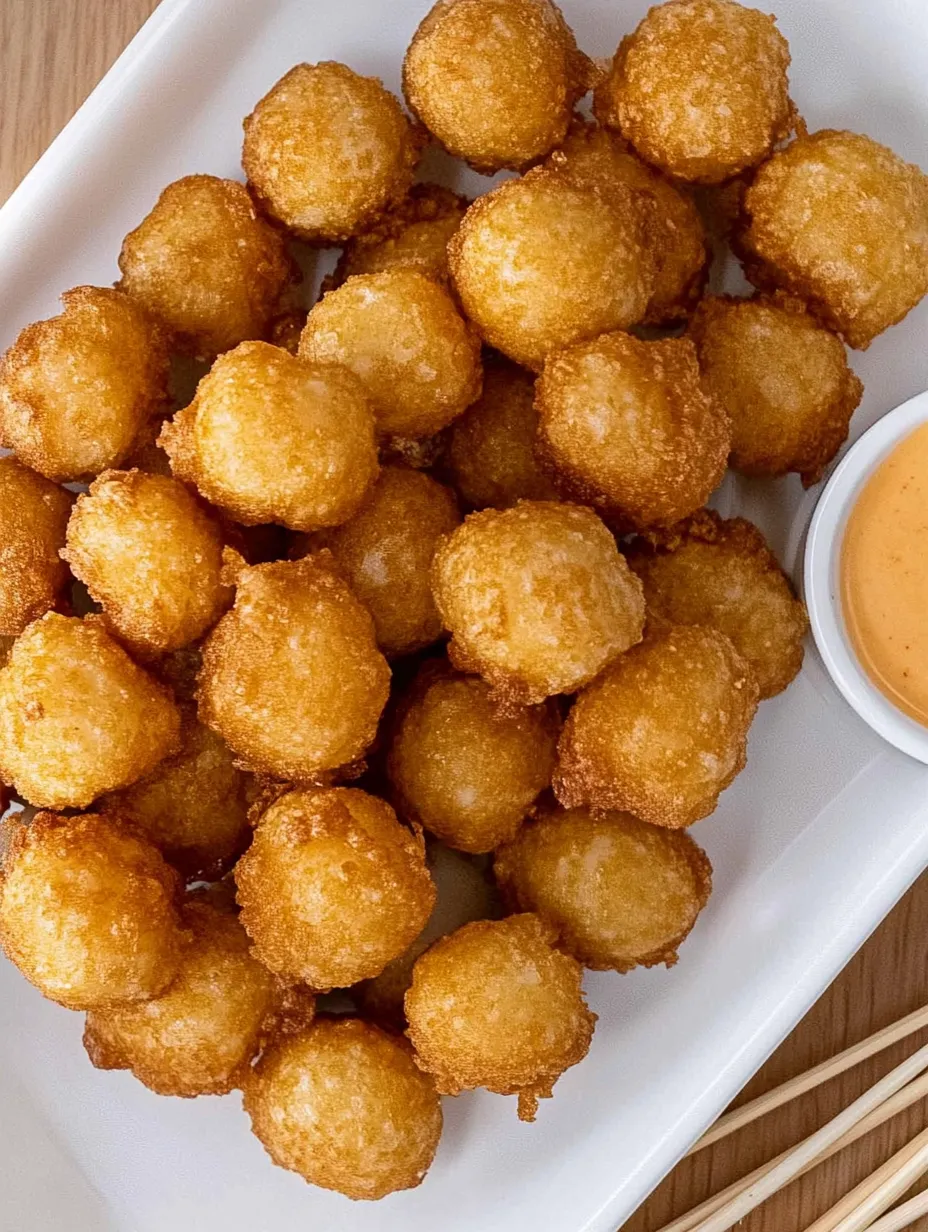
Satisfy your blooming onion cravings with these adorable and delicious mini versions made from pearl onions! These bite-sized treats deliver all the flavor of the classic restaurant appetizer without the hassle of deep frying or the intimidating task of cutting a whole onion. Crispy on the outside with a tender, sweet center, these air fryer mini blooming onions are the perfect finger food for game day gatherings, casual entertaining, or whenever you're craving something savory and crunchy. Paired with a zesty dipping sauce, they'll disappear from your serving plate in minutes!
The first time I served these at a football watch party, they were the first appetizer to vanish! My brother-in-law, who's usually reserved with compliments, actually asked for the recipe. I've made them for countless gatherings since, and they never fail to impress. The combination of crispy coating and tender, sweet onion creates an irresistible bite that keeps everyone coming back for more.
Ingredients
- 1 pound frozen pearl onions: These tiny onions provide the perfect sweet, mild flavor base and convenient size for bite-sized treats
- 1 cup all-purpose flour: Creates the crispy coating that defines a good blooming onion
- 1 teaspoon paprika: Adds a subtle smoky flavor and beautiful color to the coating
- 1 teaspoon salt: Enhances all the flavors and balances the sweetness of the onions
- ½ teaspoon black pepper: Provides a gentle heat that complements the other spices
- ¼ teaspoon cayenne pepper: Delivers that signature blooming onion kick; adjust to your spice preference
- ½ teaspoon garlic powder: Adds depth of flavor that pairs perfectly with onion
- 1 large egg: Works as the glue that helps the coating adhere to the onions
- Cooking oil spray: Helps achieve that crispy, golden exterior (use a refillable oil sprayer, not commercial spray)
Step-by-Step Instructions
- Partially cook the pearl onions:
- Place the frozen pearl onions in a microwave-safe bowl and cook on high for half the time suggested on the package (usually about 2-3 minutes). This pre-cooking step ensures the onions will be tender inside while the coating gets crispy. Alternatively, thaw the onions by placing them in cold water for about an hour.
- Prepare your dredging stations:
- In one medium bowl, beat the egg until well mixed. In a separate bowl, combine the flour, paprika, salt, black pepper, cayenne pepper, and garlic powder, whisking to ensure even distribution of spices.
- Drain and dry the onions:
- Drain the partially cooked onions and pat them thoroughly dry with paper towels. Excess moisture will prevent the coating from adhering properly and result in less crispness.
- Begin the coating process:
- Working with 6-8 onions at a time (to prevent clumping), place them in the flour mixture and toss gently to coat completely. Using a fork makes this process cleaner and more efficient.
- Create the crispy coating:
- Transfer the flour-coated onions to the beaten egg, ensuring they're completely covered. Then return them to the flour mixture for a second coating. This double-dredging technique creates the perfect crispy shell.
- Chill for better adhesion:
- Place the coated onions on a plate or small baking sheet and refrigerate for 10 minutes. This short chilling time helps the coating set and adhere better to the onions during cooking.
- Preheat the air fryer:
- While the onions are chilling, preheat your air fryer to 380°F for about 3 minutes. Preheating ensures even cooking and better crisping.
- Cook to golden perfection:
- Arrange the coated onions in the air fryer basket in a single layer, making sure they aren't touching. Lightly spray with oil. Cook at 380°F for 3 minutes, then shake the basket and cook for another 3 minutes until the coating is golden brown and crispy.
- Serve immediately:
- Transfer the mini blooming onions to a serving plate and serve hot with your favorite dipping sauce for maximum enjoyment.
The Secret to Perfect Crispy Coating
The key to achieving that authentic blooming onion coating lies in the double-dredging technique. By first coating in flour, then egg, then back in flour, you create layers that result in the perfect crispy exterior that won't fall off during cooking. The brief chilling period is another crucial step – it allows the coating to set and adhere better to the onions, preventing it from flaking off in the air fryer.
Dipping Sauce Suggestions
While these mini blooming onions are delicious on their own, a great dipping sauce elevates them to next-level status. Here are some perfect pairings:
- Classic Blooming Onion Sauce: Combine ½ cup mayonnaise, 2 tablespoons ketchup, 2 tablespoons horseradish, ¼ teaspoon paprika, ¼ teaspoon salt, ⅛ teaspoon oregano, and a dash of black pepper.
- Spicy Boom Boom Sauce: Mix ½ cup mayonnaise, 2-3 tablespoons sweet chili sauce, 1 teaspoon sriracha, ½ teaspoon garlic powder, and a squeeze of lime juice.
- Creamy Ranch: For a milder option that appeals to everyone, use a high-quality ranch dressing or make your own.
Beyond Appetizers
These versatile mini blooming onions aren't just for snacking. Consider these creative serving ideas:
- Add them to salads as flavor-packed croutons
- Serve alongside steaks or burgers as a gourmet alternative to onion rings
- Include them on appetizer boards with other finger foods
- Use as a garnish for creamy soups for texture contrast
I discovered this recipe last summer when the trend was circulating on social media, but I've made it my own with some tweaks to the seasoning blend. At first, I was skeptical about whether tiny onions could deliver the same satisfaction as a traditional blooming onion, but they've become my go-to appetizer. The first time I made them for my family, my teenager who normally avoids onions actually went back for seconds!
My final thought on these Mini Blooming Onions is that they perfectly represent what I love about cooking - taking a beloved classic and reinventing it in a way that's more accessible for everyday enjoyment. The combination of sweet pearl onions, crispy seasoned coating, and the ease of air frying makes these little gems a winner for any occasion. They're proof that good things really do come in small packages!
Frequently Asked Questions
- → Can I use fresh pearl onions instead of frozen?
- Yes, you can use fresh pearl onions. To prepare them, trim the root ends, make a small X in each root end with a knife, then blanch in boiling water for 1-2 minutes. Transfer to ice water, then slip off the skins. Then continue with the coating process as directed.
- → Why do the onions need to be chilled before air frying?
- Chilling the coated onions for 10 minutes helps the coating adhere better during cooking. When the flour mixture gets cold, it becomes more stable and less likely to fall off during the air frying process. Don't skip this step for the crispiest results!
- → What dipping sauces go well with these pearl onions?
- These crispy pearl onions pair perfectly with a blooming onion sauce (mayonnaise, ketchup, horseradish, paprika, and seasonings), ranch dressing, spicy aioli, or even a simple sriracha mayo. BBQ sauce or honey mustard are also delicious options.
- → How can I make these onions spicier?
- To increase the heat level, you can double the cayenne pepper or add 1/4 teaspoon of red pepper flakes to the flour mixture. For a different kind of heat, try adding 1/2 teaspoon of hot paprika or a dash of your favorite hot sauce to the egg mixture.
- → Can I reheat leftover air-fried pearl onions?
- Yes, though they're best fresh. To reheat, place them back in the air fryer at 350°F for 2-3 minutes until hot and crispy again. Avoid using the microwave, which will make them soggy. Store any leftovers in an airtight container in the refrigerator for up to 2 days.