
 Pin it
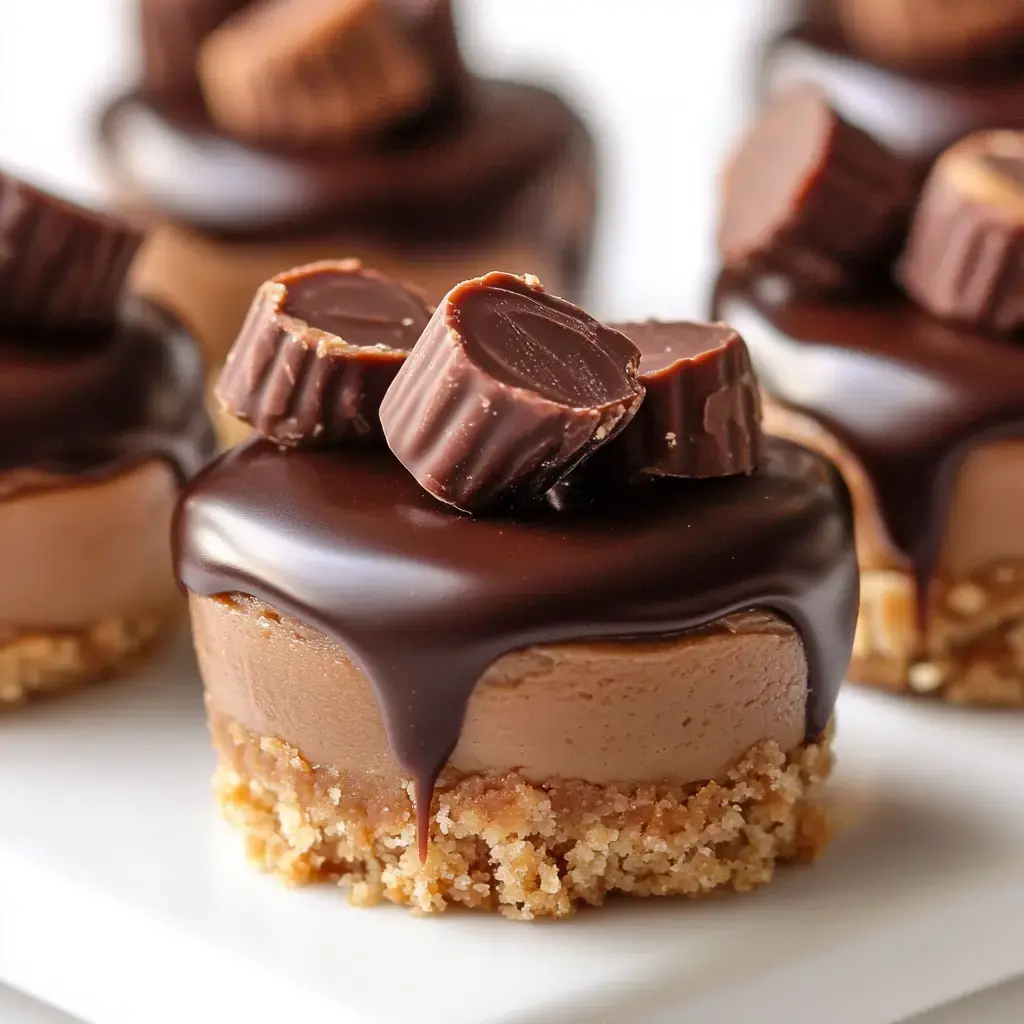
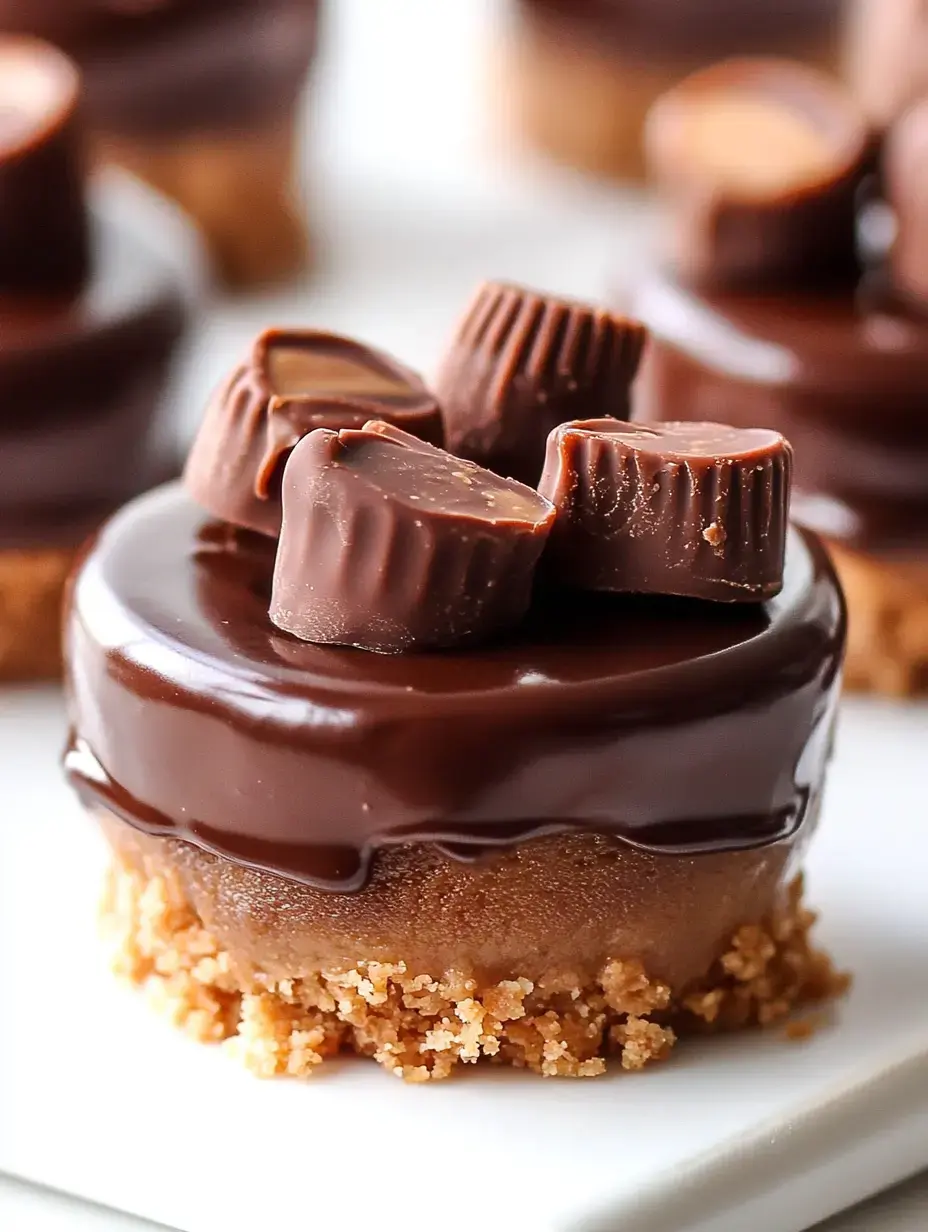
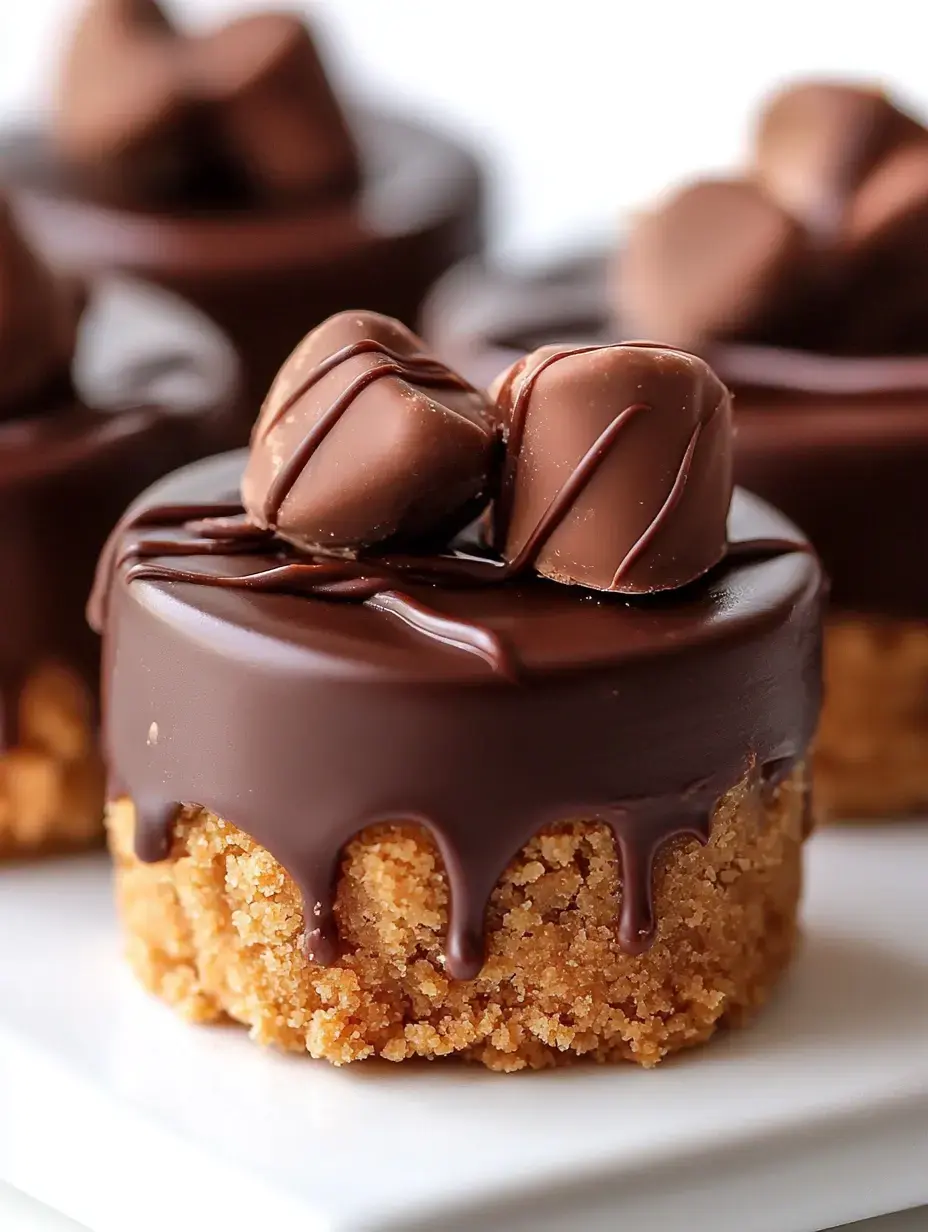
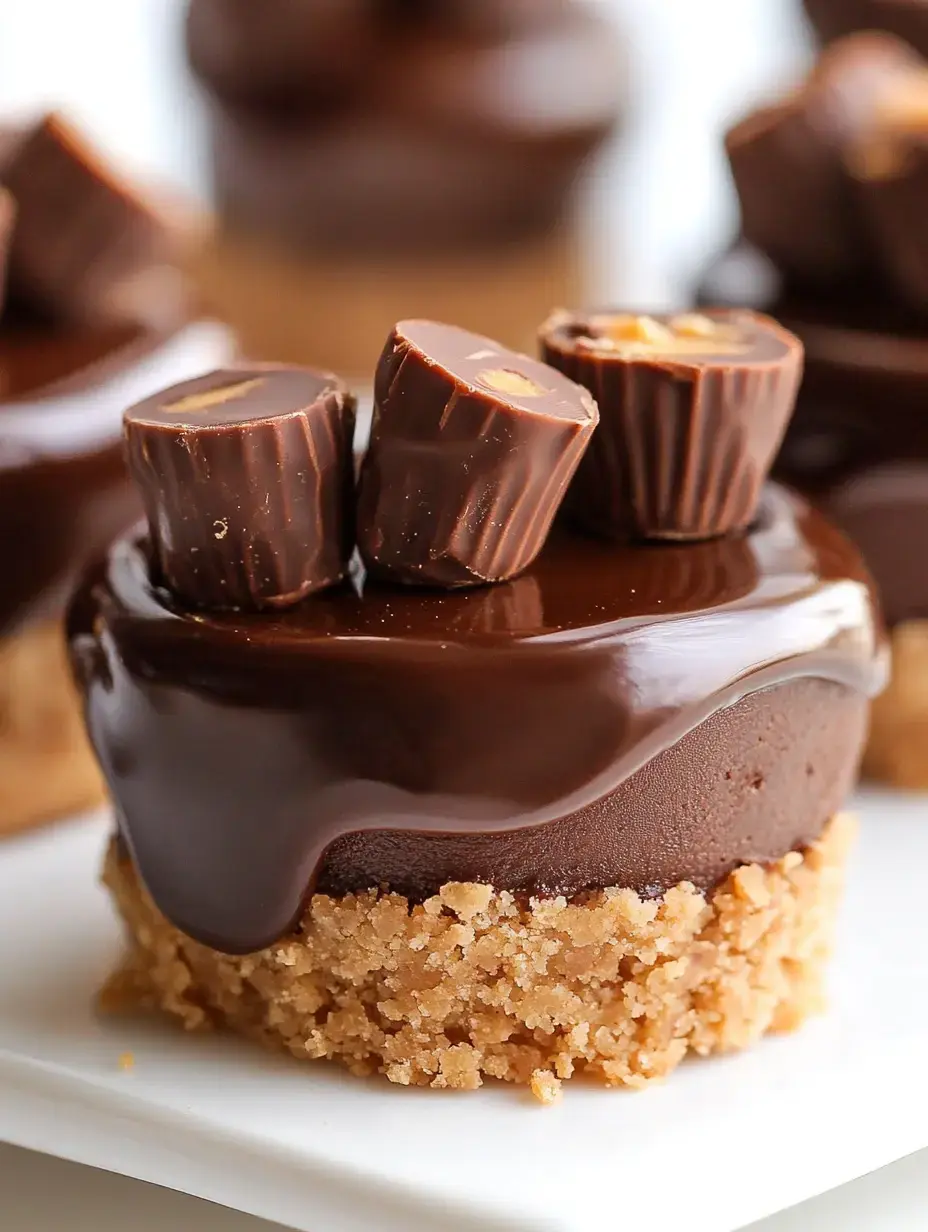
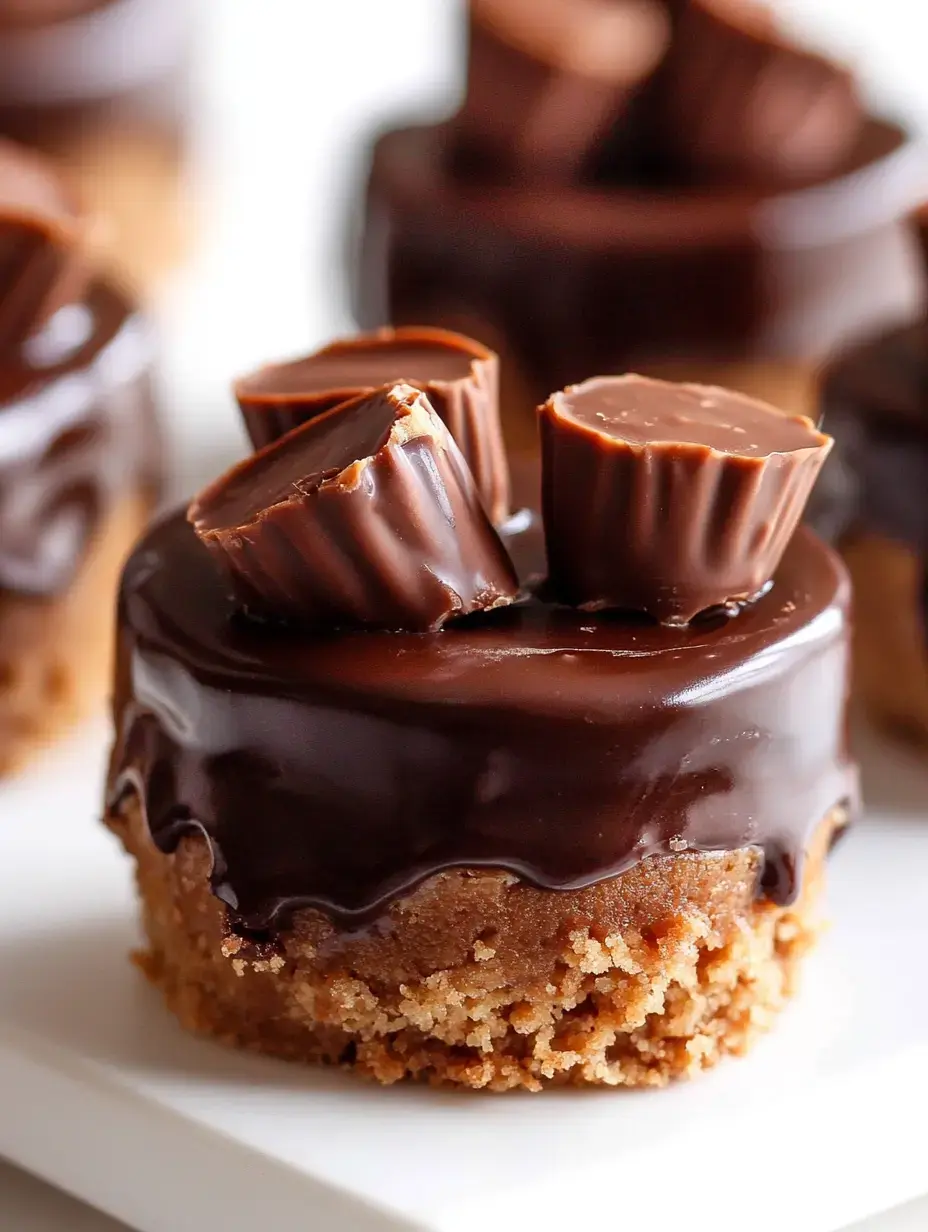
I can't believe how these No Bake Mini Peanut Butter Cheesecakes have become my family's favorite dessert! Every time I make them, my kitchen fills with the most amazing aroma of chocolate and peanut butter. With their buttery graham cracker base, velvety chocolate peanut butter filling, and that irresistible ganache topping, they're simply heavenly. The best part? No need to turn on the oven!
Why You'll Love These
Let me tell you why these little treats are always a hit in my house! The flavor combination is absolutely perfect rich chocolate, creamy peanut butter, and that lovely tang from the cream cheese that makes everything pop. The crunchy base gives way to the smoothest filling, and that fudgy ganache on top? Pure magic! I love how simple they are to make the hardest part is waiting for them to set!
Let's Talk Ingredients
- Graham Cracker Crust: I've found that really crushing the crackers finely and using just enough melted butter makes the perfect base. When I'm feeling adventurous, I swap in Biscoff cookies they add such a wonderful caramel note!
- Cream Cheese: Here's my number one tip: full-fat cream cheese is your best friend here. I always set mine out the night before nothing ruins the texture faster than cold cream cheese!
Let's Make These Together
- Creating Our Base
- First thing I do is grease my pan it makes getting these beauties out so much easier! I crush my graham crackers super fine and press them down firmly. The bottom of my measuring cup works perfectly for this!
- The Dreamy Filling
- This is where the magic happens! I blend everything until it's silky smooth. My secret? I keep mixing for an extra minute after I think it's done trust me, it makes a difference!
Keeping Them Fresh
These little treasures stay perfect in my fridge for a couple of days though they rarely last that long in our house! Sometimes I make a double batch and freeze some without toppings. They're my secret weapon for last-minute guests just thaw overnight and add fresh toppings before serving.
Tools That Make Life Easier
My mini cheesecake pan with removable bottoms was such a game-changer! But don't worry if you don't have one I used regular muffin tins with liners for years and they worked just fine. Just make sure to use good quality liners they're your insurance policy against sticking!
Mix It Up!
Sometimes I get creative in my kitchen and add little twists. Last week I drizzled some salted caramel under the ganache and my family went wild! My son loves when I add crushed toffee bits to the crust. That's what I love about this recipe it's perfect as is but so fun to experiment with!
Make Them Look Amazing
When I'm hosting, I love setting these up on my grandmother's cake stand it makes such a pretty display! Each one gets its own mini peanut butter cup crown and a swirl of fresh ganache right before serving. My afternoon coffee has never had a better companion!
My No-Fail Tips
After making these countless times, I've learned a few tricks! Don't rush the mixing process those few extra minutes of blending make all the difference. And while it's tempting to dig in right away, letting them chill properly is so worth it. Need them faster? Twenty minutes in the freezer works in a pinch!
Party Perfect
These mini cheesecakes have saved me at so many parties! They're just the right size, and everyone loves getting their own individual dessert. I can make them the day before which means more time enjoying my guests and less time in the kitchen.
Why I Love This Recipe
The simplicity of these cheesecakes never fails to amaze me. Whether I'm whipping them up for a school bake sale or a fancy dinner party, they always steal the show. And seeing the smiles when people take their first bite? That's what makes baking so rewarding!
Making Them Your Own
I love helping friends adapt this recipe to their needs. My gluten-free neighbor uses special graham crackers, and they turn out beautifully! For my dairy-free friends, I've discovered some amazing cream cheese alternatives. There's nothing better than sharing treats that everyone can enjoy!
Seasonal Fun
These cheesecakes are like a little black dress they work for every season! In autumn, I add a touch of pumpkin spice magic. During the holidays, crushed peppermint makes them festive. It's amazing how a few simple tweaks can transform them for any occasion!
Storage Secrets
Want to make these way ahead? I've got you covered! Wrap them individually without toppings and pop them in the freezer. They'll keep for three months, though they never last that long at my house! Just move them to the fridge the night before you need them.
Party Planning Tips
These mini cheesecakes were the star of my daughter's graduation party! I set up a topping bar with different chocolates, nuts, and sauces. Everyone had so much fun creating their own combinations. It turned dessert into an activity and conversation starter!
Easy Clean-Up Ideas
For big gatherings, I've found these adorable eco-friendly mini cups that work perfectly! They look cute, make serving a breeze, and clean-up is so much easier. My garden club friends loved this idea at our last outdoor meeting it felt fancy but practical!
The Final Touch
You eat with your eyes first, right? I love adding that final sprinkle of cocoa powder or, for special occasions, a tiny bit of edible gold leaf. These little touches make each cheesecake feel extra special. And those tiny silver spoons I found at the antique store? They make every bite feel like a celebration!
Frequently Asked Questions
- → What's the best way to remove the cheesecakes from the pan?
- Make sure to grease the pan well before starting. After chilling, run a knife around the edges of each cavity and gently push up from the bottom to release each cheesecake.
- → Can I make these without a mini cheesecake pan?
- Yes, you can use a lined muffin tin instead. Line with paper liners for easy removal, though the sides won't be as smooth as with a cheesecake pan.
- → What type of chocolate works best for the ganache?
- Semisweet chocolate chips or bars work best as they melt smoothly and set well. Milk chocolate can be too soft, while dark chocolate might be too bitter for the peanut butter flavor.
- → How far ahead can I make these cheesecakes?
- You can make these up to 2 days ahead and store in the fridge. For best presentation, add the ganache and peanut butter cups just before serving.
- → Why did my ganache separate or look grainy?
- This usually happens if the cream is too hot or the mixture is stirred too soon. Let the hot cream sit on the chocolate for the full 3 minutes before stirring for smooth, glossy results.