
 Pin it
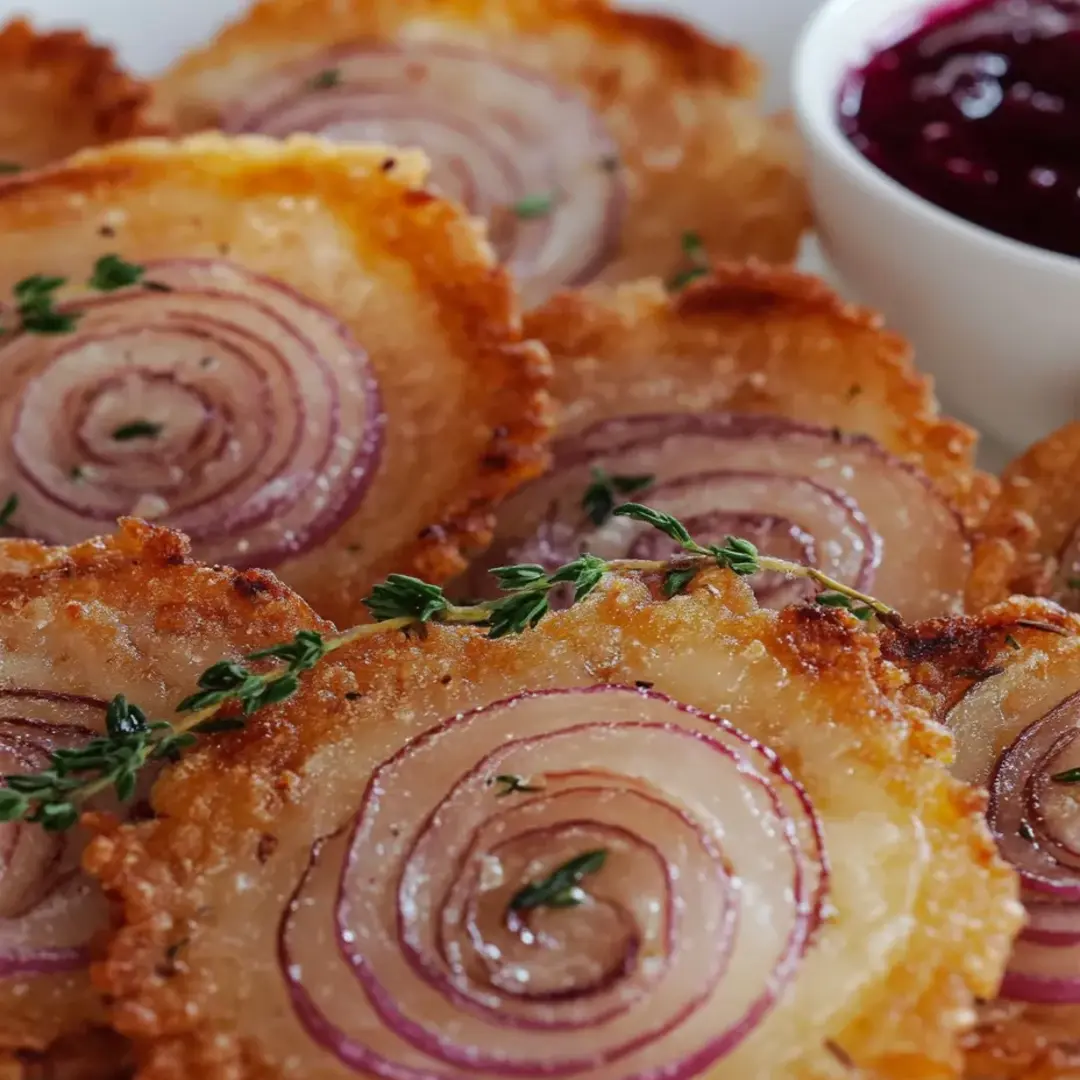
Cheesy onion crisps transform ordinary onions into extraordinary bites of heaven through a simple coating and baking process. These golden-brown delights strike the perfect balance between the natural sweetness of caramelized onions and the rich, savory notes of sharp cheddar and Parmesan cheese. The crispy exterior gives way to tender onion inside, creating a textural experience that keeps everyone reaching for more. Whether served as an impressive appetizer or alongside your holiday roast, these versatile crisps elevate any meal with minimal effort.
I first made these for a holiday gathering last year when I needed something special but didn't have time for complicated recipes. My kitchen filled with the most incredible aroma as they baked, and guests actually gathered around the oven waiting for them to come out! The platter was empty within minutes, and three people asked for the recipe before the night was over.
Essential Ingredients
- Large onions: Sweet varieties like Vidalia or Walla Walla work beautifully here, offering natural sweetness that caramelizes during baking. Look for firm, heavy onions with shiny, papery skins and no soft spots.
- Sharp cheddar cheese: Provides bold flavor and creates the perfect crispy exterior. Choose aged cheddar for more complex flavor notes, and always grate it yourself for better melting properties.
- Parmesan cheese: Adds nutty depth and helps achieve maximum crispiness. Fresh-grated from a block delivers significantly better flavor than pre-grated varieties with anti-caking agents.
- Breadcrumbs: Creates the perfect crunchy exterior. Panko breadcrumbs offer extra crispiness, but regular breadcrumbs work well too; consider using seasoned varieties for additional flavor.
- Fresh parsley: Brightens the rich, cheesy flavors with herbaceous notes. Choose bunches with perky, vibrant green leaves and fragrant aroma, and chop just before using.
- Eggs: Act as the essential binding agent that helps everything adhere to the onions. Farm-fresh eggs with bright yellow yolks contribute better flavor and color to the final dish.

Detailed Cooking Instructions
- Step 1:
- Prepare your onions with precision - Peel your onions and slice them into ½-inch thick rounds. Keep the rings intact to maintain their beautiful circular shape. Separate any rings that naturally fall apart, but try to keep most intact for the best presentation. The thickness is crucial – too thin and they'll burn, too thick and they won't cook through properly.
- Step 2:
- Create the perfect dredging station - Set up your coating ingredients in a specific order for efficient workflow. In your first shallow bowl, thoroughly combine 1 cup all-purpose flour, ½ teaspoon salt, and ¼ teaspoon black pepper. In the second bowl, vigorously whisk 2 eggs with 1 cup milk until completely smooth and slightly frothy. In your third bowl, mix 2 cups shredded cheddar, 1 cup breadcrumbs, and ½ cup grated Parmesan until evenly distributed.
- Step 3:
- Master the coating technique - Working with one onion slice at a time, first dredge completely in the flour mixture, gently shaking off any excess. Next, dip into the egg mixture, ensuring full coverage but allowing excess to drip off. Finally, press firmly into the cheese-breadcrumb mixture, using your fingers to really pack the coating onto both sides. Place on a plate and repeat with remaining onion slices.
- Step 4:
- Arrange for optimal baking - Line a large baking sheet with parchment paper and drizzle with 1 tablespoon olive oil, spreading it evenly. Arrange your coated onion slices in a single layer, ensuring they don't touch each other. Drizzle the remaining tablespoon of olive oil over the tops of the onions, which encourages beautiful golden browning.
- Step 5:
- Bake to perfect crispness - Place the baking sheet in your preheated 400°F oven, positioning it in the middle rack for even heat distribution. Bake for 12 minutes, then carefully flip each onion ring using a thin spatula. Continue baking for another 10-13 minutes until both sides are deeply golden brown and the cheese has formed a crispy crust.
- Step 6:
- Rest briefly before serving - Transfer the finished crisps to a serving platter lined with paper towels to absorb any excess oil. Let them rest for 2-3 minutes, which allows the coating to set and become even crispier. Sprinkle generously with freshly chopped parsley just before serving for bright color contrast and fresh flavor.
- Step 7:
- Serve with flair - Arrange on a festive platter while still warm, perhaps with a small bowl of roasted garlic aioli or cranberry sauce for dipping. The contrast of temperatures and flavors elevates these crisps from simple appetizer to memorable holiday offering.
Delicious Variations to Try
These versatile crisps can be customized in countless ways to match your menu or preferences. For a Southwest twist, I've added a teaspoon of smoked paprika and chili powder to the breadcrumb mixture with pepper jack cheese in place of cheddar. Mediterranean-inspired versions with oregano, feta, and a sprinkle of lemon zest make a wonderful pairing with grilled fish. During autumn gatherings, I sometimes add a pinch of nutmeg and sage to the flour mixture, which complements harvest meals beautifully.
Make-Ahead Strategy for Stress-Free Entertaining
When hosting holiday gatherings, I've found that prepping components ahead of time is a game-changer. The night before, I slice all onions and store them in an airtight container with a damp paper towel. The dry coating mixture can be combined and stored at room temperature, while the egg mixture can be whisked and refrigerated until an hour before coating. This approach saves precious time on the day of your event without compromising quality or freshness.

Perfect Pairings for a Complete Spread
These cheesy onion crisps naturally complement so many holiday favorites. They make an outstanding side dish alongside a juicy beef tenderloin, where their crispy texture contrasts beautifully with the tender meat. For a lighter pairing, serve them with a crisp arugula salad dressed simply with lemon and olive oil. As part of an appetizer spread, they shine alongside olives, charcuterie, and sparkling wine, creating a sophisticated start to any celebration.
Creative Leftover Transformations
Should you find yourself with leftover crisps (though unlikely!), they can be repurposed in delightful ways. Rough-chop them and sprinkle over creamy pumpkin soup for an incredible texture contrast. Layer them in a breakfast strata for a savory morning treat, or crush and use as a flavorful topping for baked mac and cheese. Their versatility extends well beyond the initial serving, making them truly worthwhile to prepare in abundance.
I'm particularly fond of using smoked cheddar in this recipe whenever I can find it. The subtle smoky notes complement the sweet onions in a way that regularly has guests asking for my "secret ingredient." The first time my mother-in-law tried these, she insisted I was holding back some special technique – she couldn't believe something so simple could taste so complex!
My final thought on these holiday cheesy onion crisps is that they epitomize what makes holiday cooking special – transforming simple ingredients into something that feels luxurious and celebratory. The combination of sweet onions and savory, crispy cheese coating creates a perfect bite that bridges the gap between comfort food and elegant appetizer. When you watch your guests' eyes light up as they take their first bite, you'll understand why these have become a non-negotiable part of my holiday menu year after year.
Frequently Asked Questions
- → Can I prepare these onion crisps ahead of time?
- You can bread the onion slices up to 4 hours ahead and keep them refrigerated before baking. However, these crisps are best when baked just before serving to maintain their crispiness. Leftovers can be reheated in the oven at 350°F for 5-7 minutes to restore some crispness.
- → What type of onions work best for this recipe?
- Yellow or white onions work best as they offer a good balance of sweetness and savory flavor when cooked. Sweet onions like Vidalia or Walla Walla are also excellent choices as they become even sweeter when baked. Red onions can work too but may have a stronger flavor.
- → How thin should I slice the onions?
- Aim for slices about 1/4 inch thick. Too thin and they might burn or become too fragile to handle; too thick and they may not cook through completely in the given baking time.
- → Can I make this recipe gluten-free?
- Yes, simply substitute the all-purpose flour with a gluten-free flour blend and use gluten-free breadcrumbs. Make sure the cheese doesn't contain any gluten additives (most natural cheeses are gluten-free).
- → What dipping sauces pair well with these crisps?
- These cheesy onion crisps pair beautifully with ranch dressing, garlic aioli, marinara sauce, or a tangy sour cream and chive dip. For a spicy option, try a sriracha mayo or buffalo sauce.