
 Pin it
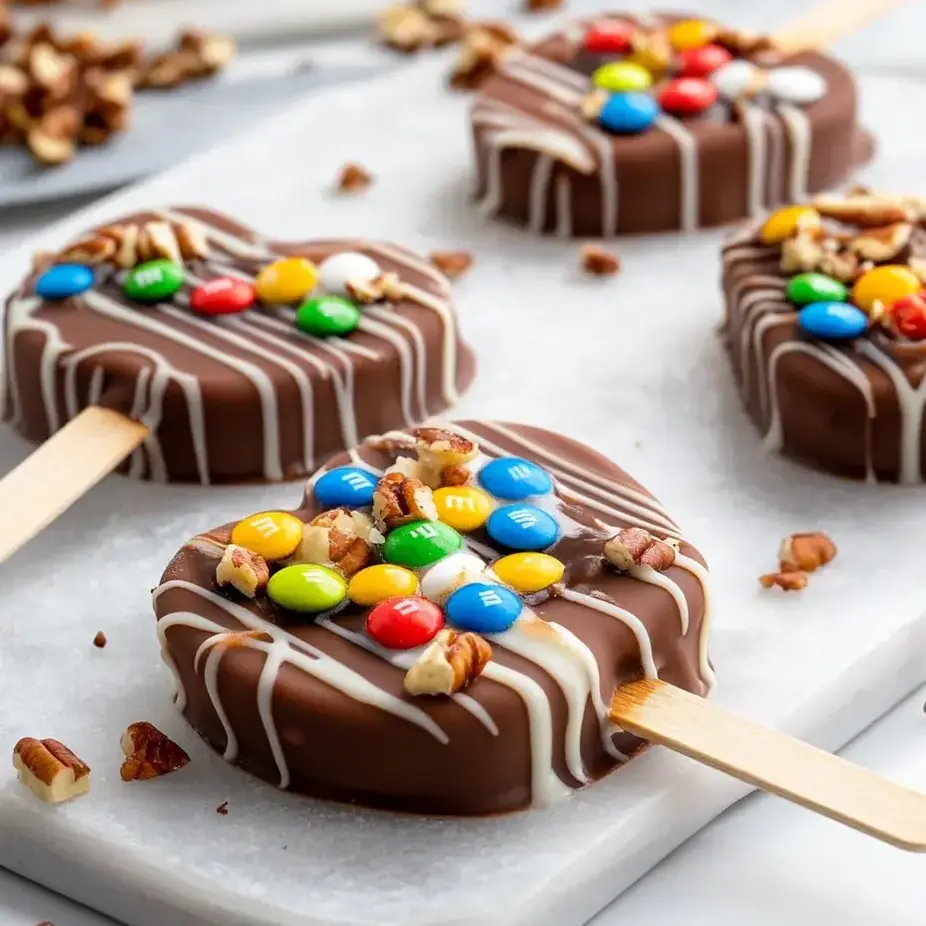
This fall-inspired treat transforms ordinary apple slices into an extraordinary dessert experience that combines the perfect balance of tart fruit, rich chocolate, and sweet caramel. The beauty of these Chocolate Covered Caramel Apple Slices is that they deliver all the flavor of traditional caramel apples but in a much more manageable, sliced form that everyone can enjoy without the mess.
I created these for my daughter's Halloween party last year when I needed something festive yet practical. The kids could actually finish them unlike whole caramel apples that often get abandoned after a few bites and the parents couldn't stop stealing them from the dessert table.
Ingredients
- Granny Smith or Honeycrisp apples: Their firm texture holds up well to dipping and their tartness balances the sweet chocolate and caramel beautifully
- Chocolate melting wafers: Ghirardelli wafers melt smoothly without needing to temper the chocolate making this dessert foolproof
- Soft caramel squares: Using premade caramels with a touch of cream creates the perfect consistency that clings to the apples without being too sticky
- Heavy cream: This transforms the caramels into a silky smooth drizzling consistency that sets up perfectly
- Popsicle sticks: Food grade wooden sticks make these treats easy to hold and gives them that classic caramel apple appeal
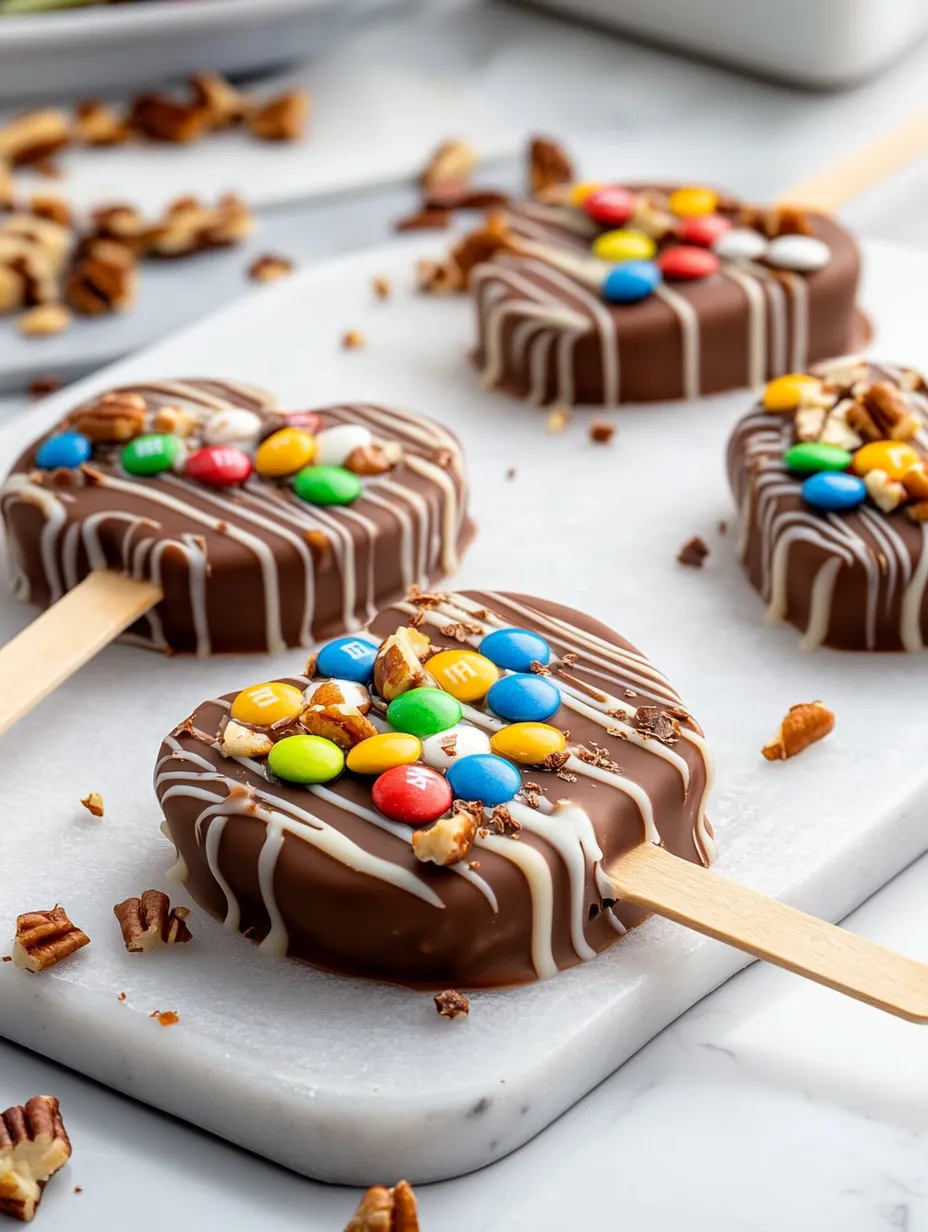
- Toppings: Mini M&M's, chopped nuts, sprinkles, or crushed cookies add texture and visual appeal
Step-by-Step Instructions
- Prepare Your Workspace:
- Line a sheet pan with parchment paper or a silicone mat to prevent sticking. Having this ready before you start dipping saves time and prevents mess as the chocolate begins to set.
- Slice and Prep Apples:
- Cut each apple into 4 to 5 substantial slices about half an inch thick. Remove the seeds and core carefully with a melon baller without cutting through the slice. The thickness is crucial here as too thin will break on the stick, too thick becomes awkward to eat.
- Insert Popsicle Sticks:
- Push wooden sticks halfway into each slice from the bottom. If the apple resists creating a small slit with a paring knife first helps guide the stick in without splitting the fruit. The stick should feel secure but not poke through to the other side.
- Dip in Chocolate:
- Melt your chocolate wafers according to package directions until completely smooth. Pat the apple slices completely dry before dipping this is absolutely essential for the chocolate to adhere properly. Dip each slice covering it completely and allow excess to drip off for a clean finish.
- Set the Base Layer:
- Arrange the chocolate dipped slices on your prepared sheet without touching each other. Refrigerate for 5 to 10 minutes just until the chocolate sets but not so long that condensation forms when you remove them.
- Prepare the Caramel:
- Combine unwrapped caramels with heavy cream in a microwave safe bowl. Heat in short bursts stirring between each until completely smooth and fluid. Allow it to cool slightly so it won’t melt your chocolate base.
- Add Decorative Elements:
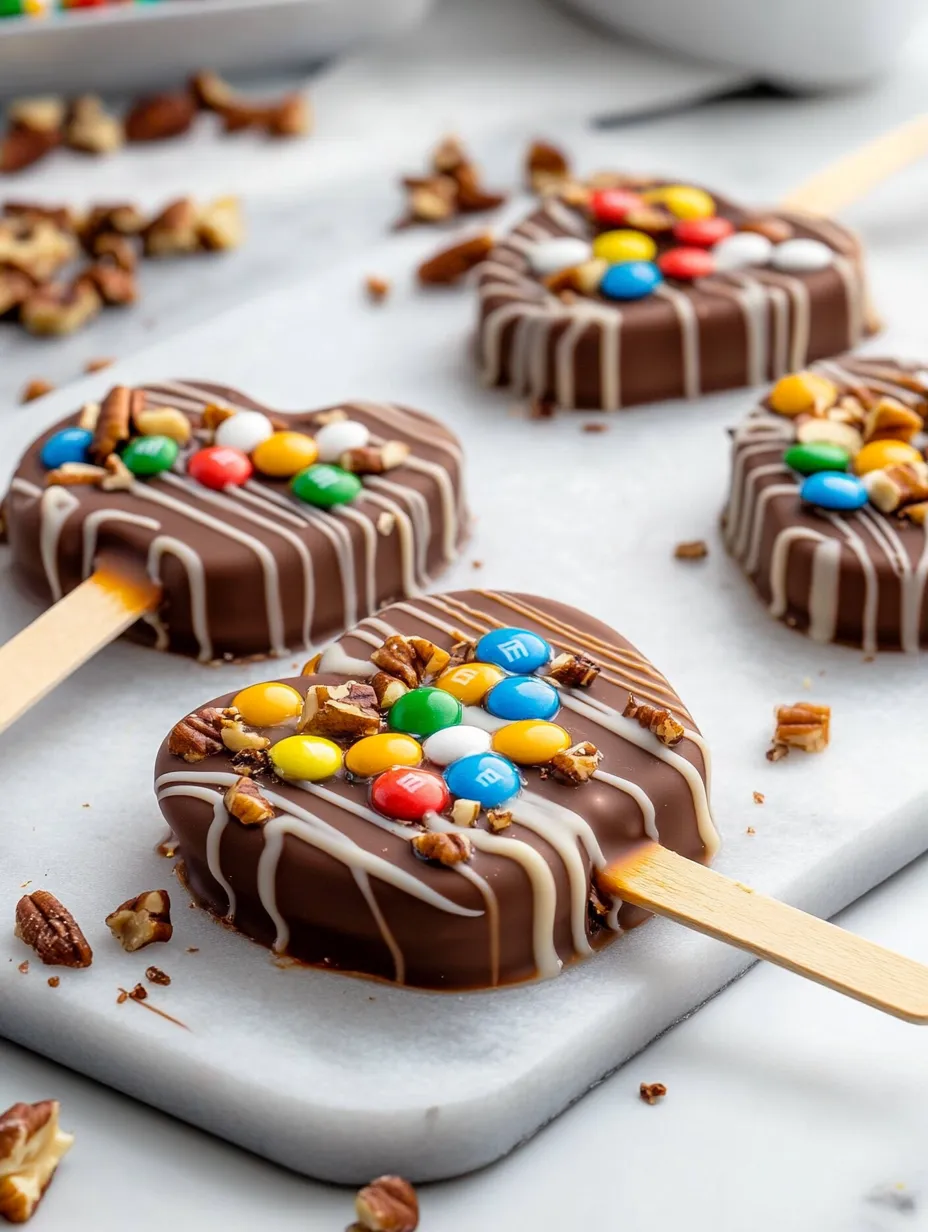
- Drizzle the slightly cooled caramel over each apple slice using a spoon for control. If using contrasting chocolate melt it now and drizzle over the caramel for visual interest. The layers should remain distinct not blend together.
- Add Toppings and Set:
- Immediately sprinkle your chosen toppings over the still wet caramel and chocolate. Work quickly as they begin setting fast. Return to the refrigerator for a final 10 to 15 minutes to fully set all layers.
The caramel layer is my favorite part of this treat. I discovered that adding just a touch more heavy cream than most recipes call for creates the perfect drizzling consistency that sets without becoming too hard to bite through. My grandmother always said caramel should be soft enough to yield but firm enough to hold its shape and this recipe achieves exactly that balance.
Storage Considerations
These treats are at their absolute best when enjoyed the same day they're made. The moisture from the apple will eventually begin to affect the chocolate coating if stored too long. If you must prepare ahead place them in a single layer in an airtight container with parchment between layers and refrigerate for no more than 24 hours. Allow them to sit at room temperature for about 10 minutes before serving for the best texture and flavor.
Preventing Browning
The chocolate coating does help preserve the apple slices but for extra insurance against browning you can briefly soak the apple slices in lemon water (1 tablespoon lemon juice per cup of water) for about 30 seconds before patting them completely dry. This adds a subtle citrus note that actually complements the caramel beautifully while keeping the apples looking fresh.
Topping Ideas
The possibilities are endless when it comes to decorating these treats. For a festive Halloween version try orange and black sprinkles black licorice bits or candy corn pieces. For a more sophisticated adult version consider sea salt flakes crushed espresso beans or chopped dried fruits. I particularly love creating a "turtle" version with chopped pecans and an extra drizzle of caramel that reminds me of the classic candy.
Frequently Asked Questions
- → Can I use any type of apple for this?
Yes, but firmer, tart apples like Granny Smith or sweet-crunchy ones like Honeycrisp work best for balance and texture.
- → How do I prevent the chocolate from sliding off the apple slices?
Ensure the apple slices are patted completely dry with paper towels before dipping them in melted chocolate.
- → What toppings work well with the apples?
You can use mini M&M's, chopped nuts, sprinkles, crushed cookies, or shredded coconut for delicious variations.
- → Can I prepare them ahead of time?
These are best made and served the same day for optimal flavor and texture. Refrigerate until serving.
- → Is there an alternative to melting wafers for chocolate?
You can use regular chocolate bars or chips, but adding a small amount of coconut oil can help achieve a smoother consistency.