
 Pin it
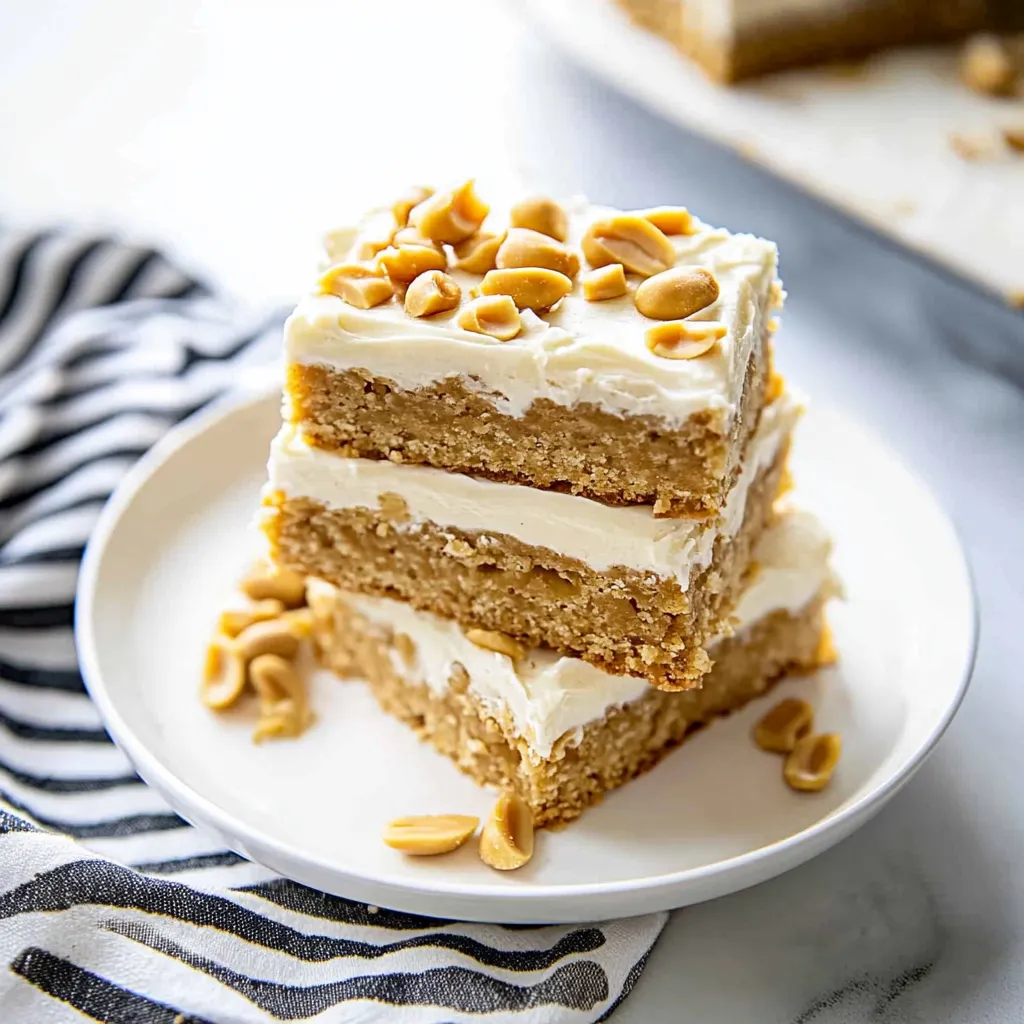
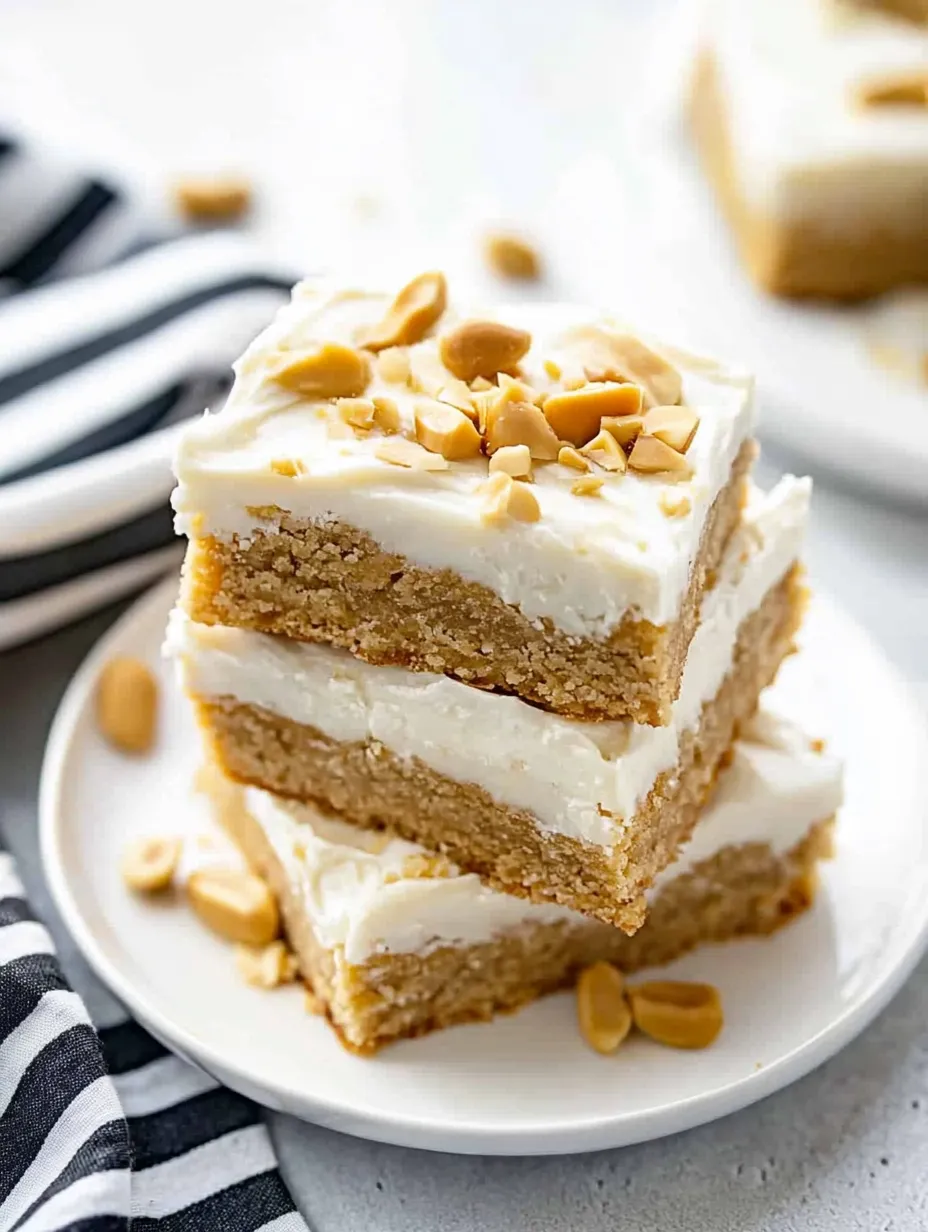
Fluffernutter Bars transform the nostalgic peanut butter and marshmallow sandwich into a decadent dessert bar that captures all those childhood flavors in a more sophisticated form. These treats feature a soft, chewy peanut butter base topped with billowy marshmallow buttercream – a perfect balance of sweet and salty that's impossible to resist.
I brought these to a neighborhood potluck last summer, and they disappeared faster than any other dessert on the table. Even my friend who claims to "not like sweets" asked for the recipe after sneaking a second bar!
Key Ingredients
- Creamy peanut butter: The foundation of these bars, providing that signature nutty flavor. Choose a commercial brand like Jif or Skippy for the most consistent results rather than natural peanut butter which can separate.
- Brown sugar: Adds a caramel-like depth that complements the peanut butter perfectly. The moisture in brown sugar also contributes to the soft, chewy texture.
- Marshmallow Fluff: This jarred marshmallow cream is essential for the frosting's texture and flavor. Don't substitute with melted marshmallows, as they won't provide the same stability.
- Butter: Used in both the bars and frosting, butter adds richness and helps create the perfect texture in both components.
- Chopped peanuts: These add a satisfying crunch that contrasts beautifully with the soft bar and creamy frosting.

Step-by-Step Instructions
- Step 1:
- Prepare your pan properly - A light coating of nonstick spray ensures easy removal. For even easier serving, you can line the pan with parchment paper with overhang on the sides to lift out the entire slab.
- Step 2:
- Mix wet ingredients in sequence - Begin by combining melted butter with both sugars to dissolve the sugar crystals. Add eggs and vanilla, then incorporate the peanut butter last to maintain its distinct flavor.
- Step 3:
- Add dry ingredients with care - Mix just until combined to avoid developing gluten, which would make the bars tough rather than tender. Stop mixing as soon as no dry streaks remain.
- Step 4:
- Watch baking time carefully - The bars should be golden around the edges but still slightly soft in the center. Overbaking will result in dry bars that don't capture that soft sandwich-like texture.
- Step 5:
- Cool completely before frosting - Patience here is crucial! Frosting warm bars will cause the marshmallow buttercream to melt and lose its fluffy texture.
My mother used to make fluffernutter sandwiches as a special treat when I was growing up, and the first time I made these bars, the aroma took me right back to our kitchen table. Now whenever I serve them at family gatherings, everyone shares their own childhood fluffernutter memories.
Perfect Peanut Butter Selection
The type of peanut butter you choose makes a difference in these bars. Commercial brands (not natural) contain stabilizers that help maintain the perfect texture in baking. For a more pronounced peanut flavor, try using crunchy peanut butter in the base instead of creamy – the added texture creates little pockets of intense peanut flavor throughout.
Make-Ahead Magic
These bars actually improve with a day of rest, as the flavors meld and deepen. I often make them the night before serving, cover them tightly, and leave them at room temperature. The peanut butter base stays perfectly moist while the marshmallow frosting maintains its fluffy texture.
Creative Variations
While delicious as written, these bars welcome thoughtful additions. I sometimes add mini chocolate chips to the batter for a peanut butter cup twist, or fold chopped banana chips into the frosting for an Elvis-inspired variation that combines all three flavors of his famous sandwich.
Serving Suggestions
For an elevated dessert experience, cut these into smaller squares and serve on a platter with fresh berries and a drizzle of warm chocolate sauce. The tartness of raspberries or strawberries provides a wonderful contrast to the sweet, rich bars.
I've made countless bar recipes over the years, but these Fluffernutter Bars hold a special place in my heart. They manage to be simultaneously nostalgic and sophisticated – familiar enough to bring comfort but special enough for celebrations. The combination of textures – chewy base, creamy frosting, and crunchy peanut topping – creates a multi-dimensional treat that satisfies on every level.
Frequently Asked Questions
- → Can I use crunchy peanut butter instead of creamy?
- Yes! Crunchy peanut butter works well in these bars and adds extra texture. You might want to reduce or omit the chopped peanuts on top if you prefer less crunch overall, or keep them for maximum peanut flavor and texture.
- → How do I store these fluffernutter bars?
- Store the bars in an airtight container at room temperature for up to 3 days. If your kitchen is warm, you may want to refrigerate them to keep the frosting from getting too soft. Let them come to room temperature before serving for the best texture and flavor.
- → Can I freeze these fluffernutter bars?
- Yes! These bars freeze well. Cut them into individual portions, wrap each one in plastic wrap, then store in a freezer-safe container for up to 3 months. Thaw at room temperature for about an hour before serving.
- → What can I substitute for marshmallow fluff?
- If you can't find marshmallow fluff, you can make your own by melting 2 cups of mini marshmallows with 2 tablespoons of corn syrup in the microwave (about 30 seconds), then stirring until smooth. Let it cool slightly before using in the frosting. Alternatively, you could use a vanilla buttercream and add 1 teaspoon of marshmallow extract.
- → Why did my bars turn out dry?
- Overbaking is the most common reason for dry bars. Watch them closely and remove from the oven when a toothpick inserted in the center comes out with just a few moist crumbs. Also, be sure to measure your flour correctly by spooning it into the measuring cup and leveling it off, rather than scooping directly with the cup which can pack in too much flour.