
 Pin it
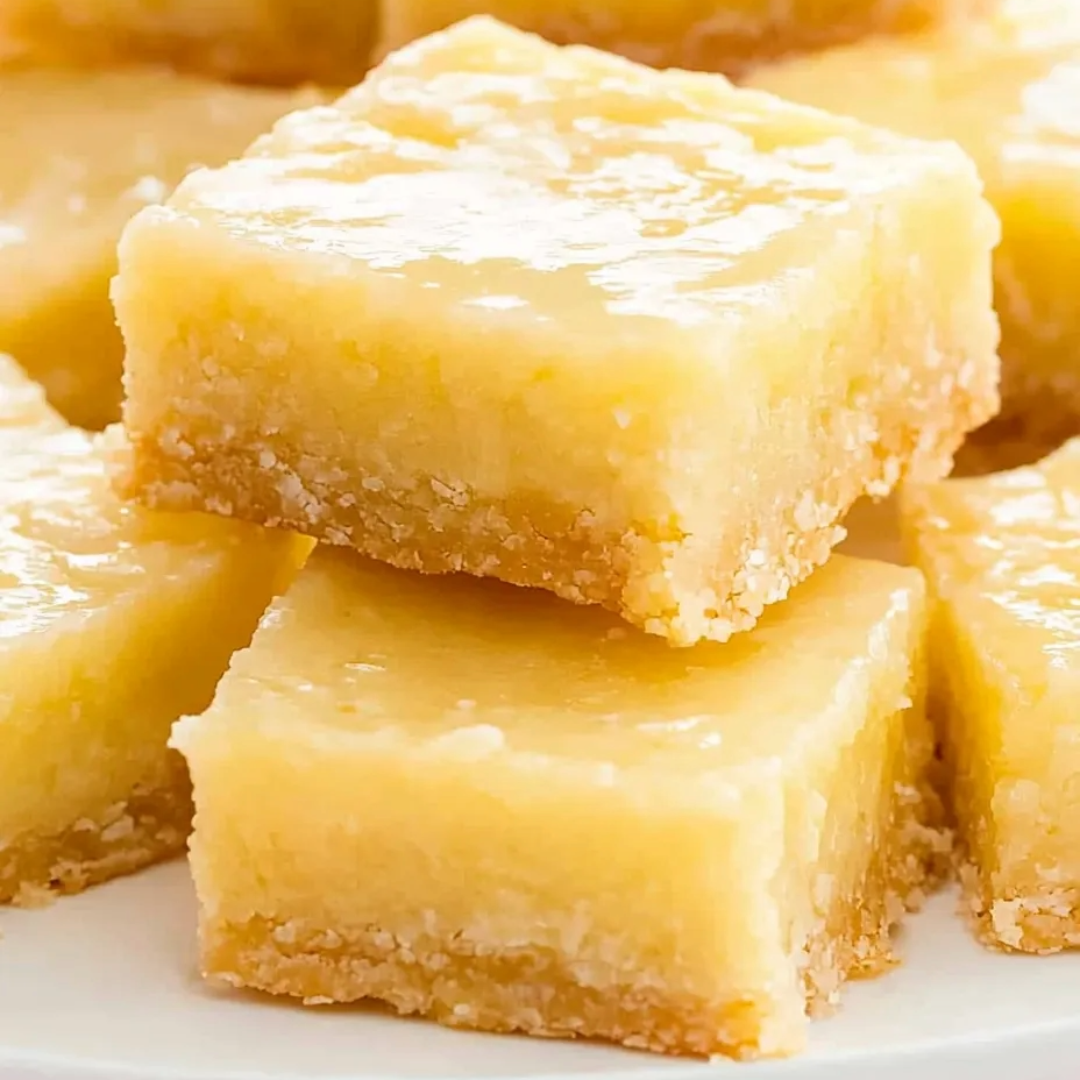
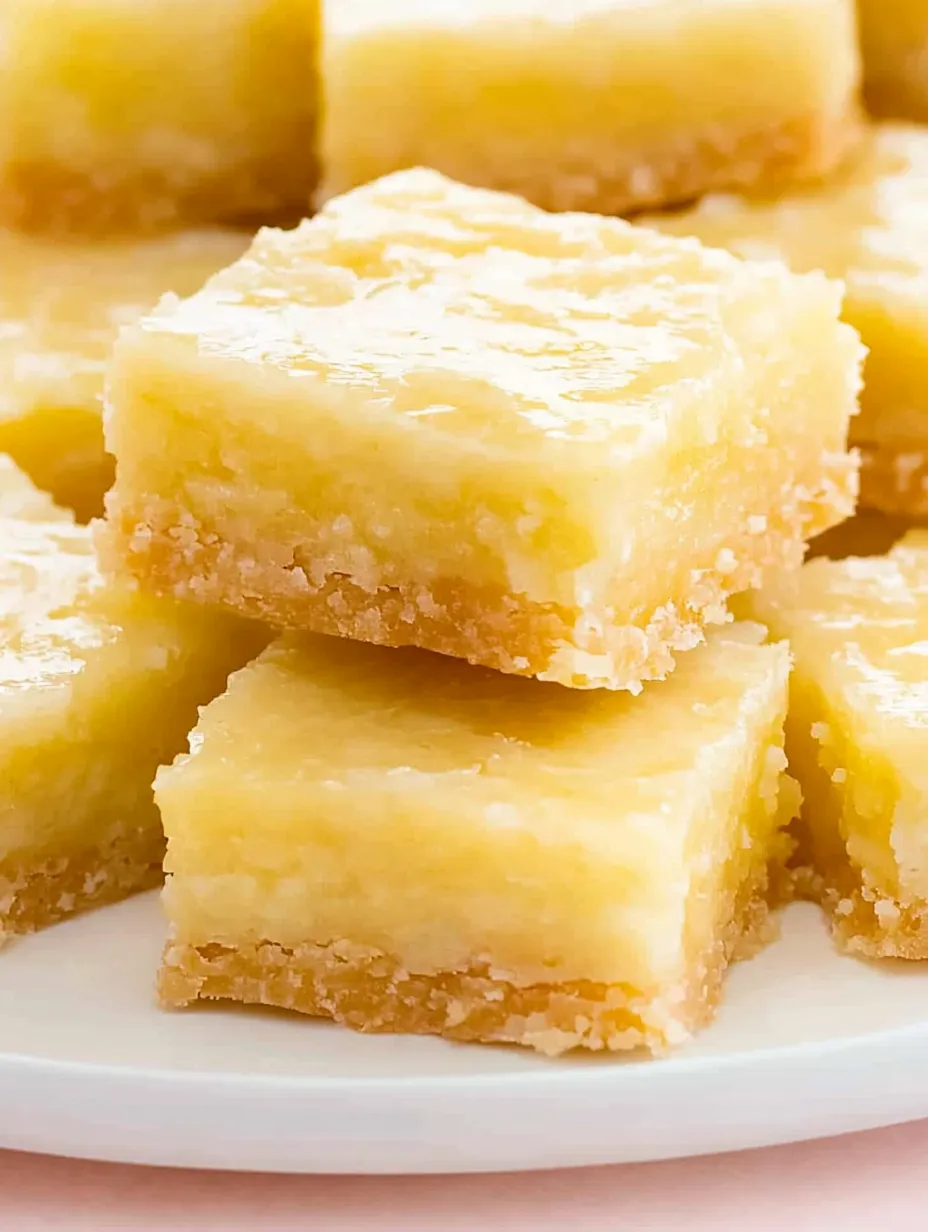
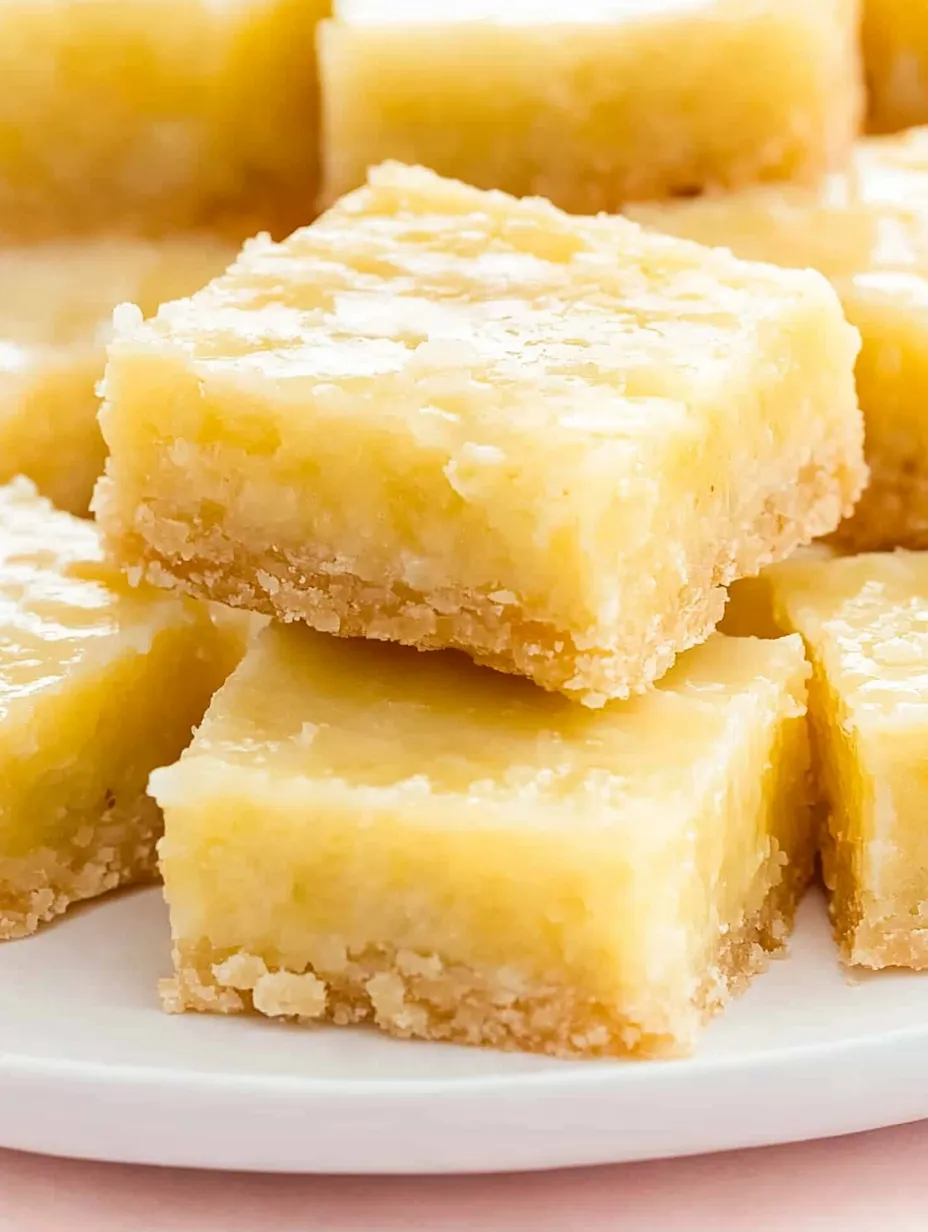
Lemon brownies deliver a bright, tangy twist on traditional brownies with their chewy texture and vibrant citrus flavor. These sunshine-yellow treats combine the best qualities of brownies and lemon bars – the dense, soft consistency of a perfect brownie with the refreshing zing of lemon in every bite. Topped with a smooth, sweet-tart lemon glaze that intensifies the citrus experience, these squares offer a more approachable and universally appealing alternative to classic lemon bars, with their simpler preparation and irresistible texture.
I've always been a lemon dessert fan but never quite connected with traditional lemon bars. The first time I made these lemon brownies, they completely changed my perspective on lemon desserts! My family, who normally avoids lemon bars, devoured the entire pan in one evening and immediately requested them again for our next gathering.
Ingredients and Selection Tips
- Lemons: Fresh lemons are absolutely essential; both the juice and zest provide the vibrant flavor that makes these brownies special
- Butter: Use high-quality butter at room temperature for the best texture; salted butter works perfectly in this recipe
- Sugar: Regular granulated sugar lets the lemon flavor shine through clearly
- Eggs: Bring to room temperature for better incorporation into the batter
- Flour: All-purpose flour gives these brownies their perfect chewy consistency
Detailed Cooking Instructions
- Step 1:
- Begin by properly preheating your oven to 350°F (175°C) and preparing your baking pan. A 9x13 inch pan creates the perfect thickness for these brownies, and a light coating of non-stick spray ensures they'll release easily after baking.
- Step 2:
- In a large mixing bowl, cream together 1 cup (2 sticks) of room temperature butter and 1½ cups granulated sugar until the mixture becomes light and fluffy, about 2-3 minutes. This initial creaming process incorporates air into the batter which helps create the ideal texture in your finished brownies.
- Step 3:
- Add the zest of 2-3 lemons (about 2 tablespoons) to the butter-sugar mixture, taking care to only remove the yellow outer layer of the lemon and not the bitter white pith beneath. The oils in the zest contain intense lemon flavor that is essential to these brownies, so don't skip this step.
- Step 4:
- Pour in ¼ cup of freshly squeezed lemon juice, straining out any seeds, and mix until fully incorporated with the butter mixture. Fresh juice provides a brightness that bottled lemon juice simply can't match, making it worth the extra effort for this recipe.
- Step 5:
- Add 4 large eggs, one at a time, beating well after each addition to ensure they're fully incorporated. This gradual addition prevents the batter from curdling and helps maintain the smooth texture that's characteristic of these brownies.
- Step 6:
- In a separate bowl, whisk together 2 cups of all-purpose flour and ½ teaspoon salt to evenly distribute the salt throughout the flour. This ensures no one gets a bite with too much saltiness, allowing the lemon flavor to shine consistently.
- Step 7:
- Gradually add the flour mixture to the wet ingredients, stirring just until combined and no dry streaks remain. Overmixing at this stage can develop too much gluten, making your brownies tough rather than tender, so use a gentle hand.
- Step 8:
- Spread the batter evenly in your prepared baking pan, using a spatula to smooth the top for uniform baking. The batter will be thicker than a cake batter but thinner than cookie dough – similar to traditional brownie batter in consistency.
- Step 9:
- Bake in the preheated oven for 30-35 minutes, until the edges begin to turn a light golden brown and the center is set but still slightly soft. A toothpick inserted in the center should come out with a few moist crumbs, indicating the perfect chewy texture.
- Step 10:
- While the brownies are baking, prepare the glaze by whisking together 2 cups of powdered sugar with 3-4 tablespoons of fresh lemon juice until smooth and pourable. Pour this glaze over the brownies while they're still hot from the oven, allowing it to set as the brownies cool for that perfect sweet-tart finish.
I discovered these tips through my own experimentation. The first time I made these without enough zest, they lacked that punchy lemon flavor I was hoping for. Now I always use plenty of zest and have learned that patience pays off when it comes to enjoying them at their flavorful peak.
The first time I brought these lemon brownies to a summer potluck, I placed them next to a tray of traditional lemon bars as an experiment. By the end of the evening, the lemon brownies had completely disappeared while the lemon bars were barely touched. What I love most about this recipe is how it transforms the sometimes divisive lemon bar into something universally appealing. The familiar brownie texture provides comfort and satisfaction, while the bright lemon flavor offers refreshment – particularly welcome during warm weather. While I've tried many variations over time, adding raspberries or white chocolate chips on occasion, I always return to this simple, perfect original version that lets the lemon shine as the true star.
Frequently Asked Questions
- → Can I use bottled lemon juice instead of fresh?
- While fresh lemon juice provides the best flavor, bottled lemon juice can work in a pinch. However, you'll definitely want fresh lemon zest as this provides much of the vibrant lemon flavor, and bottled juice doesn't include zest.
- → Why are they called lemon brownies instead of lemon bars?
- Though they contain no chocolate, these are called brownies because they have the dense, chewy texture typical of brownies rather than the custard-like filling of traditional lemon bars. They're essentially brownies with lemon flavor instead of chocolate.
- → How do I know when they're done baking?
- The edges should be starting to turn light golden brown, and the center should be set but still moist. A toothpick inserted into the center should come out clean or with a few moist crumbs, but not wet batter.
- → Can I freeze these lemon brownies?
- Yes! These freeze beautifully for up to 3 months. Let them cool completely, then cut into squares and place in an airtight container with parchment between layers. Thaw at room temperature before serving.
- → Can I make these with other citrus fruits?
- Absolutely! This recipe works well with lime, orange, or even grapefruit. Just substitute the same amount of juice and zest from your chosen citrus. Lime makes a particularly delicious variation.